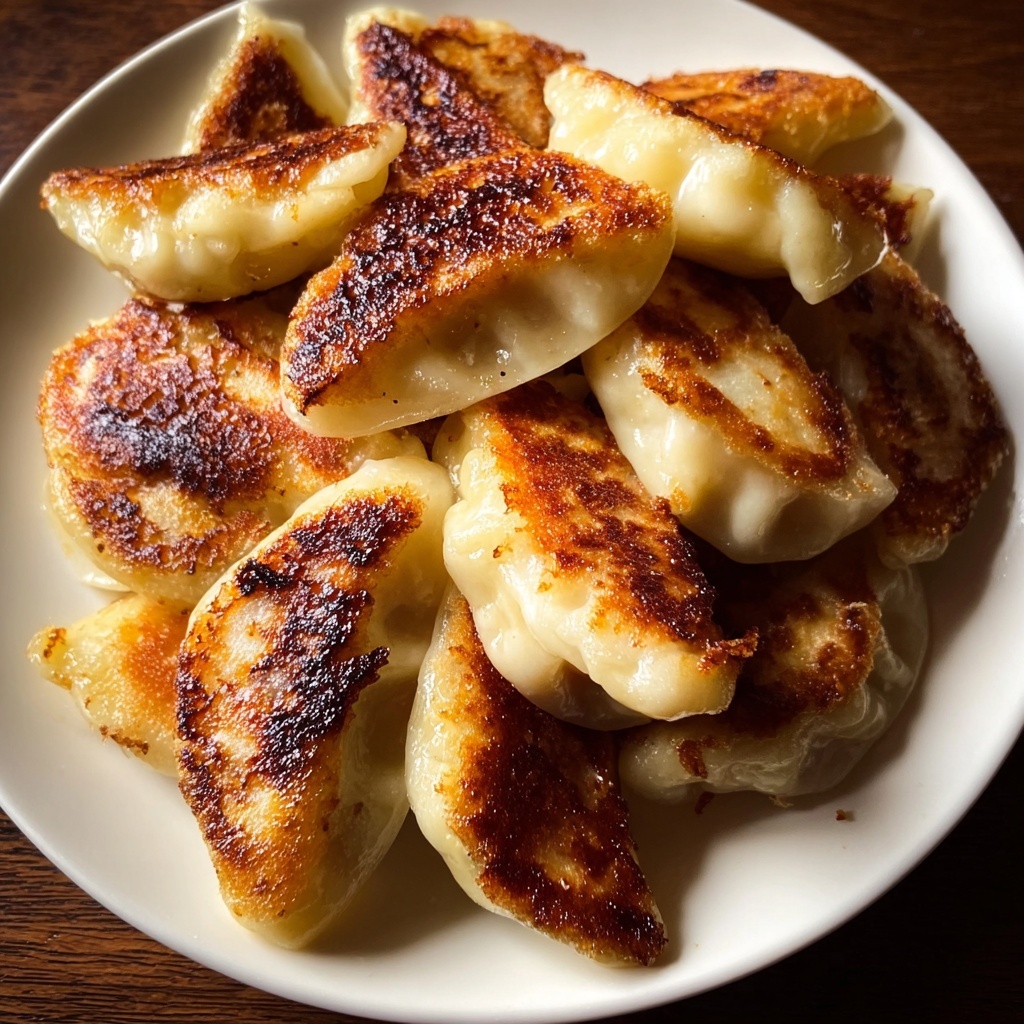
If you have ever wondered how to create a comforting, classic Eastern European delight right in your own kitchen, this Potato Pierogi Recipe is exactly what you need. These tender dough pockets filled with creamy, buttery potato and onion blend bring together a harmony of textures and flavors that feel like a warm hug on a plate. Whether you’re making them for a family meal or to impress friends, the simple ingredients and step-by-step process make it a joy to prepare and savor. Get ready to discover why pierogi have captivated hearts and taste buds for generations.
Ingredients You’ll Need
Gathering the ingredients for this Potato Pierogi Recipe is refreshingly straightforward. Each one brings something special: from the tender dough to the savory, rich filling, every component plays a key role in making this dish truly memorable.
- 2 cups all-purpose flour: The base of the dough, providing structure and a soft bite.
- 1/2 teaspoon salt: Enhances flavor subtly in both dough and filling.
- 1 large egg: Adds richness and helps bind the dough together flawlessly.
- 1/2 cup sour cream: Imparts tenderness and a slight tang to the dough texture.
- 1 pound potatoes (about 2 medium-sized): The heart of the filling, bringing creaminess and earthy flavor.
- 1 medium onion, finely chopped: Offers a sweet, caramelized contrast when sautéed.
- 4 tablespoons butter (2 for sautéing, 2 for serving): Adds a luscious mouthfeel and golden finish.
- Salt and pepper to taste: The essential seasonings that enhance every bite.
How to Make Potato Pierogi Recipe
Step 1: Preparing the Dough
Start by combining the all-purpose flour and salt in a large bowl to create a light, even base. Then, mix in the egg and sour cream—the magic duo that gives the dough its signature tenderness and slight tang. Knead the mixture until it’s smooth and elastic, which usually takes about 5-7 minutes. Afterward, wrap it in plastic or cover it with a damp towel and let it rest for 30 minutes. This resting period allows the flour to hydrate fully, making the dough much easier to roll out later.
Step 2: Making the Potato and Onion Filling
While your dough rests, prepare the filling by boiling the potatoes until they are tender and fork-ready—this usually takes around 15-20 minutes. Meanwhile, sauté the finely chopped onions in 2 tablespoons of butter until they turn golden and fragrant. Once the potatoes are drained and cooled slightly, mash them until creamy but still with some texture, then fold in the sautéed onions. Season this mixture generously with salt and pepper to bring out the rich flavors.
Step 3: Assembling the Pierogi
Now’s the fun part: roll out the rested dough onto a floured surface until it’s about 1/8 inch thick. Use a round cutter or glass to cut out 3 to 4-inch circles. Place about a tablespoon of the potato and onion filling in the center of each circle. Fold the dough over to form a half-moon shape and press the edges together firmly to seal, making sure there are no gaps so the filling stays inside during cooking.
Step 4: Cooking and Finishing the Pierogi
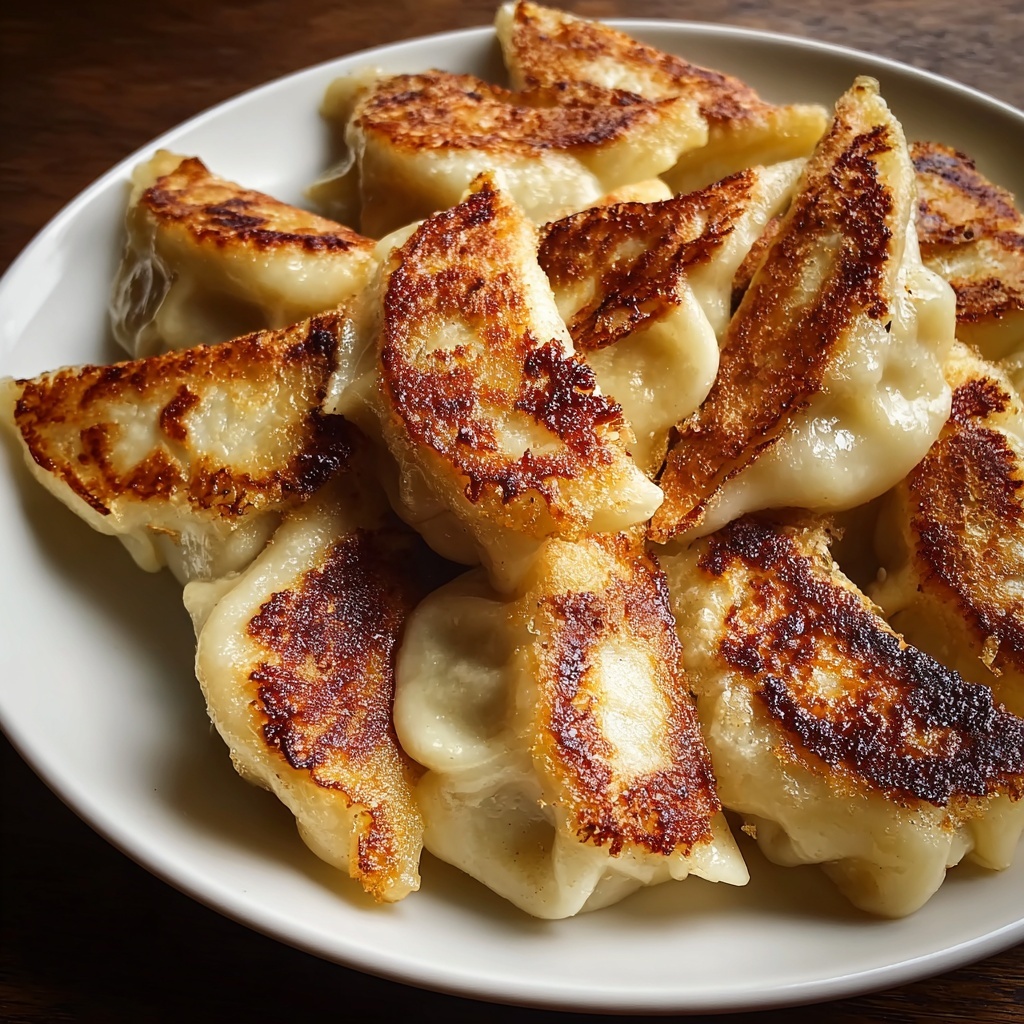
Bring a large pot of salted water to a boil, then gently drop in a few pierogi at a time. You’ll know they’re done when they float to the surface, usually after 3-4 minutes. Remove them with a slotted spoon and drain well. For an extra layer of flavor and texture, sauté the boiled pierogi in 2 tablespoons of butter until their edges are golden and slightly crisp. This step transforms them into the beloved crispy-yet-tender perfection so many adore.
How to Serve Potato Pierogi Recipe
Garnishes
Potato pierogi beg for simple but luscious garnishes. Dollops of sour cream, a sprinkling of chopped fresh dill or chives, or even a dusting of fried onions can elevate each bite. These additions add freshness and layers of flavor that round out the dish beautifully.
Side Dishes
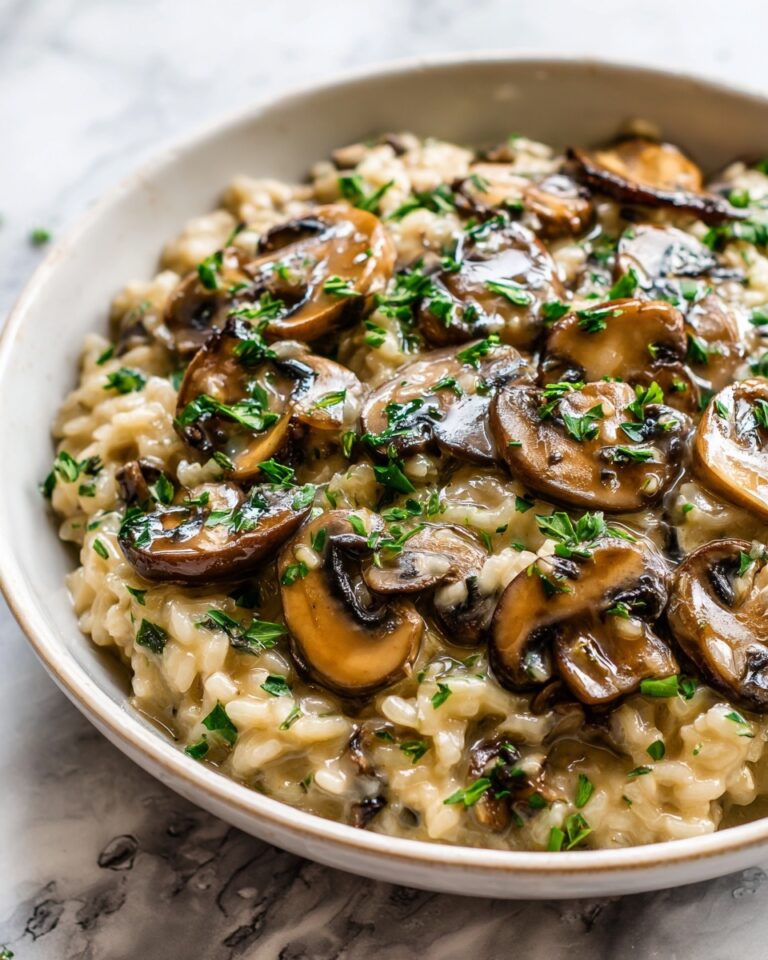
Serve your pierogi alongside a fresh green salad to cut through the richness, or pair with sauerkraut for that traditional Eastern European touch. For a heartier meal, creamy mushroom sauce or a side of roasted vegetables complements perfectly.
Creative Ways to Present
Want to wow your guests? Arrange the pierogi in a rustic wooden board with small bowls of various dips like sour cream, spicy mustard, or caramelized onion jam. Or incorporate them into a casserole layered with cheese and sautéed greens for a cozy, baked twist that retains the beloved Potato Pierogi Recipe essence.
Make Ahead and Storage
Storing Leftovers
Leftover pierogi are a blessing. Store cooked pierogi in an airtight container in the refrigerator for up to 3 days. They maintain their delightful texture and flavor, making for an easy next-day meal or snack.
Freezing
This Potato Pierogi Recipe also freezes wonderfully. To freeze, layer uncooked, assembled pierogi on a baking sheet without touching, and freeze until solid (about 1-2 hours). Then transfer them to a freezer bag for up to 2 months. When you’re ready, boil them straight from frozen—no need to thaw!
Reheating
Reheat cooked pierogi by lightly pan-frying them in a bit of butter until warmed through and crisped, or gently microwave them covered for 1-2 minutes. Avoid overheating to keep the dough tender and filling moist.
FAQs
Can I use a different kind of flour for the dough?
While all-purpose flour provides the best balance of texture and elasticity, you can experiment with bread flour for a chewier dough or a gluten-free blend if needed, though the results may vary slightly.
Is it possible to make the filling ahead of time?
Absolutely! You can prepare the potato and onion filling a day ahead. Store it in an airtight container in the fridge and bring it back to room temperature before filling your pierogi for easier handling.
What if my pierogi edges don’t seal properly?
Make sure the edges are slightly moistened with water before pressing together, and press firmly or crimp with a fork to ensure a tight seal. This helps prevent any filling from escaping during cooking.
Can I bake pierogi instead of boiling and frying?
You can bake pierogi for a slightly different texture—brush them with melted butter and bake at 375°F (190°C) for about 20 minutes until golden. They won’t have the same soft tenderness but will still be delicious.
What drinks pair well with potato pierogi?
A crisp lager, a delicate white wine like Riesling, or even a sparkling water with lemon are wonderful companions. Their acidity and freshness balance the richness of the pierogi beautifully.
Final Thoughts
This Potato Pierogi Recipe is an absolute gem to have in your culinary repertoire. It’s satisfying, heartwarming, and surprisingly easy to make, perfect for both cozy nights and special occasions. Take your time crafting these little pockets of joy—you’ll find that every bite is worth the effort, and soon enough, they’ll become a beloved favorite among your family and friends. Give it a try and fall in love with pierogi all over again!
Print
Potato Pierogi Recipe
- Prep Time: 30 minutes
- Cook Time: 1 hour
- Total Time: 1 hour 30 minutes
- Yield: 4 servings
- Category: Main Dish
- Method: Stovetop
- Cuisine: Eastern European
- Diet: Vegetarian
Description
This classic Potato Pierogi recipe features tender dumplings filled with a creamy potato and sautéed onion mixture. The dough is soft and easy to work with, and the pierogi are first boiled to perfection before being pan-fried in butter to achieve a golden, crispy exterior. Perfect as a comforting appetizer or main dish, these traditional Eastern European dumplings are hearty, flavorful, and satisfying.
Ingredients
Dough
- 2 cups all-purpose flour
- 1/2 teaspoon salt
- 1 large egg
- 1/2 cup sour cream
Filling
- 1 pound potatoes (about 2 medium-sized)
- 1 medium onion, finely chopped
- 4 tablespoons butter (2 for sautéing, 2 for serving)
- Salt and pepper to taste
Instructions
- Prepare the dough: In a large bowl, combine 2 cups of all-purpose flour and 1/2 teaspoon salt. Add 1 large egg and 1/2 cup sour cream, mixing until the dough starts to come together. Knead the dough on a floured surface until smooth and elastic. Cover and let it rest for 30 minutes to relax the gluten.
- Cook the filling: Boil the potatoes in salted water until tender, about 15-20 minutes. Drain and mash the potatoes until smooth. Meanwhile, sauté the finely chopped onion in 2 tablespoons of butter over medium heat until golden and soft. Mix the sautéed onions into the mashed potatoes, seasoning with salt and pepper to taste. Allow the filling to cool slightly.
- Assemble the pierogi: Roll out the rested dough on a floured surface to about 1/8 inch thickness. Using a round cutter or a glass (about 3 inches in diameter), cut out circles. Place a spoonful of the potato filling in the center of each circle. Fold the dough over the filling to form a half-moon shape and press the edges firmly together to seal, ensuring no air is trapped inside.
- Cook the pierogi: Bring a large pot of salted water to a boil. Drop the pierogi in batches into the boiling water. They are done when they float to the surface, which takes about 3-4 minutes. Remove with a slotted spoon and set aside.
- Sauté the pierogi: In a large skillet, melt 2 tablespoons butter over medium heat. Add the boiled pierogi in batches and fry until golden brown and crispy on both sides, about 2-3 minutes per side. Serve warm with extra butter.
Notes
- Make sure the dough is rested to make rolling easier and to prevent shrinking during cooking.
- Use starchy potatoes like Russets for a fluffier filling.
- Seal pierogi edges tightly to prevent filling from leaking out during boiling.
- Pierogi can be frozen before boiling for later cooking.
- Try serving with sour cream or caramelized onions for extra flavor.


