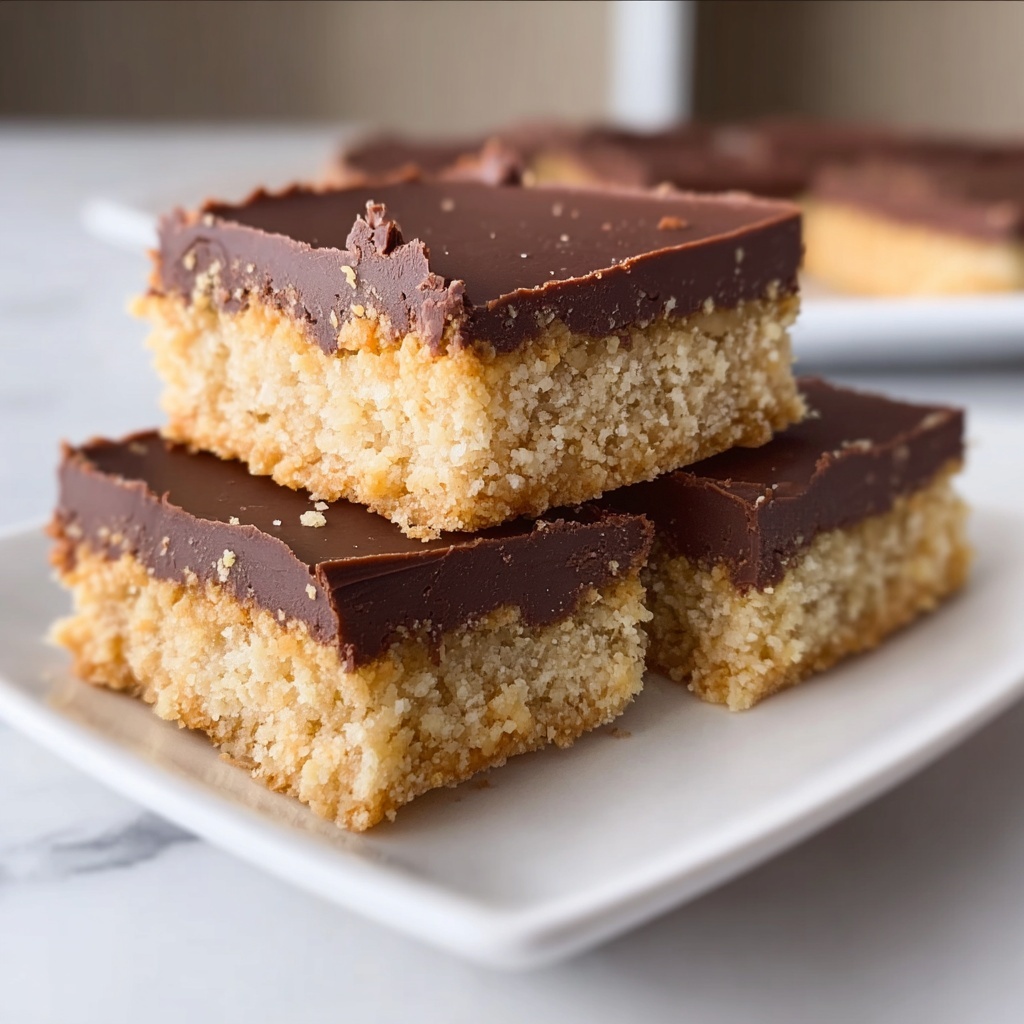
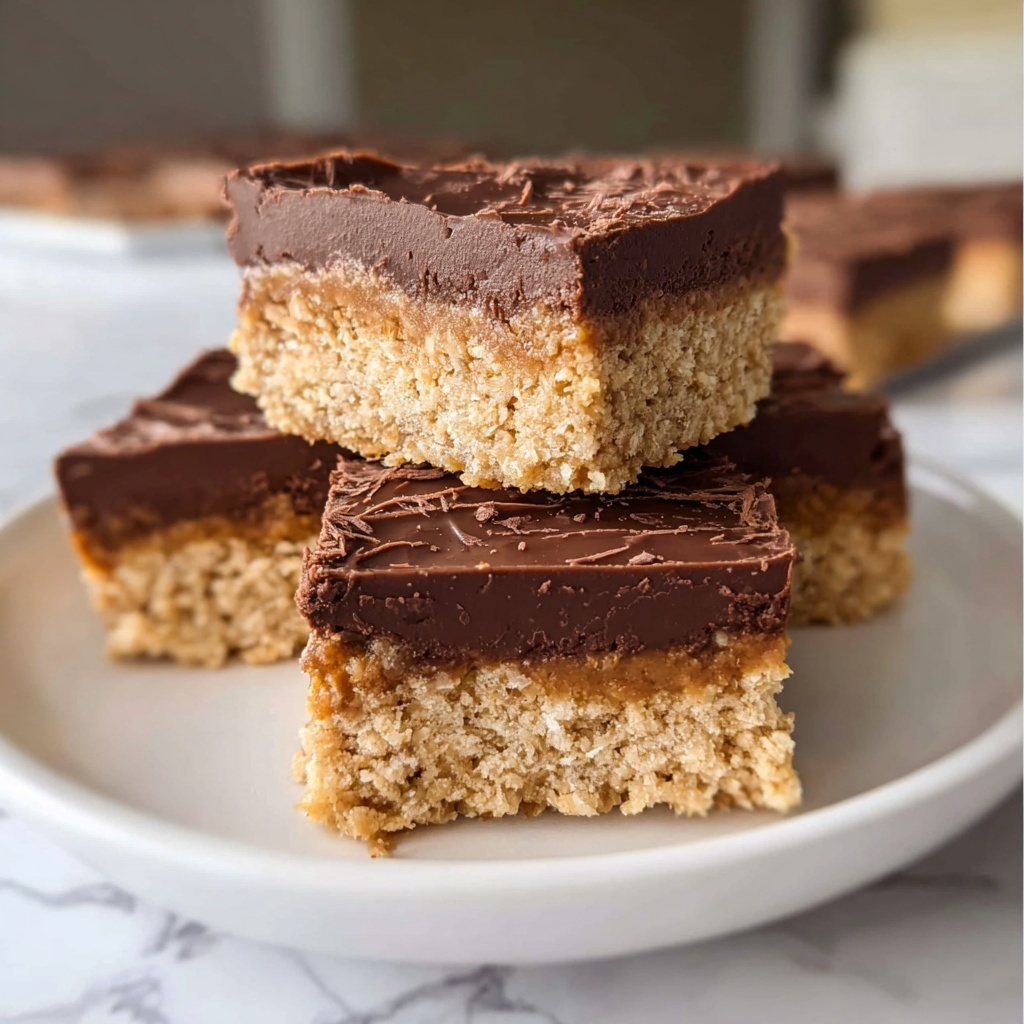
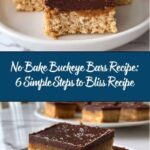
If you’ve ever dreamed of a dessert that captures the magic of peanut butter and chocolate in a delightfully easy treat, then you’re going to love this No Bake Buckeye Bars Recipe: 6 Simple Steps to Bliss Recipe. It’s a perfect mix of creamy, crunchy, and chocolaty goodness that comes together without turning on your oven. Whether you’re a seasoned baker or a newbie looking for a quick sweet fix, these bars deliver a classic flavor and indulgent texture that feels truly special with minimal fuss.
Ingredients You’ll Need
This recipe keeps things delightfully simple, focusing on just a handful of essential ingredients that each play a crucial role. From the creamy peanut butter that brings richness to the crispy graham cracker crumbs that add a wonderful texture, every element is carefully chosen for balance and flavor.
- 1 cup creamy peanut butter: The star of the show, providing a smooth, rich peanut flavor that ties everything together.
- 1/2 cup unsalted butter, softened: Adds a silky texture and helps bind the base for that perfect buttery taste.
- 1 cup powdered sugar: Sweetens the filling without grittiness, ensuring a melt-in-your-mouth bar.
- 2 cups graham cracker crumbs: Give the base a lovely crunch and a subtly sweet, toasted flavor.
- 2 cups semi-sweet chocolate chips: Bring that iconic, classic chocolate finish you crave.
- 1 tablespoon vegetable oil: Helps melt the chocolate smoothly, giving the topping a glossy finish.
How to Make No Bake Buckeye Bars Recipe: 6 Simple Steps to Bliss Recipe
Step 1: Cream Your Peanut Butter and Butter
Begin by combining 1 cup of creamy peanut butter and 1/2 cup of softened unsalted butter in a mixing bowl. Stir until the mixture is smooth and perfectly blended; this step ensures the base is luscious and velvety without any lumps.
Step 2: Add the Sweetness and Crunch
Next, add 1 cup of powdered sugar and 2 cups of graham cracker crumbs to the peanut butter mixture. Mix until everything is thoroughly combined and starts to hold together—it’ll begin to feel like the perfect thick dough that will form the structure of your bars.
Step 3: Press the Mixture Into a Pan
Line a 9×13 inch baking dish with parchment paper or foil for easy removal, then press the peanut butter mixture firmly and evenly into the bottom. This forms a firm, satisfying base that’s just waiting for its delicious chocolate cap.
Step 4: Melt Your Chocolate Topping
In a microwave-safe bowl, combine 2 cups of semi-sweet chocolate chips with 1 tablespoon of vegetable oil. Heat this mixture in short bursts, stirring in between, until the chocolate is smooth, glossy, and ready to pour.
Step 5: Pour and Spread the Chocolate
Gently pour the melted chocolate over the peanut butter base, spreading it evenly with a spatula so every bar gets a luscious top layer of silky chocolate that’s as pretty as it is delicious.
Step 6: Set and Slice to Serve
Refrigerate your bars for at least 2 hours to let the chocolate harden and the flavors marry beautifully. Once set, slice into 24 perfect squares and prepare to enjoy the bliss that only these no-bake delights can offer.
How to Serve No Bake Buckeye Bars Recipe: 6 Simple Steps to Bliss Recipe

Garnishes
To elevate your bars, sprinkle a pinch of flaky sea salt on top of the chocolate layer right after spreading before chilling. This simple addition enhances both the chocolate and peanut butter flavors, creating a sophisticated flavor twist that will impress everyone at your table.
Side Dishes
Pair these bars with a scoop of vanilla ice cream or a dollop of whipped cream for an extra treat. If you want something refreshing, a fresh berry salad balances the richness perfectly, offering a light contrast that keeps your dessert experience bright and satisfying.
Creative Ways to Present
For a fun twist, cut the bars into bite-sized squares and arrange them on a decorative platter with mini skewers for easy, mess-free snacking. Alternatively, serve them in small cupcake liners to make them look like bite-sized candy treats—perfect for parties and potlucks.
Make Ahead and Storage
Storing Leftovers
You can keep these bars fresh by storing them in an airtight container in the refrigerator. They stay deliciously firm and flavorful for up to 5 days, making them an excellent choice for prepping ahead of a gathering or simply enjoying over the week.
Freezing
If you want to make these bars in advance or save some for later, wrap them individually or in small batches with plastic wrap, then place them in a freezer-safe container. They freeze beautifully for up to 3 months — just thaw in the fridge before serving for the best texture.
Reheating
These bars are best enjoyed chilled, so rather than reheating, simply let frozen bars thaw in the refrigerator overnight. If you’re eager for a softer texture, allow them to sit at room temperature for 15 to 20 minutes before digging in.
FAQs
Can I use crunchy peanut butter instead of creamy?
Absolutely! Using crunchy peanut butter adds an extra layer of texture to the bars, which some people love. Just be mindful that the texture will be more rustic, which complements the smooth chocolate nicely.
Is it necessary to use vegetable oil when melting the chocolate?
Vegetable oil helps the chocolate melt smoothly and creates a shiny finish. However, you can omit it if you prefer; just be sure to melt the chocolate gently to avoid seizing or burning.
Can I substitute graham cracker crumbs with something else?
Yes, crushed digestive biscuits or vanilla wafer crumbs can work as a substitute, providing a similar crumbly base. Just make sure to use a crumb with a mild flavor so it doesn’t overpower the peanut butter.
How long do these bars need to chill?
Chilling for a minimum of 2 hours is essential for the chocolate to set firmly and for the bars to slice cleanly. Longer chilling won’t hurt; in fact, overnight chilling often makes for even better texture and flavor melding.
Are these bars gluten-free?
Traditional graham cracker crumbs contain gluten, so these bars are not gluten-free as written. To make this recipe gluten-free, substitute the graham cracker crumbs with a gluten-free alternative like gluten-free cookie crumbs.
Final Thoughts
This No Bake Buckeye Bars Recipe: 6 Simple Steps to Bliss Recipe has quickly become a favorite in my kitchen because of how effortlessly it combines familiar flavors with a satisfying texture, all without heating up the oven. I encourage you to try it out, whether for a casual snack or a crowd-pleasing dessert—once you taste these bars, they’re sure to become a staple in your recipe collection too!
Print
No Bake Buckeye Bars Recipe: 6 Simple Steps to Bliss Recipe
- Prep Time: 15 minutes
- Cook Time: 0 minutes
- Total Time: 2 hours 15 minutes
- Yield: 24 servings
- Category: Dessert
- Method: No-Cook
- Cuisine: American
Description
These no-bake buckeye bars are a delicious and easy-to-make treat combining creamy peanut butter, buttery graham crackers, and a smooth chocolate topping. Perfect for satisfying your sweet tooth without turning on the oven, they set quickly in the refrigerator for a rich and fudgy dessert that melts in your mouth.
Ingredients
Peanut Butter Layer
- 1 cup creamy peanut butter
- 1/2 cup unsalted butter, softened
- 1 cup powdered sugar
- 2 cups graham cracker crumbs
Chocolate Topping
- 2 cups semi-sweet chocolate chips
- 1 tablespoon vegetable oil
Instructions
- Mix Peanut Butter and Butter: In a mixing bowl, combine the creamy peanut butter and softened unsalted butter until the mixture is smooth and creamy, ensuring even blending.
- Add Sugar and Crumbs: Stir in powdered sugar and graham cracker crumbs, mixing thoroughly until well combined into a thick, dough-like consistency.
- Press into Pan: Line a 9×13 inch baking dish with parchment paper or foil, then press the peanut butter mixture evenly into the bottom to form a flat base layer.
- Melt Chocolate and Oil: In a microwave-safe bowl, melt the semi-sweet chocolate chips together with the vegetable oil in short intervals, stirring in between until fully smooth and glossy.
- Pour Chocolate Over Base: Pour the melted chocolate mixture evenly over the peanut butter base, spreading it gently with a spatula to cover the surface.
- Refrigerate to Set: Place the baking dish in the refrigerator and chill for at least 2 hours, or until the chocolate topping is firm and set to the touch.
- Serve: After chilling, cut into 24 bars and serve chilled for a cool, creamy dessert treat.
Notes
- Make sure to soften the butter to room temperature for easier mixing with peanut butter.
- You can substitute semi-sweet chocolate chips with dark or milk chocolate according to preference.
- If you don’t have graham cracker crumbs, crush graham crackers finely in a food processor or by hand.
- Store bars in an airtight container in the refrigerator for up to 5 days.
- For a firmer texture, chill the bars overnight.


