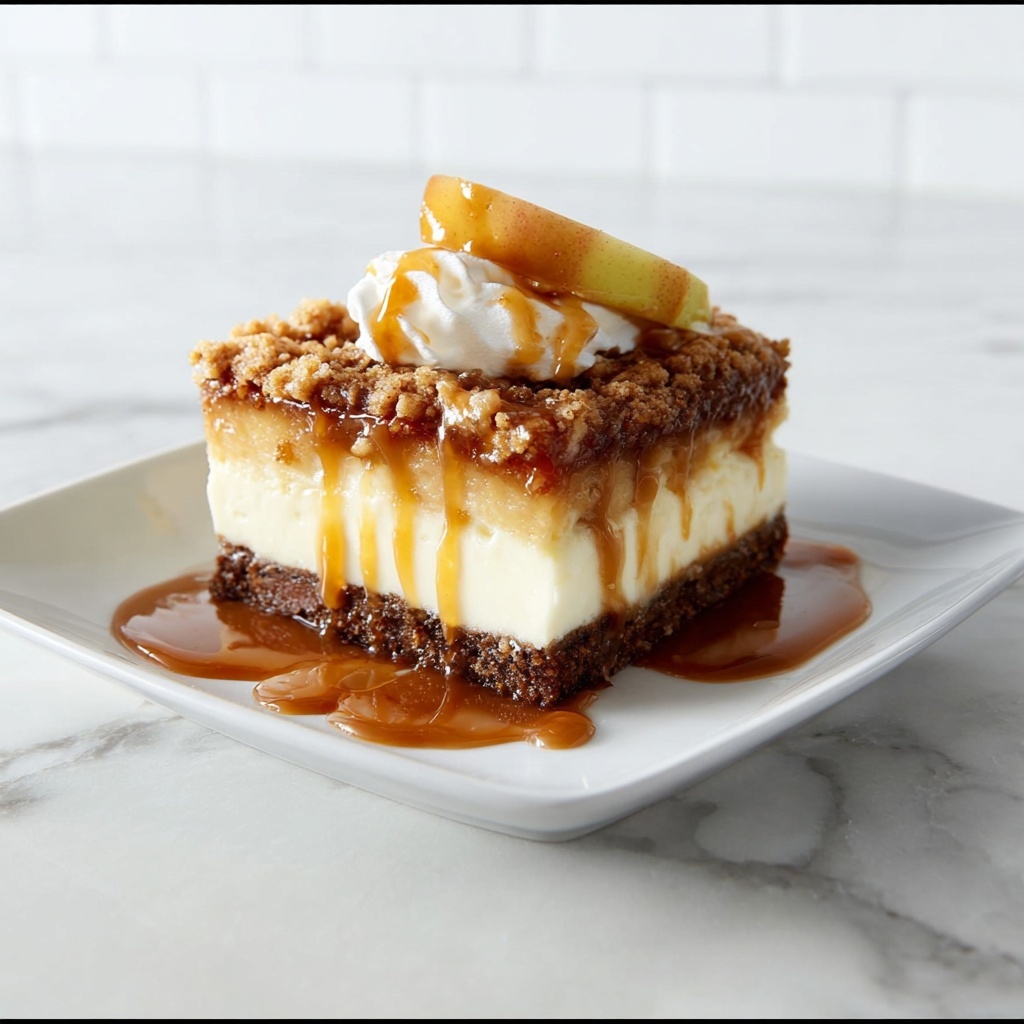
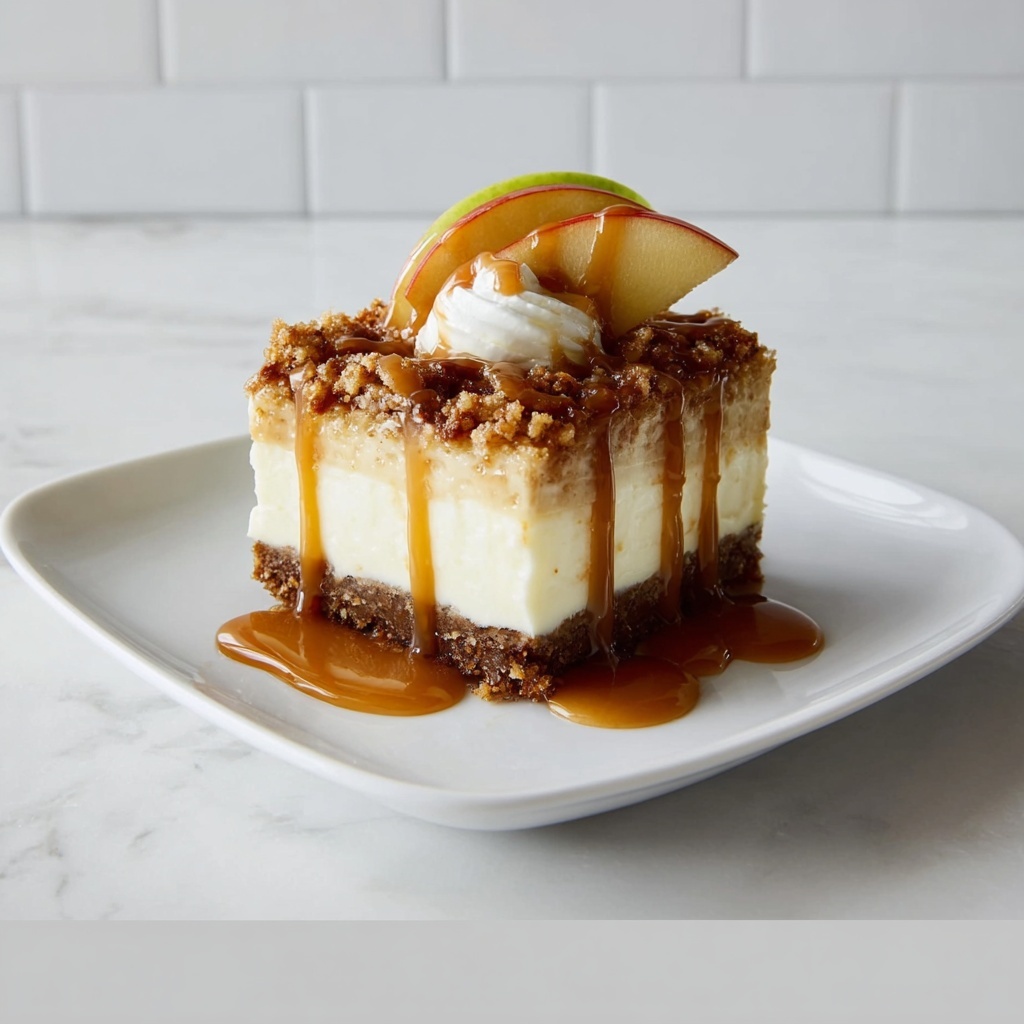
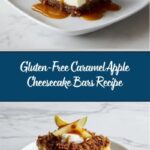
If you’re on the lookout for a dessert that’s both indulgent and friendly to gluten-sensitive friends and family, this Gluten-Free Caramel Apple Cheesecake Bars Recipe is your new best friend. Imagine the perfect balance of tart apples, creamy cheesecake, and a buttery oat topping all wrapped up in a gluten-free crust. Each bite offers a cozy hug of fall flavors and a satisfying texture that comes together spectacularly with a drizzle of caramel sauce. Whether it’s a holiday treat or a weekend bake to impress, these bars deliver comfort and celebration in every serving.
Ingredients You’ll Need
Every ingredient here plays a starring role in creating the magic behind these bars. From the tangy cream cheese to the crisp apples and the sweet caramel finish, each component works in harmony to create layers bursting with flavor and texture.
- Gluten-free all-purpose flour: The essential base that gives structure to the crust and topping without any gluten worries.
- Granulated and brown sugars: These provide sweetness and a rich depth of caramel-like flavor that enhances both the crust and filling.
- Unsalted butter: Adds richness and a perfectly tender crumb in every bite.
- Cream cheese: The star of the cheesecake layer, lending a smooth and creamy texture.
- Eggs: Bind the cheesecake together for that classic silky finish.
- Vanilla extract: Adds a warm, aromatic note to brighten the cheesecake layer.
- Fresh apples: The heart of the bars with their juicy sweetness and a touch of tartness.
- Cinnamon: Infuses the apples and topping with a cozy spice that perfectly complements the caramel.
- Old-fashioned oats: Bring a satisfying chewiness and nutty flavor to the crumbly topping.
- Baking powder: A touch of leavening to lighten the topping’s texture.
- Salt: Enhances all the flavors, keeping the sweetness balanced.
How to Make Gluten-Free Caramel Apple Cheesecake Bars Recipe
Step 1: Prepare the Crust
Start by creaming together the softened butter, granulated sugar, and brown sugar until the mixture is smooth and slightly fluffy. This step is key to ensuring the crust ends up tender yet crisp. Gradually mix in the gluten-free flour and salt until you get a crumbly dough. Press this evenly into a greased 9×13 inch pan. Bake it until it just develops a light golden color, about 10 to 15 minutes—this will create a sturdy but tender base for your bars.
Step 2: Make the Cheesecake Filling
While the crust is cooling, beat the softened cream cheese until it’s perfectly smooth and creamy. Then add the granulated sugar, eggs, and vanilla extract. Beat everything together until fully incorporated and luscious. This rich cheesecake layer will add a velvety contrast to the crisp apple topping.
Step 3: Prepare the Apple Layer
Toss the chopped apples with sugar and cinnamon to coat them evenly. This simple mixture brings out the natural sweetness and adds that signature warmth from the spice, infusing every bite with classic comfort.
Step 4: Make the Oat Topping
Combine the oats, gluten-free flour, brown sugar, baking powder, salt, and cinnamon in a bowl. Cut in chilled butter until you get a lovely crumbly texture. This topping will crisp up beautifully in the oven, adding a satisfying crunch to the bars.
Step 5: Assemble and Bake
Pour the cheesecake filling over the baked crust, smoothing it out as evenly as possible. Layer the cinnamon-coated apples over the cheesecake, then generously sprinkle the oat topping on top. Bake again at 350°F (175°C) for 30 to 35 minutes until the filling is set and the top is lightly golden. Allow the bars to cool completely before refrigerating for at least 3 to 4 hours to firm up—the patience will be so worth it!
How to Serve Gluten-Free Caramel Apple Cheesecake Bars Recipe
Garnishes
To elevate these bars from delicious to truly show-stopping, drizzle warm caramel sauce over each slice just before serving. A sprinkle of chopped toasted pecans or a dollop of whipped cream also adds delightful texture and richness that pairs beautifully with the flavors.
Side Dishes
Serve these cheesecake bars alongside a scoop of vanilla bean ice cream or a cup of rich coffee or spiced chai tea. The creamy ice cream highlights the cheesecake’s smoothness while the warm spices in tea or coffee complement the cinnamon and caramel.
Creative Ways to Present
For a stunning dessert platter, stack the bars in a rustic pyramid, dust them lightly with powdered sugar, or serve them in individual mini mason jars layered with caramel and whipped cream. These thoughtful touches invite guests to savor the dessert visually and deliciously.
Make Ahead and Storage
Storing Leftovers
Once cooled and refrigerated, cover the bars tightly with plastic wrap or store them in an airtight container. They will keep beautifully in the fridge for up to 4 days, making them perfect for prep ahead or enjoying over several days without losing their charm.
Freezing
If you want to enjoy these bars later, freeze them in a single layer on a baking sheet before transferring to an airtight container or freezer bag. They can be frozen for up to 2 months. Thaw overnight in the refrigerator before serving to maintain their texture and flavor.
Reheating
These bars are equally delightful served chilled or slightly warmed. To reheat, place them in a warm oven at 300°F (150°C) for about 10 minutes or until just warmed through. This brings out the caramel notes and softens the oat topping without losing the cheesecake’s creamy texture.
FAQs
Can I use different types of apples for this recipe?
Absolutely! Granny Smith apples work well for their tartness and hold up beautifully during baking, but you can also use Fuji, Honeycrisp, or Gala for a sweeter, softer bite. Feel free to mix varieties for a more complex flavor.
Is there a dairy-free option for the cream cheese?
Yes, you can substitute with a high-quality dairy-free cream cheese alternative. Just be sure it is softened and creamy to achieve that smooth cheesecake layer. The texture and flavor might vary slightly but will still be delicious.
Can I make this recipe nut-free?
This recipe is naturally nut-free, but if you want to add nuts as a garnish, just be mindful of allergies among your guests. Oats and the crumbly topping provide enough crunch on their own for a nut-free treat.
How long do these bars last once baked?
When properly refrigerated in an airtight container, these gluten-free caramel apple cheesecake bars stay fresh and tasty for up to 4 days. Beyond that, freezing is your best option for longer storage.
Can I double the recipe for a larger batch?
Definitely! Just make sure you use two pans of the right size to ensure even baking. Keep an eye on baking times, as they might vary slightly with larger quantities, but the results will be equally fantastic.
Final Thoughts
This Gluten-Free Caramel Apple Cheesecake Bars Recipe has quickly become one of my go-to desserts whenever I want to impress guests or treat myself to something truly special. It’s that perfect balance of creamy, fruity, and crumbly textures with a hint of cozy spice that simply can’t be beat. Give it a try—you’re going to fall in love, bite after bite, just like I did!
Print
Gluten-Free Caramel Apple Cheesecake Bars Recipe
- Prep Time: 20 minutes
- Cook Time: 45 minutes
- Total Time: 1 hour 5 minutes plus 3–4 hours chilling
- Yield: 14 servings
- Category: Dessert
- Method: Baking
- Cuisine: American
- Diet: Gluten Free
Description
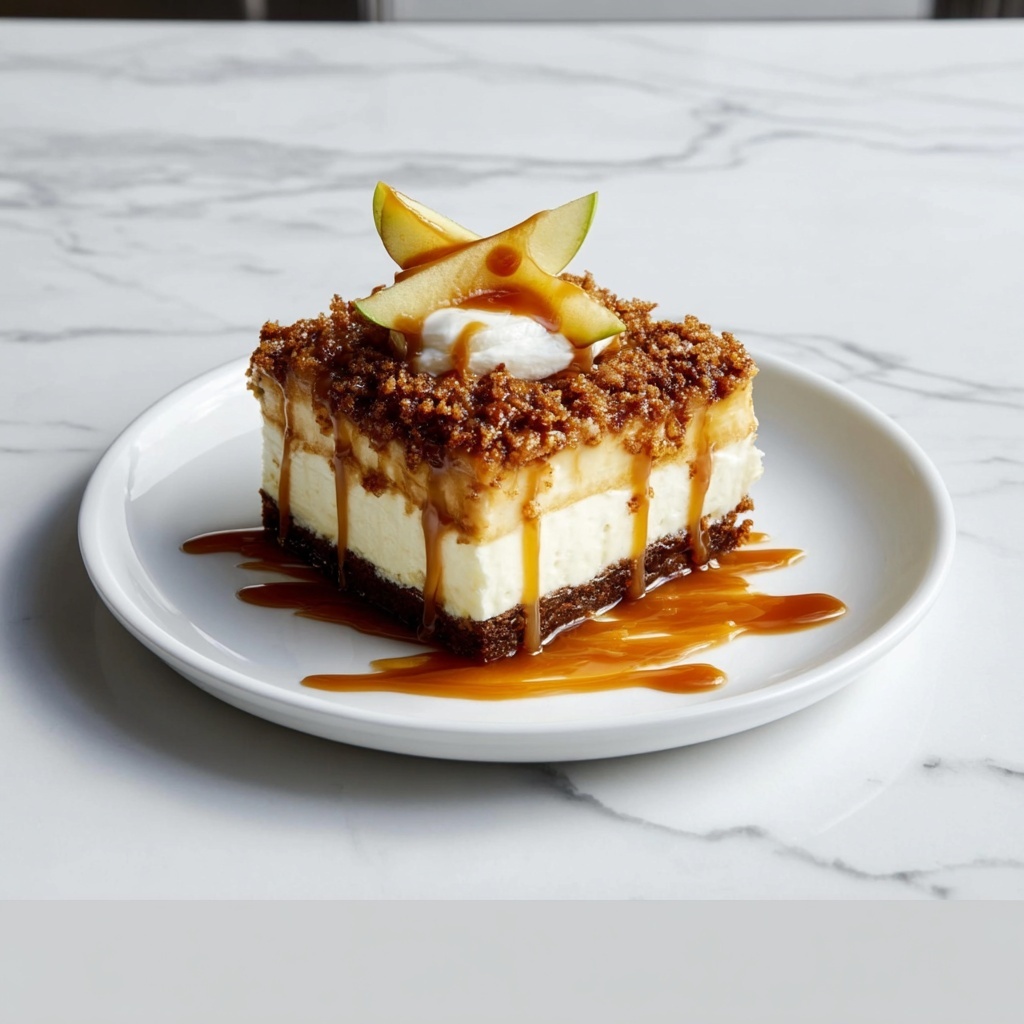
These Gluten Free Caramel Apple Cheesecake Bars combine a buttery crust, creamy cheesecake filling, spiced apple layer, and a crunchy oat topping for a delightful dessert perfect for fall or any occasion. Baked to golden perfection and chilled for creamy texture, they are drizzled with caramel sauce for an irresistible finish.
Ingredients
Crust
- 2 cup all-purpose flour
- ½ cup granulated sugar
- ½ cup brown sugar
- 1 cup unsalted butter
- ¼ tsp salt
Cheesecake Filling
- 16 oz cream cheese, softened
- ½ cup granulated sugar
- 2 large eggs
- 2 tsp vanilla extract
Apple Layer
- 2 cup apples, diced
- 2 tbsp granulated sugar
- 1 tsp ground cinnamon
Topping
- 1 cup old-fashioned oats
- 1 cup all-purpose flour
- ½ cup brown sugar
- ½ tsp baking powder
- ½ tsp ground cinnamon
- ½ cup unsalted butter, cold
- ¼ tsp salt
For Serving
- Caramel sauce for drizzling
Instructions
- Prepare the crust: In a bowl, cream together the softened butter, granulated sugar, and brown sugar until smooth. Mix in the flour and salt until just combined; the mixture will be crumbly. Press the crust evenly into a greased 9×13 inch pan and bake for 10–15 minutes, or until lightly golden.
- Make the cheesecake filling: Beat the softened cream cheese in a bowl until smooth and creamy. Add the granulated sugar, eggs, and vanilla extract, mixing well until fully incorporated.
- Prepare the apple layer: Toss the diced apples with granulated sugar and ground cinnamon to evenly coat them.
- Make the topping: In another bowl, combine oats, all-purpose flour, brown sugar, baking powder, ground cinnamon, and salt. Cut in the cold butter until the mixture becomes crumbly and resembles coarse crumbs.
- Assemble the bars: Pour the cheesecake filling over the pre-baked crust and spread evenly. Layer the spiced apples on top of the cheesecake filling. Sprinkle the oat topping evenly over the apples.
- Bake: Bake the assembled bars in a preheated oven at 350°F (175°C) for 30–35 minutes, or until the filling is set and the topping is lightly golden brown.
- Cool and chill: Allow the bars to cool completely at room temperature. Then refrigerate them for at least 3 to 4 hours, which helps them set properly before cutting.
- Serve: Cut the chilled bars into squares and drizzle with caramel sauce before serving for an extra indulgent touch.
Notes
- Ensure cream cheese is softened to room temperature for a smooth filling.
- Use firm apples like Granny Smith or Honeycrisp for best texture and flavor.
- Chilling the bars helps them firm up and makes them easier to cut cleanly.
- Store bars refrigerated in an airtight container for up to 4 days.
- For gluten-free variation, substitute the all-purpose flour with a gluten-free flour blend.
- Low heat baking step for crust prevents overbrowning before adding creamy filling and topping.