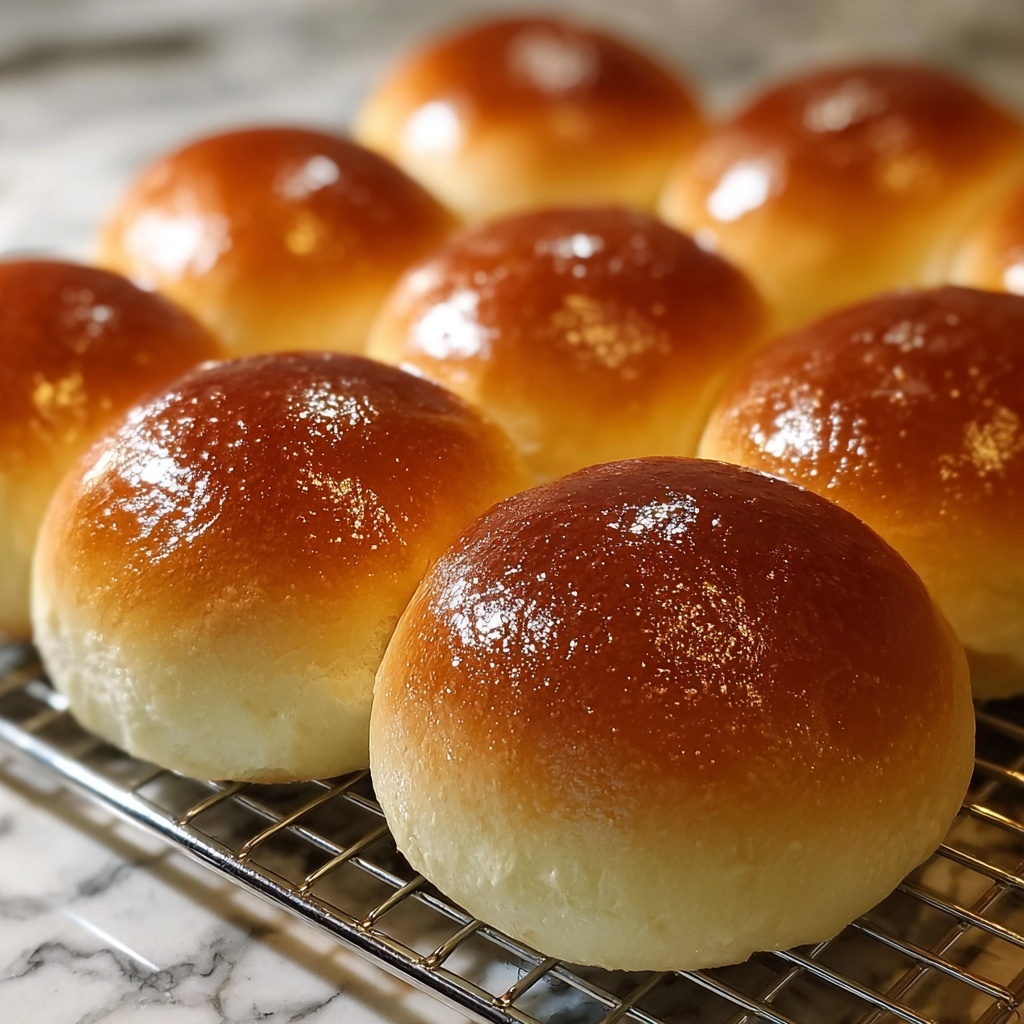
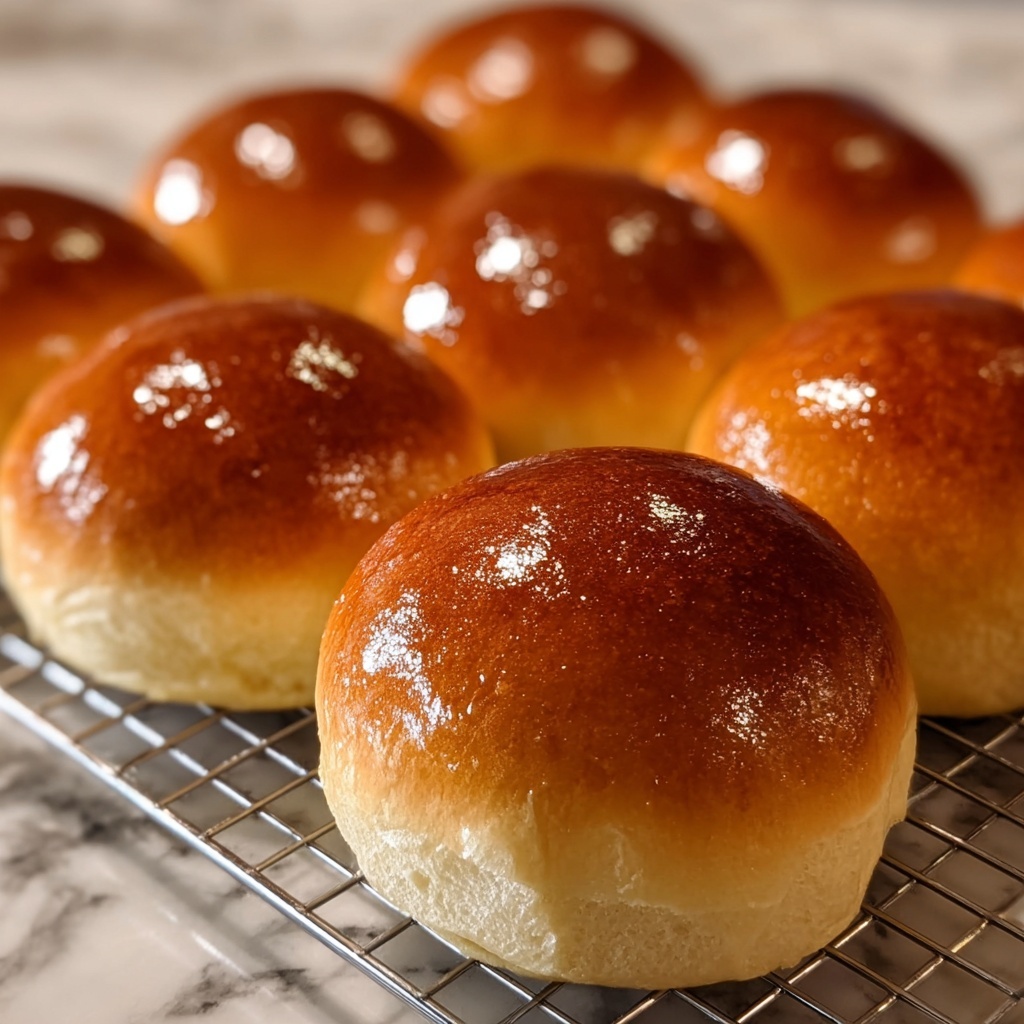
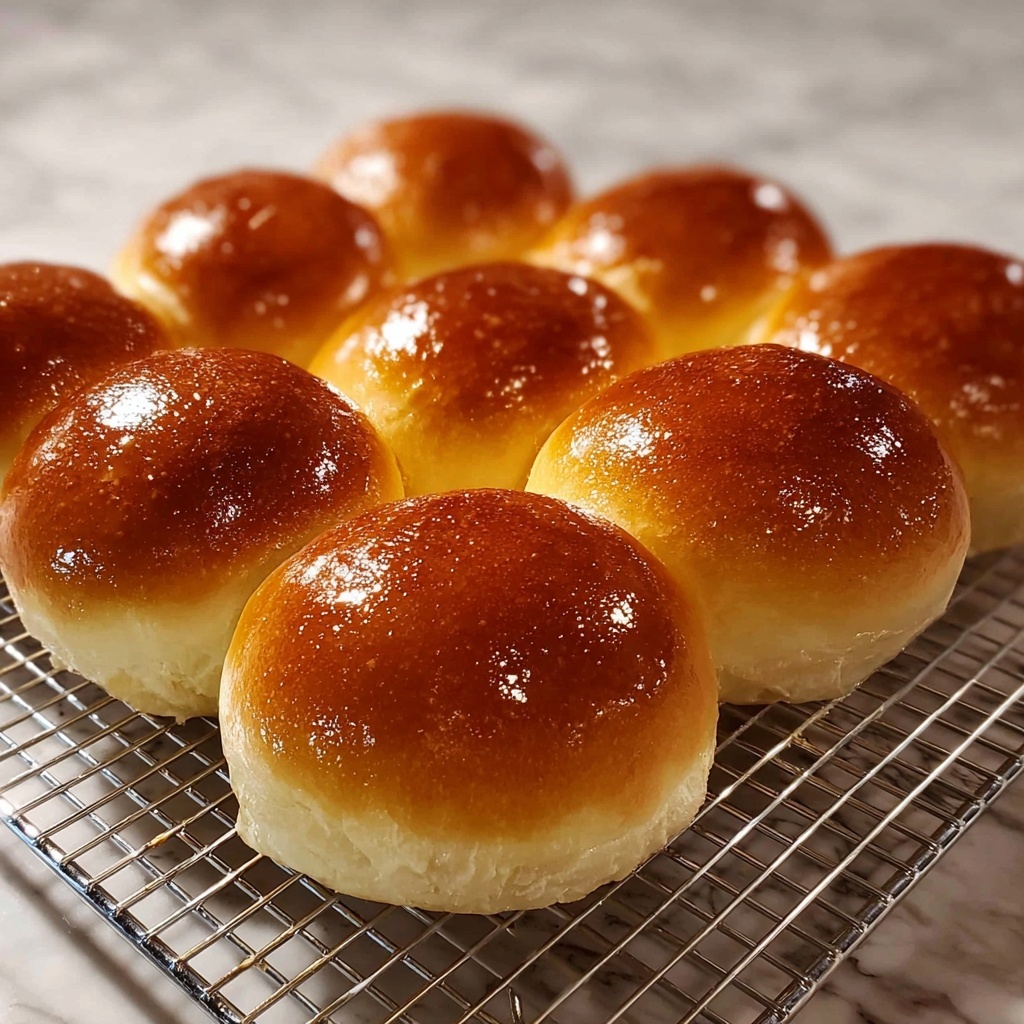
If you want to elevate your homemade sandwiches, burgers, or brunch spreads, mastering the art of the Homemade Brioche Buns Recipe is an absolute game changer. These buns are soft, buttery, and slightly sweet, offering a rich texture that melts in your mouth and adds that special touch to any meal. With just a handful of simple ingredients and a bit of patience, you can create bakery-quality brioche buns right in your own kitchen. Trust me, once you try this Homemade Brioche Buns Recipe, you’ll never want to go back to store-bought breads again.
Ingredients You’ll Need
The magic of this recipe lies in its simplicity. Each ingredient plays a key role: the flour provides structure, the eggs enrich and tenderize, and the butter gives it that signature richness and golden color. Let’s take a closer look at what you’ll need to craft these delightful buns.
- All-purpose flour: 500 grams (4 cups) – the foundational ingredient that creates the dough’s perfect texture.
- Unsalted butter: 100 grams (7 tablespoons), softened – adds incredible richness and a delicate crumb.
- Eggs: 3 large – enhance the dough’s color, flavor, and moisture.
- Milk: 250 milliliters (1 cup), warm – helps activate the yeast and keeps the dough tender.
- Sugar: 50 grams (1/4 cup) – balances the buttery flavor with just the right amount of sweetness.
- Yeast: 10 grams (2 teaspoons) active dry yeast – the secret agent that makes your dough rise beautifully.
- Salt: 10 grams (1 teaspoon) – enhances all the flavors and controls yeast fermentation.
How to Make Homemade Brioche Buns Recipe
Step 1: Activate the yeast
Start by mixing your warm milk with sugar and sprinkling the active dry yeast on top. Let it sit for about 5 to 10 minutes until the surface is frothy and bubbly. This shows your yeast is alive and kicking, ready to make your dough rise beautifully.
Step 2: Combine dry ingredients and mix
In a large bowl, whisk together the all-purpose flour and salt. Make a well in the center where you’ll pour in the yeast mixture, softened butter, and eggs. Mix everything until a shaggy dough begins to form – don’t worry if it looks rough at this stage.
Step 3: Knead the dough
Turn your dough out onto a lightly floured surface and knead it for about 10 minutes. This step develops the gluten, giving the buns their perfect chew and elasticity. Keep going until the dough is smooth and bounces back when pressed.
Step 4: First rise
Place your dough in a greased bowl and cover it with a clean kitchen towel or plastic wrap. Leave it in a warm spot for 1 to 2 hours, until it has doubled in size. This is where the magic happens; watch your dough transform from dense to airy and pillowy.
Step 5: Shape the buns
Gently punch down the dough to release excess air, then divide it into 8 even pieces. Shape each piece into a smooth ball by tucking edges underneath and rolling against your palm. Lay the buns on a parchment-lined baking sheet, giving them enough room to grow.
Step 6: Second rise
Cover the shaped buns and let them rise again for 30 to 45 minutes until they look puffed and almost doubled. This final proof ensures your buns will be ultra fluffy once baked.
Step 7: Bake to perfection
Preheat your oven to 190°C (375°F). For an extra glossy finish, brush the tops of the buns lightly with a beaten egg. Bake for 15 to 20 minutes until they’re golden brown and sound hollow when tapped. Your kitchen will smell heavenly!
Step 8: Cooling
Remove the buns from the oven and transfer them to a wire rack to cool. This stops the cooking process and keeps their texture light and tender. Now your homemade brioche buns are ready to be enjoyed!
How to Serve Homemade Brioche Buns Recipe
Garnishes
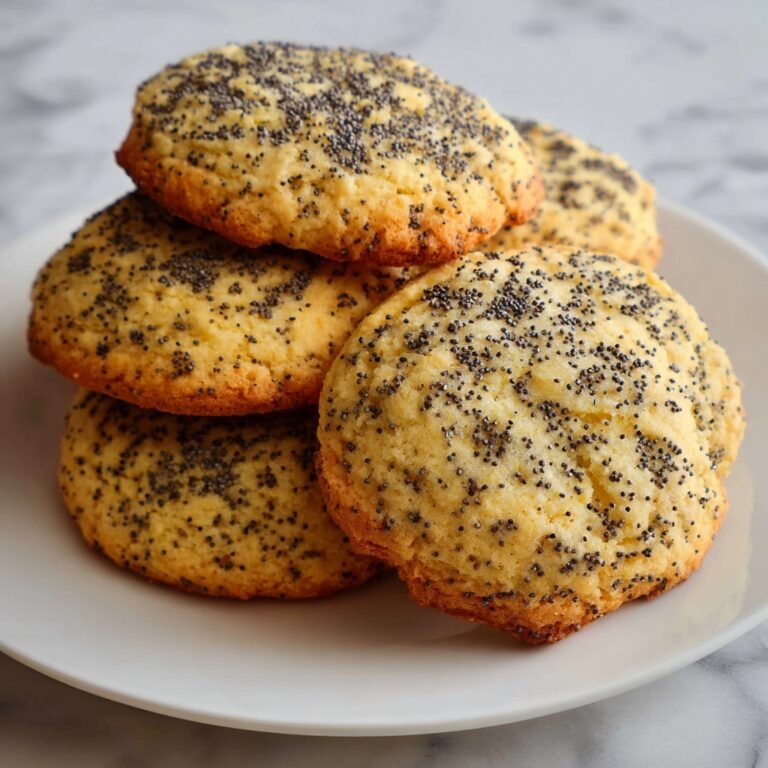
Brushing the tops with a simple egg wash before baking gives that irresistible shiny glaze, but you can also experiment by sprinkling sesame seeds or poppy seeds to add visual appeal and a subtle crunch. Fresh herbs, like rosemary or thyme, can be lightly pressed onto the dough before baking for a lovely aromatic twist.
Side Dishes
Brioche buns shine brightest when paired with equally delicious sides. Think creamy coleslaw, crispy sweet potato fries, or a vibrant salad with a tangy vinaigrette. These sides complement the rich, buttery flavor of the buns and create a well-rounded, satisfying meal.
Creative Ways to Present
Elevate your homemade brioche buns by turning them into sliders for a casual gathering, or slice them in half and toast lightly to create the base for gourmet brunch sandwiches with smoked salmon, avocado, and poached egg. You can even use them for decadent desserts by turning them into bread pudding or sweet sandwich creations with nut butters and fresh fruit.
Make Ahead and Storage
Storing Leftovers
Keep your leftovers in an airtight container or resealable plastic bag at room temperature for up to 2 days to maintain softness. Avoid refrigerating as this can dry out the buns quickly, robbing them of their delicate texture.
Freezing
If you want to save your Homemade Brioche Buns Recipe for longer, wrap each cooled bun tightly in plastic wrap and place them in a freezer-safe bag. They’ll keep well for up to 3 months. When ready to enjoy, simply thaw at room temperature or gently warm them in the oven.
Reheating
To bring your buns back to their fresh-from-the-oven glory, reheat them in a preheated oven at 160°C (320°F) for about 5 to 10 minutes. This restores their soft, warm texture without making them tough or dry.
FAQs
Can I use instant yeast instead of active dry yeast?
Absolutely! If you’re substituting instant yeast, use slightly less—about 1 1/2 teaspoons—and mix it directly with the flour. You can skip the activation step since instant yeast works faster, but letting the dough rise properly is still key.
Why are my brioche buns dense and not fluffy?
Brioche buns turn out dense usually because the dough hasn’t risen enough, or the dough was over-kneaded. Make sure to give the dough enough time to double in size during both rises and knead until smooth but not excessively.
Can I make this dough by hand without a stand mixer?
Definitely. Kneading by hand is perfectly fine, though it requires a bit more elbow grease and time. Just mix everything in a bowl and knead on a floured surface as described until you get a smooth, elastic dough.
Are brioche buns suitable for burgers?
Yes! Their soft, buttery texture makes them ideal for burgers because they hold fillings well without getting soggy, and their slight sweetness complements savory ingredients wonderfully.
Can I add toppings to the buns before baking?
Yes, toppings like sesame seeds, poppy seeds, or even flaky sea salt add a lovely finishing touch. Apply them right after brushing the buns with egg wash for the best adhesion and a beautiful appearance.
Final Thoughts
Making your own brioche buns may seem like a project, but with this Homemade Brioche Buns Recipe, it’s a straightforward and incredibly rewarding experience. These buns are the perfect balance of buttery richness and soft fluffiness that will instantly upgrade any meal. Once you taste the fresh, homemade goodness, you’ll wonder how you ever lived without them. Give this recipe a try and watch your kitchen fill with the comforting aroma of baked perfection!
Print
Homemade Brioche Buns Recipe
- Prep Time: 20 minutes
- Cook Time: 20 minutes
- Total Time: 2 hours 50 minutes
- Yield: 8 brioche buns
- Category: Bakery
- Method: Baking
- Cuisine: French
Description
This classic brioche buns recipe yields soft, buttery, and slightly sweet bread rolls perfect for sandwiches or burgers. Made with enriched dough, these buns are fluffy and golden with a tender crumb, ideal for elevating any meal or snack.
Ingredients
Dry Ingredients
- 500 grams (4 cups) all-purpose flour
- 50 grams (1/4 cup) sugar
- 10 grams (1 teaspoon) salt
- 10 grams (2 teaspoons) active dry yeast
Wet Ingredients
- 250 milliliters (1 cup) warm milk
- 100 grams (7 tablespoons) unsalted butter, softened
- 3 large eggs
Instructions
- Activate the yeast: Mix the warm milk with sugar, then sprinkle the active dry yeast on top. Let it rest for 5-10 minutes until the mixture becomes frothy, indicating the yeast is alive and active.
- Combine ingredients: In a large bowl, whisk together the all-purpose flour and salt. Create a well in the center and pour in the yeast mixture, softened butter, and eggs. Stir until a rough, shaggy dough forms.
- Knead the dough: Turn the dough out onto a floured surface and knead for about 10 minutes until it becomes smooth, elastic, and slightly tacky but not sticky.
- First rise: Place the dough in a greased bowl, cover it with a damp cloth or plastic wrap, and let it rise in a warm environment for 1 to 2 hours until it has doubled in size.
- Shape the buns: Gently punch down the risen dough to release air. Divide it into 8 equal portions. Shape each portion into a smooth ball and arrange them on a baking sheet lined with parchment paper, spaced apart.
- Second rise: Cover the shaped buns loosely and allow them to proof for 30-45 minutes until they have puffed up and nearly doubled again in size.
- Prepare for baking: Preheat your oven to 190°C (375°F). Optionally, brush the tops of the buns with a beaten egg to give them a shiny, golden crust.
- Bake: Bake the buns in the preheated oven for 15-20 minutes until the tops are golden brown and the buns sound hollow when gently tapped.
- Cool: Remove the buns from the oven and transfer them to a wire rack. Let them cool completely before slicing or serving.
Notes
- Ensure the milk is warm, not hot, to avoid killing the yeast.
- For an extra buttery flavor, you can brush the buns with melted butter right after baking.
- Use a kitchen thermometer to check the oven temperature for consistent baking results.
- You can freeze the baked buns in an airtight container for up to 1 month; thaw before serving.
- If you prefer a richer bun, substitute one egg yolk for a whole egg in the dough.


