
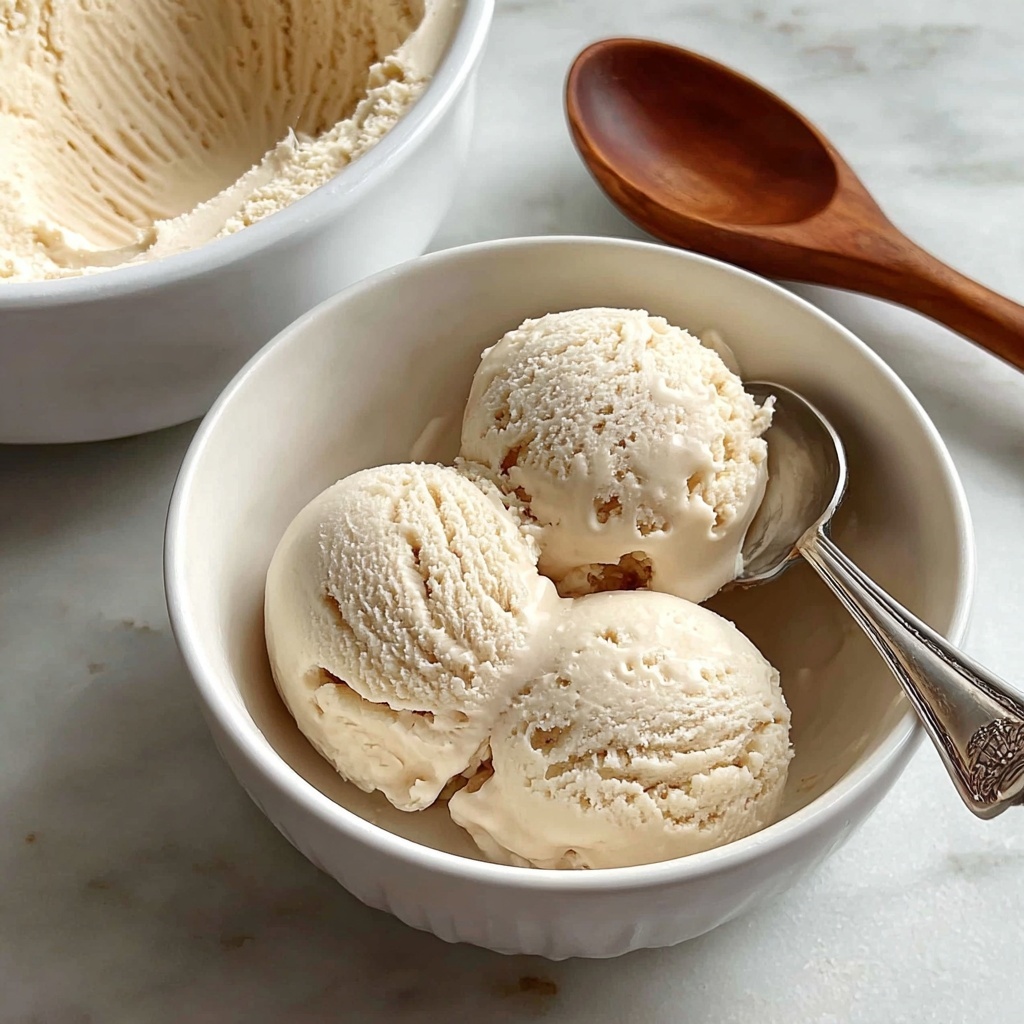
If you have ever found yourself craving a rich, creamy dessert that’s completely free of dairy yet bursting with flavor, then this Vanilla Vegan Ice Cream Recipe is about to become your new best friend. Crafted with simple ingredients like full fat coconut milk and pure vanilla extract, this recipe delivers that nostalgic ice cream joy in a luscious, plant-based form. It’s indulgent, smooth, and surprisingly easy to make at home, making it an absolute must-try whether you’re vegan, lactose intolerant, or just eager to enjoy a fresh twist on a classic treat.
Ingredients You’ll Need
These ingredients may be few, but each one plays a crucial role in creating the perfect texture and flavor for your vegan ice cream. Their quality and balance come together to give you that smooth, creamy dessert that feels so effortless yet tastes so luxurious.
- Full fat coconut milk (2 cans): The creamy base that provides richness and a naturally smooth texture.
- Granulated sugar (3/4 cup): Sweetens the ice cream perfectly while aiding in the freezing process.
- Cornstarch (2 tablespoons): Acts as a thickening agent to create that luscious mouthfeel.
- Pure vanilla extract (1 tablespoon): Gives the ice cream its warm, inviting vanilla aroma and depth.
- Salt (1/4 teaspoon): Enhances all the flavors and balances the sweetness.
How to Make Vanilla Vegan Ice Cream Recipe
Step 1: Prepare the Cornstarch Slurry
First things first, shake the cans of coconut milk thoroughly to redistribute the natural fats. Then take 1/2 cup of the milk and whisk it with the cornstarch until the mixture is completely smooth. This step ensures your thickener dissolves evenly, preventing any lumps and giving the ice cream a velvety texture.
Step 2: Heat the Coconut Milk Mixture
In a medium saucepan over medium heat, combine the remaining coconut milk, sugar, and salt. Stir frequently to dissolve the sugar fully and warm the mixture gently. Avoid boiling to keep the flavors delicate and to prevent any curdling.
Step 3: Thicken the Ice Cream Base
Slowly whisk the cornstarch slurry into the hot coconut milk mixture. Keep stirring constantly for 3 to 5 minutes until you notice the mixture has thickened slightly and coats the back of a spoon – this signals your base is almost ready to transform into ice cream perfection.
Step 4: Add Vanilla and Chill
Remove the saucepan from heat and stir in the fragrant vanilla extract to infuse the entire mixture with that classic vanilla sweetness. Let it cool completely to room temperature, then cover and chill in the refrigerator for at least 4 hours. This chilling step is key to achieving the right consistency when churning.
Step 5: Churn and Freeze
Pour the chilled mixture into your ice cream maker and churn according to the manufacturer’s instructions – generally about 20 to 25 minutes until thick and creamy. Transfer the freshly churned ice cream into a freezer-safe container and freeze for 2 to 4 hours before serving. If you don’t have an ice cream maker, simply freeze in a shallow container, stirring vigorously every 30 minutes for 3 to 4 hours to prevent ice crystals from forming.
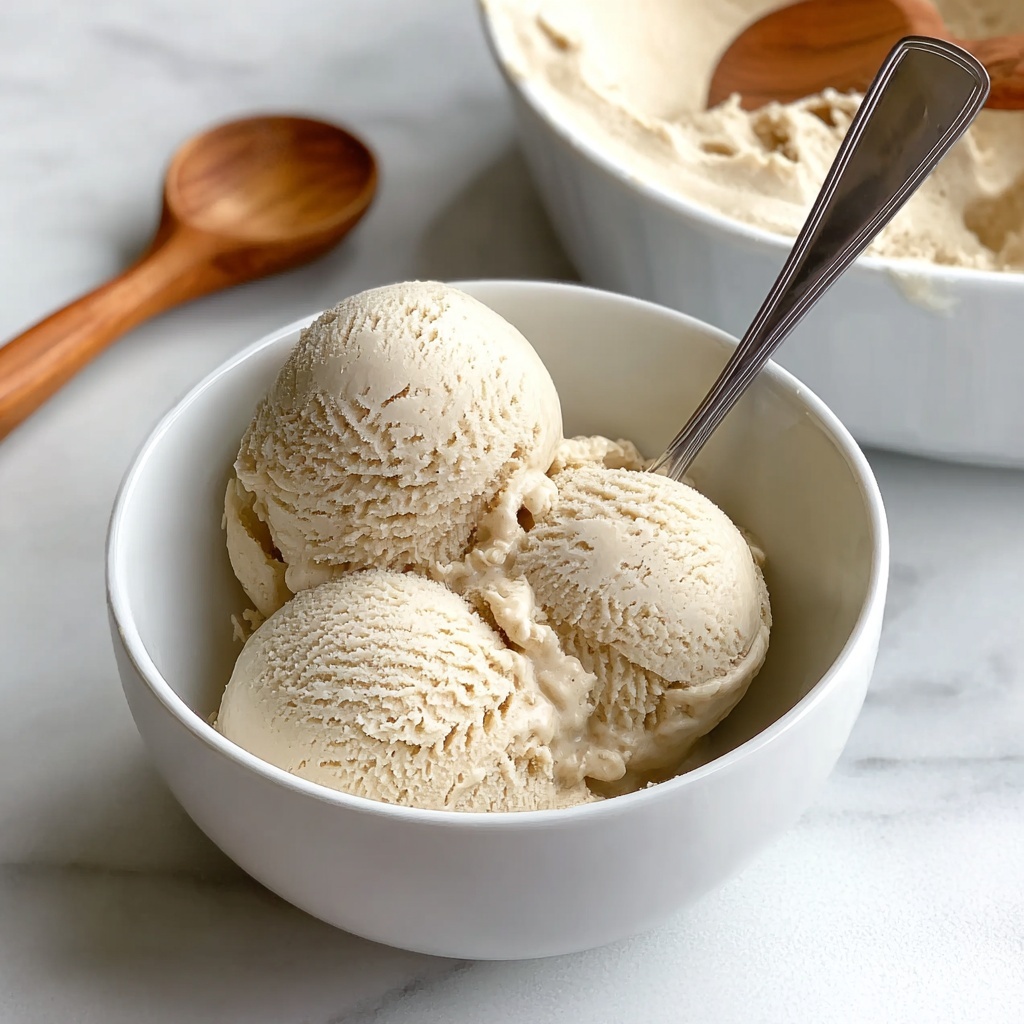
How to Serve Vanilla Vegan Ice Cream Recipe
Garnishes
The beauty of this Vanilla Vegan Ice Cream Recipe is how well it pairs with simple, natural toppings. Sprinkle toasted coconut flakes or chopped nuts over the scoops for added crunch, or drizzle with dairy-free chocolate syrup or fresh fruit compotes to complement the creamy vanilla base with bursts of flavor.
Side Dishes
This plant-based ice cream is a match made in heaven with warm vegan baked goods like apple crisps, brownies, or freshly baked cookies. The temperature and texture contrast create an irresistible combination that will have everyone coming back for seconds.
Creative Ways to Present
For a fun twist, serve your vanilla vegan ice cream in waffle cones made from plant-based ingredients or create layered parfaits with fruit and granola. You can also add mix-ins like dairy-free chocolate chips or crushed cookies during the last few minutes of churning to personalize every batch.
Make Ahead and Storage
Storing Leftovers
Any leftover ice cream should be kept in an airtight freezer-safe container to maintain its creaminess and prevent freezer burn. For best texture, consume within 1 week.
Freezing
When freezing your vegan ice cream, make sure it’s completely sealed and stored in the coldest part of your freezer. This will keep those luscious flavors intact and the texture smooth and creamy.
Reheating
If your ice cream hardens too much in the freezer, simply let it sit at room temperature for 5 to 10 minutes before scooping. This slight softening helps it reach the perfect creamy consistency again without losing any flavor.
FAQs
Can I use a different milk instead of coconut milk?
Coconut milk is key here because of its high fat content, which provides the creaminess that mimics traditional ice cream. Other plant milks like almond or soy tend to be too thin and won’t yield the same luscious texture.
Is cornstarch necessary in this recipe?
Yes, cornstarch helps thicken the ice cream base, resulting in a creamier texture and preventing ice crystals. Without it, the ice cream might be icy and crumbly rather than smooth and rich.
Can I add flavors other than vanilla?
Absolutely! You can mix in cocoa powder, coffee, or fruit purees during the cooking or churning process to create endless variations using this Vanilla Vegan Ice Cream Recipe as your foundational base.
Do I really need an ice cream maker?
An ice cream maker definitely simplifies the process and creates a smoother result, but you can still make delicious vegan ice cream without one using the freeze-and-stir method described above.
How long does it take to make this recipe?
While the prep and cook time are quick, this recipe requires a chilling period of at least 4 hours and additional freezing after churning. Plan for about 4 to 5 hours total before digging in.
Final Thoughts
You truly can’t go wrong with this Vanilla Vegan Ice Cream Recipe. It’s a dessert that’s not only simple to prepare but also incredibly satisfying for anyone craving a creamy, dairy-free treat. I encourage you to try it soon — it’s perfect for sharing with friends or savoring on your own whenever those sweet cravings strike!
Print
Vanilla Vegan Ice Cream Recipe
- Prep Time: 15 minutes
- Cook Time: 5 minutes
- Total Time: 4 hours 20 minutes
- Yield: 6 servings
- Category: Dessert
- Method: Churning
- Cuisine: American
- Diet: Vegan
Description
This rich and creamy Vanilla Vegan Ice Cream is made with full-fat coconut milk, delivering a luscious dairy-free treat that’s both easy to prepare and irresistibly delicious. Sweetened with granulated sugar and infused with pure vanilla extract, this homemade vegan ice cream offers a smooth texture and classic vanilla flavor, perfect for satisfying your dessert cravings without any dairy or eggs.
Ingredients
Ice Cream Base
- 2 cans full fat coconut milk
- 3/4 cup granulated sugar
- 2 tablespoons cornstarch
- 1 tablespoon pure vanilla extract
- 1/4 teaspoon salt
Instructions
- Prepare Cornstarch Slurry: Shake the cans of coconut milk well before opening. Pour 1/2 cup of the coconut milk into a small bowl and whisk with the cornstarch until completely smooth, ensuring no lumps remain.
- Heat the Mixture: In a medium saucepan over medium heat, combine the remaining coconut milk, sugar, and salt. Stir frequently and heat gently until the sugar is fully dissolved and the mixture is hot but not boiling.
- Thicken the Base: Whisk in the cornstarch slurry into the hot mixture, and continue cooking for 3 to 5 minutes, stirring constantly, until the mixture thickens slightly and coats the back of a spoon.
- Add Vanilla and Cool: Remove the saucepan from heat and stir in the vanilla extract. Allow the mixture to cool to room temperature.
- Chill the Mixture: Cover the base and refrigerate for at least 4 hours or until completely chilled for optimal texture during churning.
- Churn the Ice Cream: Pour the chilled mixture into an ice cream maker and churn according to the manufacturer’s instructions, usually 20 to 25 minutes, until it becomes thick and creamy.
- Freeze Until Firm: Transfer the churned ice cream to a freezer-safe container and freeze for 2 to 4 hours, until it firms up enough to scoop.
Notes
- For a smoother texture, blend the base before chilling to ensure full homogenization.
- If you do not have an ice cream maker, pour the chilled mixture into a shallow container and freeze, stirring vigorously every 30 minutes for 3 to 4 hours to break up ice crystals.
- Add mix-ins like dairy-free chocolate chips or crushed cookies during the last few minutes of churning for extra flavor and texture.


