If you crave a luscious, melt-in-your-mouth treat that comes together with astonishing speed, you’ve just found your new favorite with this Ten Minute Microwave Caramels Recipe. These caramels strike the perfect balance of buttery richness, sweet warmth, and chewy satisfaction without needing to stand over a stovetop or pull out complicated candy-making equipment. It’s a straightforward approach that lets you enjoy homemade caramels in just minutes, making them ideal for gifts, parties, or simply savoring a homemade indulgence any day of the week. Believe me, once you try this Ten Minute Microwave Caramels Recipe, you’ll wonder how you ever lived without it!
Ingredients You’ll Need
Simple, pantry-friendly ingredients are all it takes to create these irresistible caramels. Each component plays a crucial role in achieving the perfect texture and flavor that makes this dessert so addictive.
- Butter: Provides the rich, silky base that caramel needs for that smooth mouthfeel.
- Light corn syrup: Helps prevent the sugar from crystallizing, ensuring a creamy consistency.
- Light brown sugar: Adds depth and a subtle molasses note for complex sweetness.
- White sugar: Brings pure, straightforward sweetness, balancing the mix.
- Sweetened condensed milk: Contributes creaminess and body, making each bite decadently soft.
- Vanilla extract: Enhances and rounds out all the flavors with a warm, floral touch.
How to Make Ten Minute Microwave Caramels Recipe
Step 1: Prepare Your Pan
Start by buttering an 8-inch square pan or a 9×5-inch loaf pan if you want thicker caramels. For an even easier removal, consider lining the pan with foil and then buttering the foil, which helps the caramel squares slip out cleanly once they’re set.
Step 2: Melt the Butter
Place the butter in a large microwave-safe bowl and heat it for about a minute until it’s fully melted. This melting step is key because it forms the luscious base that will marry beautifully with the sugars and milk.
Step 3: Mix in the Sugars and Condensed Milk
Stir the corn syrup, light brown sugar, white sugar, and sweetened condensed milk into the melted butter until the sugars start to dissolve. This is the stage where the magic begins, as all those sweet elements combine into a unified mixture.
Step 4: First Microwave Session
Microwave the mixture on high for 3 minutes and 5–15 seconds. Once done, stir the caramel and scrape the sides of the bowl to ensure no crystallized sugar lingers. Returning the mixture to the microwave with a good stir sets the stage for smooth caramels.
Step 5: Second Microwave Session and Add Vanilla
Pop the bowl back in the microwave for another 3 minutes plus 5–15 seconds on high. After this, stir in the vanilla extract fully to diffuse its warm aroma and flavor throughout the caramel mixture.
Step 6: Pour and Spread the Caramel
Immediately pour the hot caramel into your prepared pan. Spread it out evenly so that it will set into a uniform layer—this makes cutting squares a breeze later on.
Step 7: Cool and Cut
Let the caramel sit at room temperature for several hours to cool and firm up. Once it’s fully set and slightly firm to the touch, slice it into squares and wrap each piece in waxed paper. These little treasures are now ready to enjoy or gift!
How to Serve Ten Minute Microwave Caramels Recipe
Garnishes
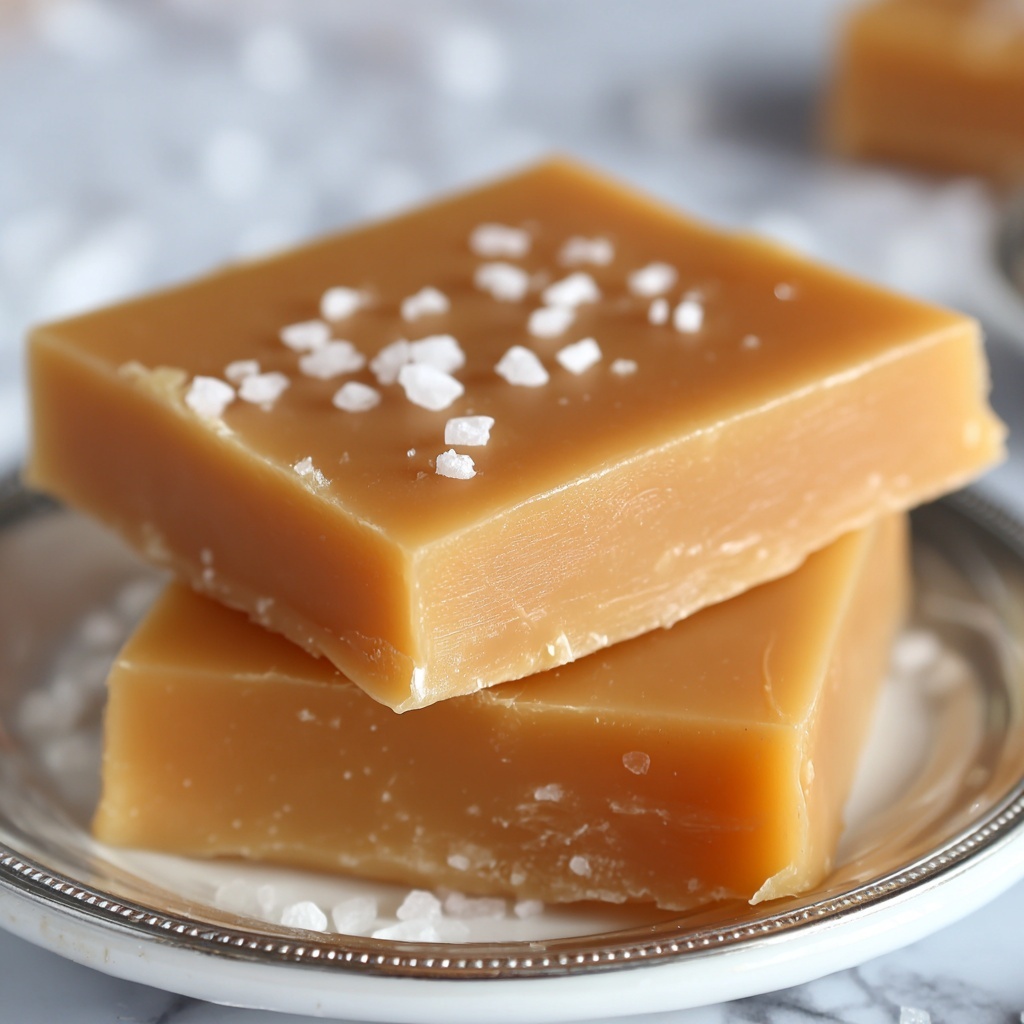
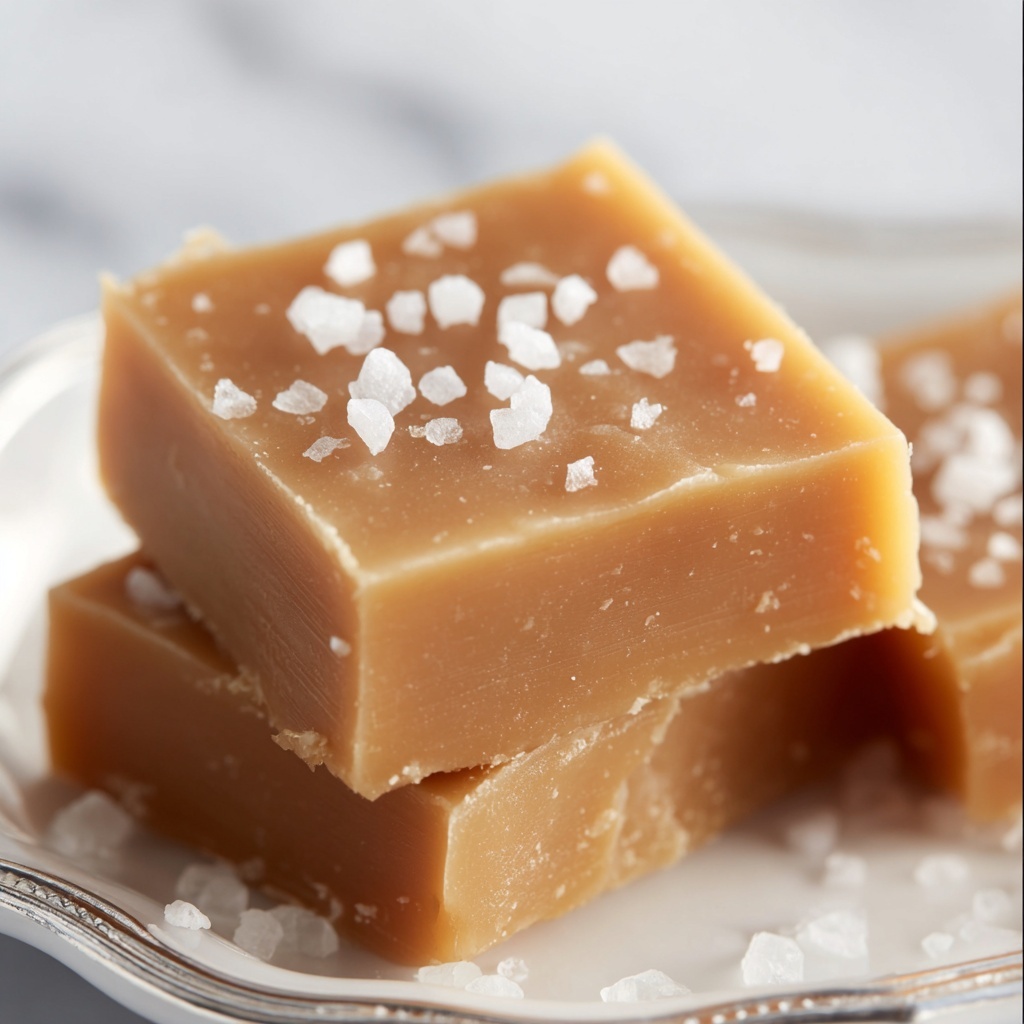
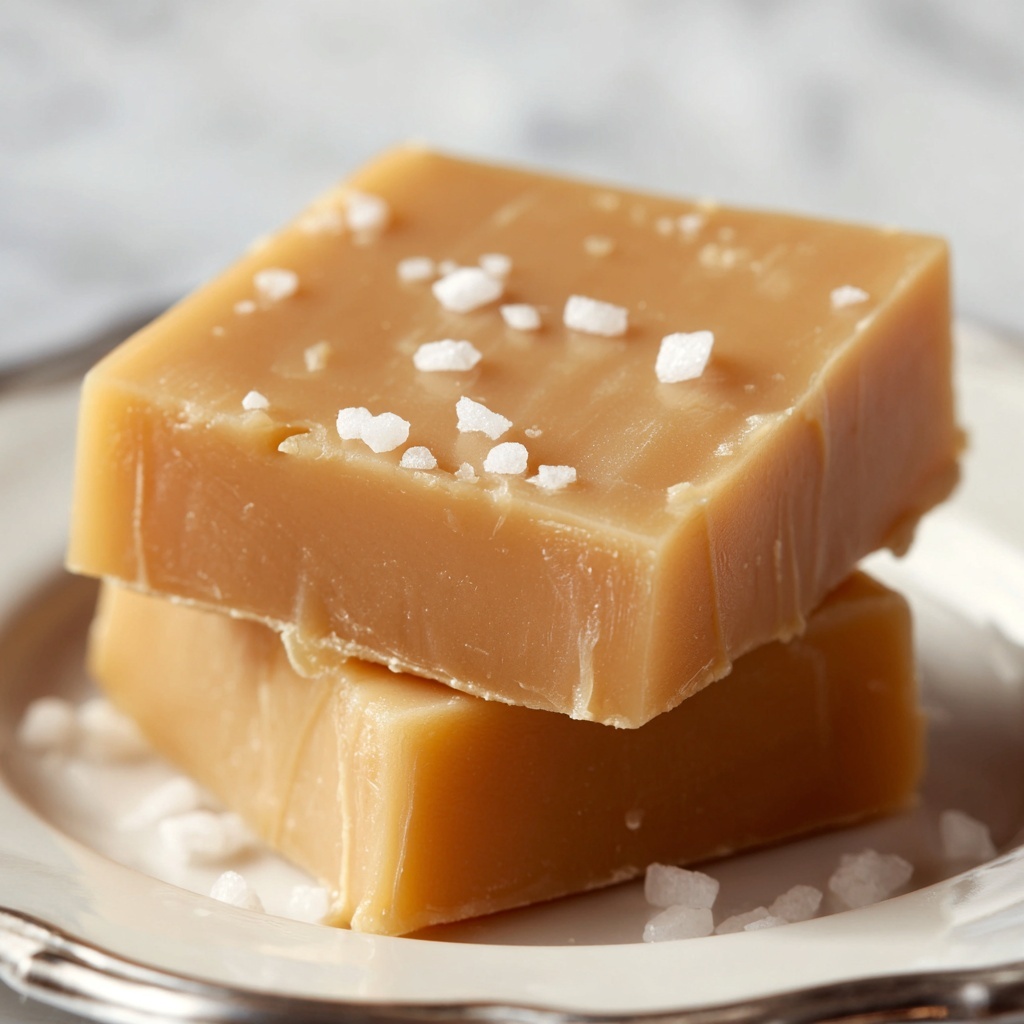
Sprinkle a pinch of flaky sea salt over the caramel before it sets for a delightful sweet-salty contrast that elevates every bite. Alternatively, a dusting of finely chopped toasted nuts adds a lovely crunch and nutty flavor that pairs perfectly with the buttery caramel.
Side Dishes
Serve these caramels alongside a hot cup of coffee or rich dark chocolate for a truly indulgent treat. They also complement ice cream beautifully, adding chewy, caramelized goodness to your sundae experience.
Creative Ways to Present
Wrap your Ten Minute Microwave Caramels Recipe in colorful waxed paper or tie with festive ribbons to make charming homemade gifts. For parties, arrange the caramel squares in decorative tins or glass jars to impress guests with both taste and presentation.
Make Ahead and Storage
Storing Leftovers
Store leftover caramels in an airtight container at room temperature to keep them soft and chewy. Avoid humid or excessively warm places, which can alter the texture.
Freezing
If you want to keep your caramels fresh for longer, pop them into the freezer wrapped tightly in waxed paper and sealed in a freezer bag. They freeze beautifully, preserving flavor and texture for up to three months.
Reheating
To enjoy soft caramels straight out of the freezer, allow them to thaw at room temperature. If they feel a little too firm, briefly warm them in your hands or microwave for a few seconds to bring back their softness and luscious chewiness.
FAQs
Can I use dark corn syrup instead of light?
Using dark corn syrup will add a deeper, more robust flavor that some caramel lovers adore. It will slightly change the color and taste but won’t affect the texture much, so feel free to experiment!
What if I don’t have a microwave-safe bowl?
A microwave-safe glass or ceramic bowl is essential to avoid accidents or uneven cooking. If you don’t have one, a glass mixing bowl usually works well, just double-check it’s labeled microwave-safe before proceeding.
How long do these caramels keep fresh?
When stored properly at room temperature in an airtight container, these caramels remain soft and delicious for up to two weeks. After that, they might start to harden or lose some of their ideal chewiness.
Can I add flavors other than vanilla?
Absolutely! Feel free to get creative by swapping vanilla extract for almond, maple, or even a splash of bourbon for a unique twist that suits your personal taste.
Is it possible to make these caramels vegan or dairy-free?
This recipe relies on butter and sweetened condensed milk, which aren’t vegan. However, you might experiment with vegan butter and sweetened condensed coconut milk as substitutes, but the texture and taste could vary.
Final Thoughts
I can’t recommend this Ten Minute Microwave Caramels Recipe enough when you want a quick, foolproof way to impress yourself and others with homemade candy. It’s perfect for beginners and seasoned cooks alike, because it blends ease, flavor, and that satisfying caramel chew into one glorious treat. So go ahead and try it—you’re going to fall in love with caramel all over again!
Print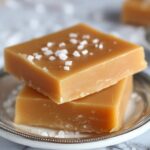
Ten Minute Microwave Caramels Recipe
- Prep Time: 5 minutes
- Cook Time: 6 minutes 30 seconds
- Total Time: 11 minutes plus several hours cooling time
- Yield: 24 servings
- Category: Candy
- Method: Microwaving
- Cuisine: American
Description
This quick and easy Ten Minute Microwave Caramels recipe delivers rich, buttery, and chewy caramels in a fraction of the time traditional stovetop methods take. Made with simple pantry ingredients like butter, corn syrup, sugars, and sweetened condensed milk, these homemade caramels are perfect for gift-giving or satisfying your sweet tooth without a lengthy wait.
Ingredients
Caramel Ingredients
- ½ cup butter
- ½ cup light corn syrup
- ½ cup light brown sugar
- ½ cup white sugar
- ½ cup sweetened condensed milk
- 1 teaspoon vanilla extract
Instructions
- Prepare the Pan: Butter an 8-inch square pan or a 9×5-inch loaf pan for thicker caramels. Optionally, line the pan with foil and butter the foil to make caramel removal easier once set.
- Melt the Butter: Place the butter in a large microwave-safe bowl and microwave on high for about 1 minute until fully melted.
- Combine Ingredients: Stir in the light corn syrup, light brown sugar, white sugar, and sweetened condensed milk into the melted butter. Mix well until the sugars begin to dissolve.
- First Microwave Session: Microwave the mixture on high for 3 minutes and 5–15 seconds. Remove and stir thoroughly, scraping down the sides of the bowl to ensure even cooking.
- Second Microwave Session: Return the mixture to the microwave and cook for another 3 minutes and 5–15 seconds on high. After cooking, stir in the vanilla extract to add flavor.
- Set the Caramels: Pour the hot caramel mixture into the prepared pan and spread it out evenly with a spatula or spoon.
- Cool and Cut: Let the caramels cool and set at room temperature for several hours until firm. Once set, cut into squares and wrap individually in waxed paper for storage or gifting.
Notes
- For easier removal and cleaner cuts, lining the pan with foil before buttering is highly recommended.
- Microwave ovens vary in power; adjust timing slightly if your caramels are too soft or too hard.
- Store caramels in an airtight container at room temperature for up to two weeks.
- Wrap individual caramels in waxed paper to prevent sticking and maintain freshness.


