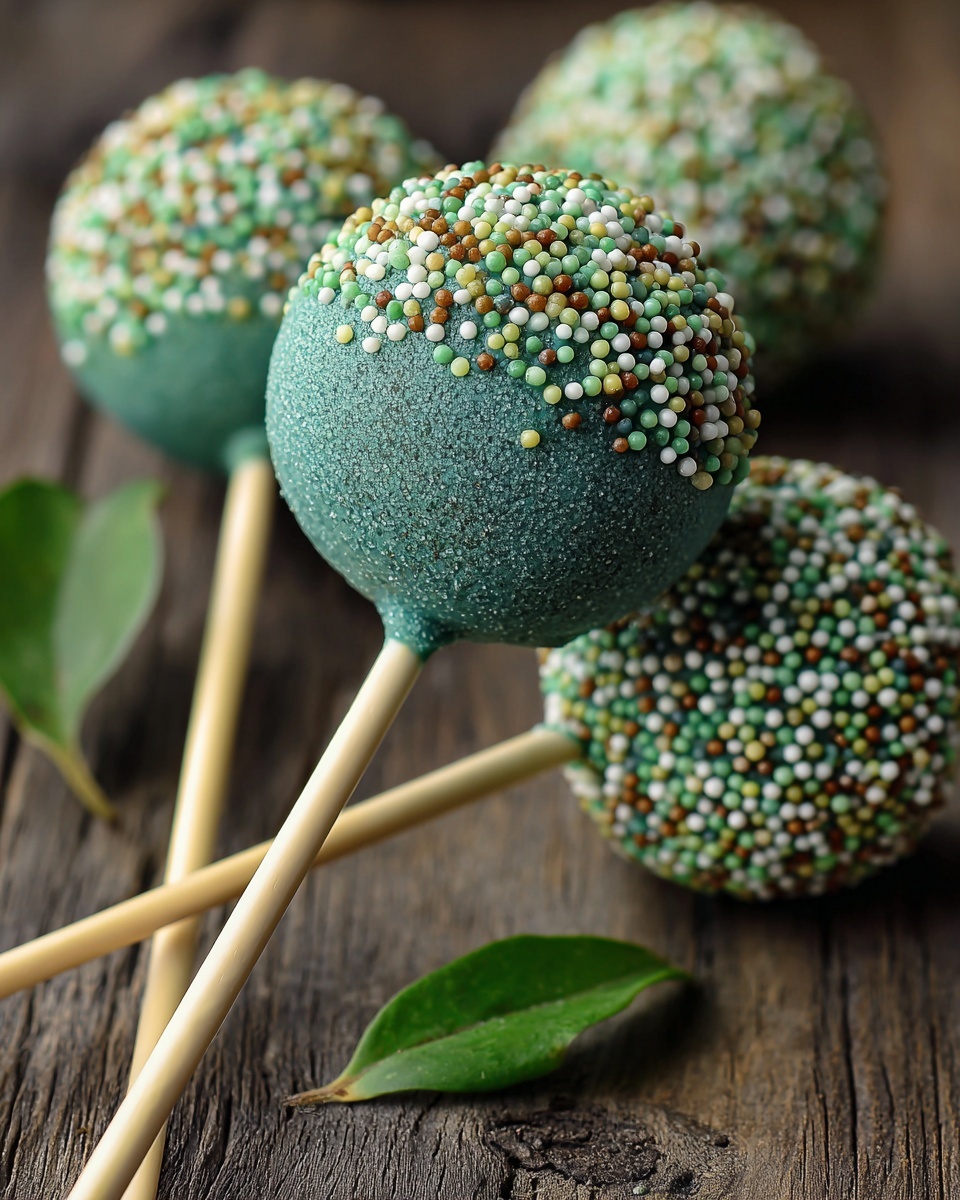
If you’re looking for a fun and festive treat to celebrate the season, this St. Patrick’s Day Cake Pops Recipe is sure to bring a sparkle to your holiday table. These delightful little bites are not only visually charming with their vibrant green coating and shimmering gold accents but also incredibly delicious with moist cake centers and a smooth, sweet coating. Perfect for parties or a sweet surprise, these cake pops capture the spirit of St. Patrick’s Day in every bite. Let’s dive into how you can make these crowd-pleasers at home with ease and plenty of joy.
Ingredients You’ll Need
Gathering simple yet essential ingredients is the first step to creating perfect St. Patrick’s Day cake pops. Each component plays a vital role, from the tender texture of the cake to the rich coating that gives these pops their signature look and flavor.
- Vanilla or chocolate cake mix: Choose your favorite base flavor, which forms the soft, crumbly interior of the cake pops.
- Frosting (1/2 cup): Acts as the glue to hold the cake crumbs together and add a hint of sweetness and moisture.
- White chocolate or candy melts (12 oz): This is the coating that provides a glossy, smooth finish; green candy melts make it easy to get that festive color.
- Green food coloring: Used to tint white chocolate when candy melts aren’t green, giving your cake pops a lively St. Patrick’s green hue.
- Green sprinkles: Adds texture and extra festive flair right after dipping the pops in chocolate.
- Edible gold dust or glitter (optional): Give your cake pops a magical shimmer perfect for celebrating the holiday.
- Lollipop sticks: Essential for that classic cake pop shape and easy handling while decorating and eating.
How to Make St. Patrick’s Day Cake Pops Recipe
Step 1: Bake and Crumble the Cake
Start by baking your cake according to the package’s instructions and be sure to let it cool completely. The cooler the cake, the easier it will be to crumble. Once cooled, crumble the cake into fine crumbs using your hands or a fork, preparing the texture needed for perfectly shaped pops.
Step 2: Mix with Frosting
Gradually add the frosting to the cake crumbs, mixing it in by hand until the mixture holds together like dough. This step is crucial because the right consistency will allow your pops to hold their shape without falling apart.
Step 3: Shape and Chill
Roll the dough into smooth balls about a tablespoon each and place them on a parchment-lined baking sheet. Then, chill the balls in the refrigerator for 1 to 2 hours, or speed things up by freezing for 20 to 30 minutes. Chilling helps the pops stay firm and easier to dip later.
Step 4: Prepare the Coating and Insert Sticks
Melt your candy melts or white chocolate in the microwave, stirring every 30 seconds until perfectly smooth. If you’re using white chocolate, add a few drops of green food coloring to get that festive hue. Dip the tip of each lollipop stick into the melted chocolate before inserting it halfway into each cake ball—this helps secure the stick in place.
Step 5: Dip and Decorate
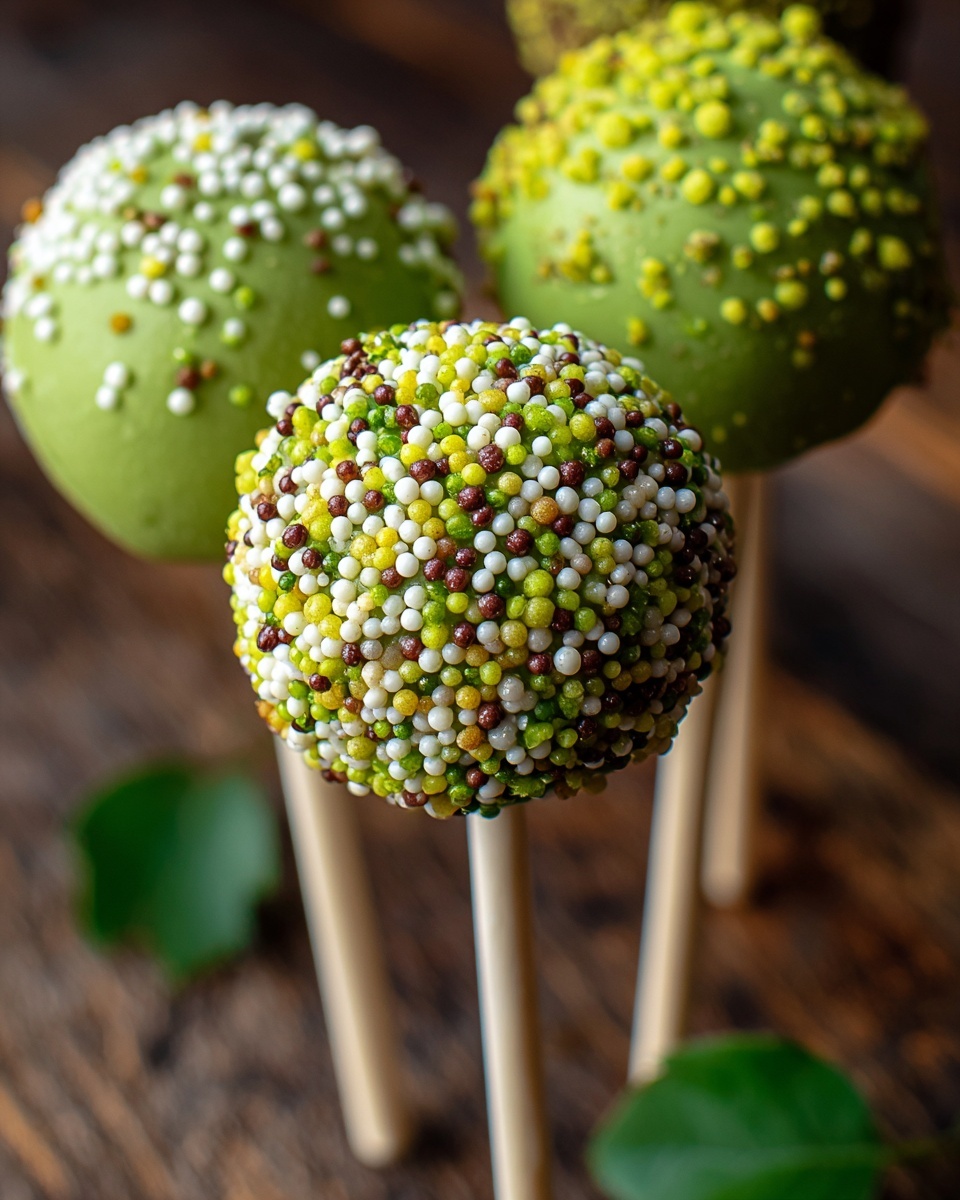
Dip each cake pop into the melted coating, gently tapping off any excess so the finish is smooth and neat. Quickly decorate with green sprinkles or a touch of edible gold dust for a stunning effect. Stand the pops upright in styrofoam or a pop stand and let the coating harden completely before serving.
How to Serve St. Patrick’s Day Cake Pops Recipe
Garnishes
Add a sprinkle of festive magic by using green sugar crystals, shamrock-shaped sprinkles, or a drizzle of white chocolate on your cake pops. These little touches make them irresistible and add layers of texture that guests will love.
Side Dishes
Serve these cake pops alongside other St. Patrick’s Day favorites like Irish soda bread, mini shamrock sandwiches, or a fresh fruit platter with kiwi and green grapes to complement the colors and flavors of your celebration.
Creative Ways to Present
For a charming display, arrange your cake pops in a decorative pot filled with green tissue paper or shamrock-shaped confetti. Wrap individual pops in clear treat bags tied with green ribbons for take-home party favors that will wow your friends and family.
Make Ahead and Storage
Storing Leftovers
If you have any cake pops left after your festivities, store them in an airtight container in the refrigerator. They will keep their freshness and taste for up to five days, making them perfect for a sweet treat later in the week.
Freezing
To save your St. Patrick’s Day Cake Pops Recipe for longer, freeze them on a baking sheet first, then transfer to a freezer-safe bag or container. Frozen cake pops can last for up to two months, making it easy to prepare ahead for other celebrations.
Reheating
There’s no need to reheat cake pops; simply let frozen pops thaw in the refrigerator overnight. This keeps the texture moist and the coating crisp, just like freshly made.
FAQs
Can I use homemade cake instead of boxed cake mix?
Absolutely! Homemade cake works perfectly and can add an extra layer of flavor and freshness to your cake pops.
What can I use if I don’t have candy melts?
White chocolate is a great alternative; just add some green food coloring to get that festive hue. Dark or milk chocolate can work too but won’t have the signature green color.
How do I keep the cake pops from falling off the sticks?
Chilling the cake balls before inserting sticks and dipping them in coating helps secure the stick and prevent them from slipping off during decorating.
Can I make these vegan or gluten-free?
Yes! Use a vegan cake mix and frosting along with dairy-free candy melts to adapt this St. Patrick’s Day Cake Pops Recipe for different dietary needs.
How long do cake pops last once decorated?
If stored properly in an airtight container at room temperature or refrigerated, they can last up to five days while maintaining great flavor and texture.
Final Thoughts
This St. Patrick’s Day Cake Pops Recipe is such a joyful and tasty way to celebrate the holiday with friends and family. From the first bite to the last, they bring festive cheer and a touch of sweetness that’s hard to resist. Whether for a party or a special treat, these cake pops are sure to become a beloved tradition. So go ahead, gather your ingredients, and make some magic happen in your kitchen today!
Print
St. Patrick’s Day Cake Pops Recipe
- Prep Time: 30 minutes
- Cook Time: 30 minutes
- Total Time: 2 hours
- Yield: 24 cake pops
- Category: Dessert
- Method: No-Cook
- Cuisine: American
- Diet: Vegetarian
Description
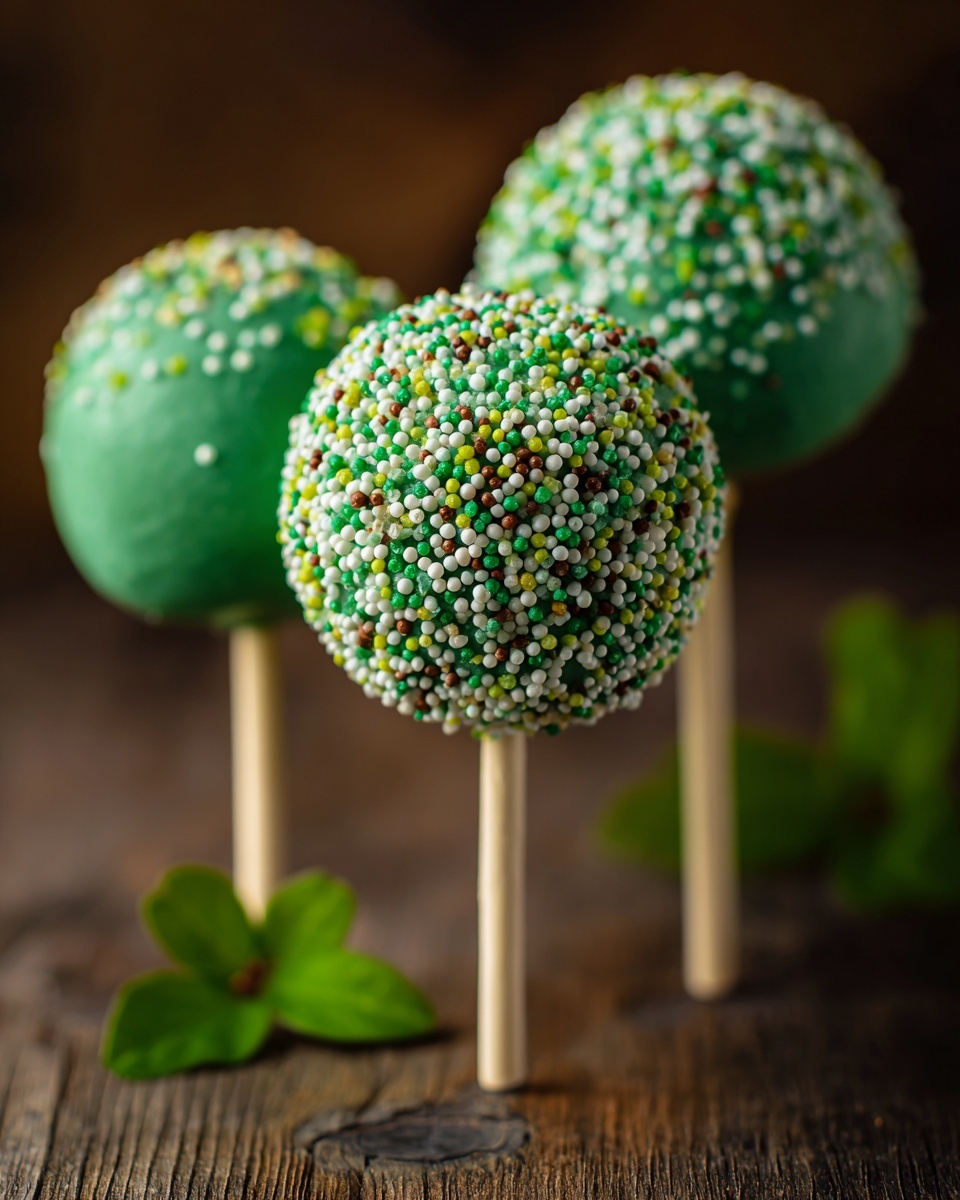
Celebrate St. Patrick’s Day with these festive and delicious cake pops made from moist cake, creamy frosting, and coated with vibrant green chocolate. Perfect for parties, these easy-to-make treats combine the fun of cake pops with seasonal colors and sparkle.
Ingredients
Cake
- 1 box vanilla or chocolate cake mix (plus ingredients listed on the box)
- 1/2 cup frosting (store-bought or homemade)
Coating and Decoration
- 12 oz white chocolate or candy melts (green or white)
- Green food coloring (if using white chocolate)
- Green sprinkles
- Edible gold dust or glitter (optional)
- Lollipop sticks
Instructions
- Bake the Cake: Prepare the cake mix according to the package directions. Bake it in the oven as instructed and allow the cake to cool completely to room temperature.
- Form Cake Balls: Crumble the cooled cake into fine crumbs in a large bowl. Gradually add the frosting and mix by hand until the mixture forms a dough-like consistency that holds together well.
- Shape and Chill: Scoop tablespoon-sized portions and roll them into smooth balls. Place the cake balls on a parchment-lined baking sheet and chill them in the refrigerator for 1–2 hours or freeze for 20–30 minutes until firm.
- Melt Chocolate Coating: Melt the candy melts or white chocolate in a microwave-safe bowl, stirring every 30 seconds until smooth. If using white chocolate, add a few drops of green food coloring to achieve the desired green shade.
- Insert Sticks: Dip the tip of each lollipop stick into the melted chocolate, then carefully insert it halfway into each cake ball. Repeat for all cake balls to secure the sticks.
- Coat the Cake Pops: Dip each cake pop completely into the melted coating, gently tapping off any excess chocolate. Work swiftly to ensure smooth coverage.
- Decorate and Set: Immediately decorate the wet coating with green sprinkles or edible gold dust/glitter if desired. Place the cake pops upright in a styrofoam block or stand and allow the coating to harden fully before serving.
Notes
- Chilling the cake balls is essential to prevent them from falling off the sticks during dipping.
- Feel free to customize with any cake and frosting flavors for varied tastes.
- For an extra festive touch, drizzle with white chocolate or wrap the cake pops individually in treat bags for gifts or party favors.

