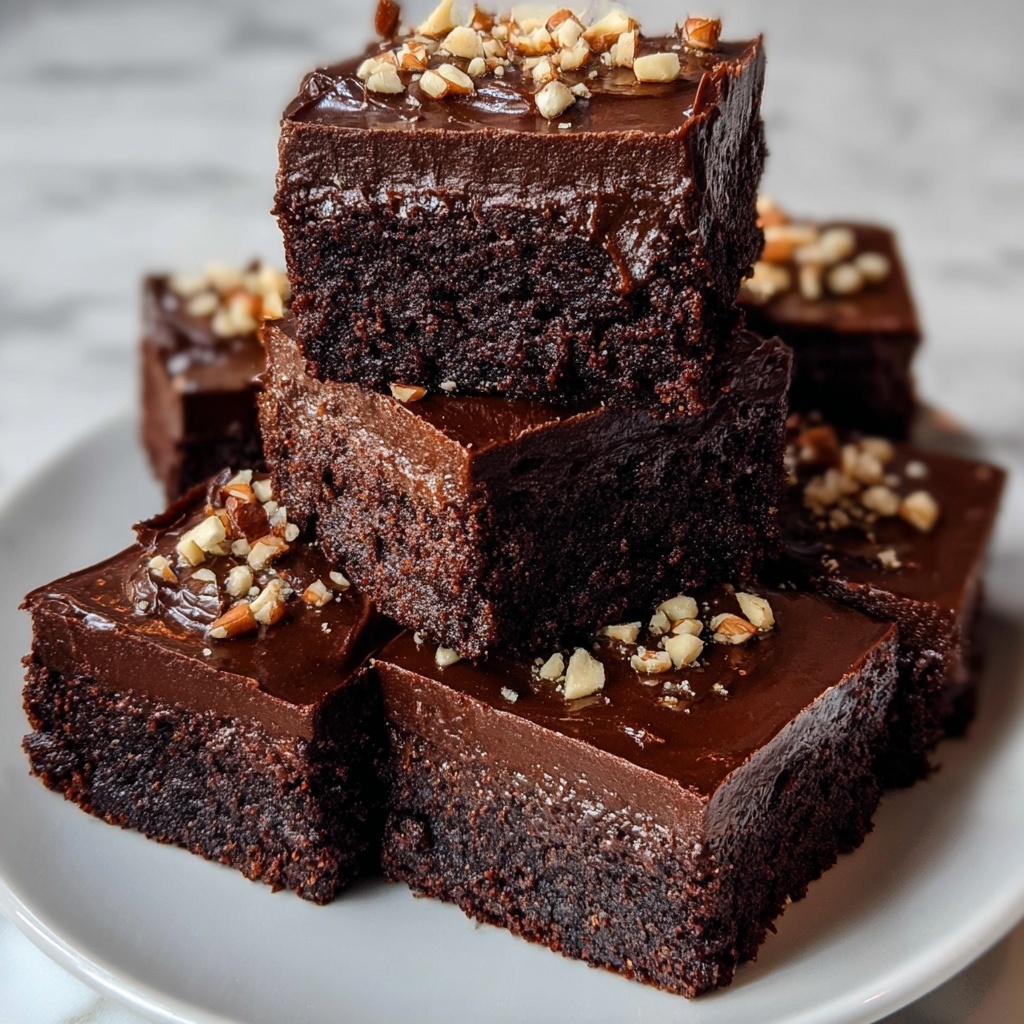
If you’re longing for a sweet treat that wraps you up in warm memories and simple pleasures, then this Old Fashioned Fudge: 7 Tips for Nostalgic Sweetness Recipe is exactly what you need. This rich, creamy fudge brings together familiar ingredients to create a melt-in-your-mouth indulgence that tastes just like the fudge from Grandma’s kitchen. It’s easy to make, delightfully satisfying, and perfect for sharing with family or gifting to friends. The joy of this recipe lies in its classic roots and the comforting sweetness that only a well-made fudge can deliver.
Ingredients You’ll Need
The magic of an unforgettable fudge starts with a handful of straightforward, quality ingredients. Each plays a vital role in creating the perfect texture, deep flavor, and that smooth, creamy consistency we all crave.
- 2 cups sugar: This is the backbone of the fudge’s sweetness and helps give it that glorious bite.
- 1/2 cup butter: Adds richness and a silky mouthfeel that takes every piece from good to amazing.
- 1 cup milk: Provides creaminess and moisture, balancing the texture beautifully.
- 1 cup chocolate chips: The heart of the fudge’s chocolatey goodness—choose your favorite kind for deeper flavor.
- 1 teaspoon vanilla extract: Adds a subtle, floral sweetness that elevates every bite.
- 1/2 cup chopped nuts (optional): Adds crunch and a contrasting texture that’s simply irresistible, if you like a bit of nuttiness.
How to Make Old Fashioned Fudge: 7 Tips for Nostalgic Sweetness Recipe
Step 1: Combine the Essentials
Start by placing the sugar, butter, and milk together in a saucepan. This simple trio sets the stage for your fudge’s silky texture and rich flavor. Heating these ingredients together gently melts the butter and begins dissolving the sugar.
Step 2: Bring to a Boil with Care
Turn the heat to medium and stir constantly until the mixture reaches a boil. This steady stirring prevents burning and helps create an even consistency. Watching the sugar dissolve and the butter meld is like watching magic unfold.
Step 3: Boil Without Stirring
Once boiling, stop stirring and let the mixture continue to boil for 5 minutes. This step is crucial as it allows the sugar to reach the ideal stage for fudge without crystallizing. Be mindful here; patience pays off.
Step 4: Add the Chocolate and Vanilla
Remove the saucepan from heat and immediately stir in your chocolate chips and vanilla extract. The residual heat gently melts the chocolate, creating that smooth, luscious base that fudge dreams are made of.
Step 5: Mix in Nuts (If Using)
If you love a bit of crunch, fold in the chopped nuts now. They add both texture and flavor bursts that contrast beautifully with the smooth chocolate.
Step 6: Pour and Cool
Pour your fudge mixture into a greased pan. Spreading it evenly helps it set uniformly, and greasing ensures those perfect squares come out easily once chilled. This is where the anticipation builds as you wait for the fudge to firm up.
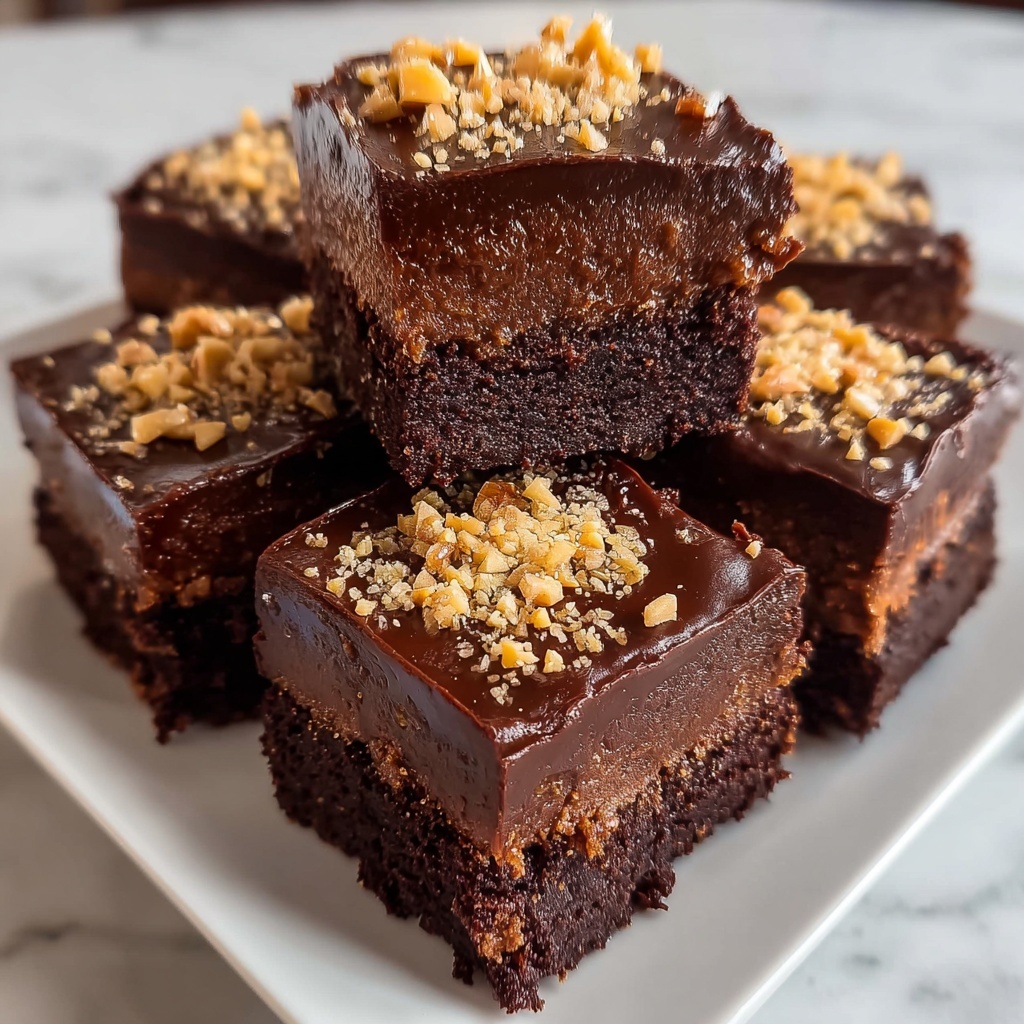
Step 7: Cut into Squares and Enjoy
After the fudge has completely cooled and set—usually a few hours or overnight—cut it into lovely bite-sized squares. This classic presentation keeps the nostalgia alive in every sweet portion.
How to Serve Old Fashioned Fudge: 7 Tips for Nostalgic Sweetness Recipe
Garnishes
While this fudge is incredible on its own, a light dusting of powdered sugar or a sprinkle of sea salt can add a delightful twist. Adding finely chopped peppermint or a drizzle of caramel can also transform it into a festive treat perfect for holidays or special occasions.
Side Dishes
Pairing your fudge with a cozy cup of hot coffee or rich, creamy hot chocolate will elevate your tasting experience. The warmth of the beverage perfectly complements the intense sweetness and creamy texture of the fudge, making it an ideal companion on chilly afternoons.
Creative Ways to Present
For a charming touch, wrap the fudge squares individually in wax paper tied with twine or place them in small decorative boxes for gifting. They also look beautiful stacked on a vintage cake stand or nestled among holiday greenery when serving at a party.
Make Ahead and Storage
Storing Leftovers
Old fashioned fudge keeps wonderfully in an airtight container at room temperature for up to two weeks. Storing it properly helps maintain its smooth texture and prevents it from drying out or absorbing fridge odors.
Freezing
You can freeze fudge to extend its shelf life. Wrap each piece snugly in plastic wrap and place them in a freezer-safe container. When you’re ready, thaw at room temperature for about an hour before enjoying.
Reheating
Fudge is best eaten at room temperature, but if you prefer it a little softer, warm a piece gently in your hands or microwave it for just a few seconds. Avoid overheating to preserve that perfect texture and decadent flavor.
FAQs
Can I make this fudge without nuts?
Absolutely! The nuts are optional and can be omitted if you prefer classic smooth fudge or have nut allergies. The fudge will still be deliciously creamy and sweet.
What chocolate chips work best in this recipe?
Semi-sweet chocolate chips are the traditional choice, but feel free to experiment with milk chocolate or dark chocolate based on your taste preferences. Just ensure good quality for the richest flavor.
Why do I have to boil the mixture without stirring?
Boiling without stirring at this stage prevents sugar crystallization, which ensures the fudge has a smooth texture rather than a grainy one. It’s a key classic fudge-making secret.
How long does it take for fudge to set?
Typically, fudge needs a few hours at room temperature or overnight to fully set and firm up so that it cuts cleanly into squares.
Can I add flavors other than vanilla?
Yes! While vanilla extract is traditional and adds warmth, you can try almond extract, peppermint extract, or even a splash of bourbon for an exciting twist. Just add sparingly so you don’t overpower the chocolate.
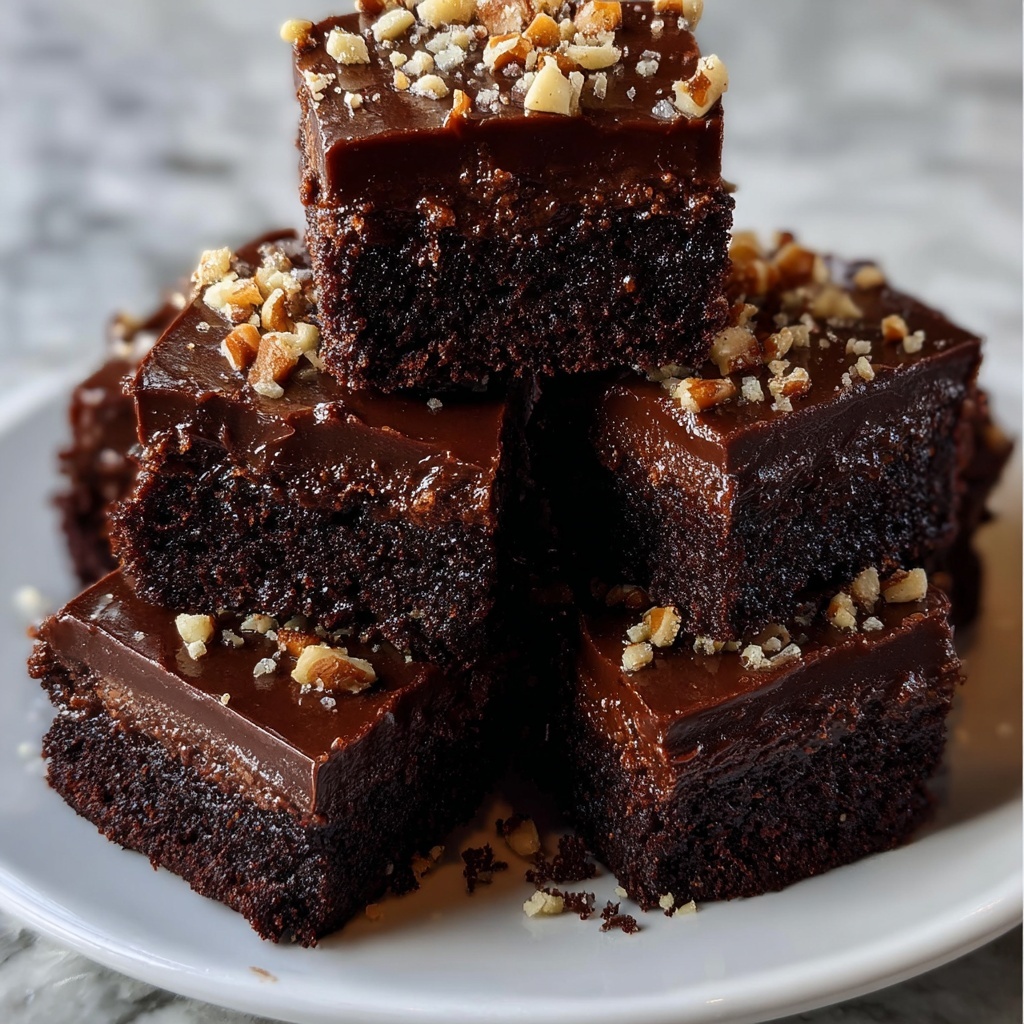
Final Thoughts
This Old Fashioned Fudge: 7 Tips for Nostalgic Sweetness Recipe is more than just a dessert; it’s a trip down memory lane, a comforting reward, and a delicious way to share love through food. Don’t hesitate to dive in and create your own batch, savoring each bite and the smiles it brings. Happy fudge-making!
Print
Old Fashioned Fudge: 7 Tips for Nostalgic Sweetness Recipe
- Prep Time: 5 minutes
- Cook Time: 20 minutes
- Total Time: 25 minutes
- Yield: 16 servings
- Category: Dessert
- Method: Stovetop
- Cuisine: American
Description
This Old Fashioned Fudge recipe brings nostalgic sweetness with a classic blend of sugar, butter, milk, and chocolate. It’s a creamy, rich treat that’s easy to make and perfect for sharing. Follow these simple steps for smooth, velvety fudge that melts in your mouth and can be customized with your favorite nuts.
Ingredients
Fudge Ingredients
- 2 cups sugar
- 1/2 cup butter
- 1 cup milk
- 1 cup chocolate chips
- 1 teaspoon vanilla extract
- 1/2 cup chopped nuts (optional)
Instructions
- Combine Ingredients: In a medium saucepan, combine the sugar, butter, and milk to prepare the base of your fudge.
- Heat Mixture: Place the saucepan over medium heat and stir constantly to prevent burning, cooking until the mixture reaches a boil.
- Boil Carefully: Once boiling, stop stirring and allow the mixture to boil for 5 minutes to reach the proper consistency.
- Add Chocolate and Vanilla: Remove the saucepan from heat, then immediately stir in the chocolate chips until fully melted and smooth. Add vanilla extract and mix well.
- Incorporate Nuts: If desired, fold in the chopped nuts to add texture and flavor.
- Pour and Cool: Pour the fudge mixture into a greased pan, spreading evenly. Allow it to cool completely at room temperature until set.
- Cut and Serve: Once the fudge is firm, cut into squares and enjoy your homemade nostalgic treat.
Notes
- Use a candy thermometer if available to ensure precise boiling temperature (around 234-240°F for soft-ball stage).
- Be sure to grease the pan well to make removing fudge easier.
- Do not stir the mixture while boiling to prevent crystal formation which can make fudge grainy.
- For a creamier texture, you may substitute milk with evaporated milk.
- Store fudge in an airtight container at room temperature for up to two weeks or refrigerate for longer shelf life.


