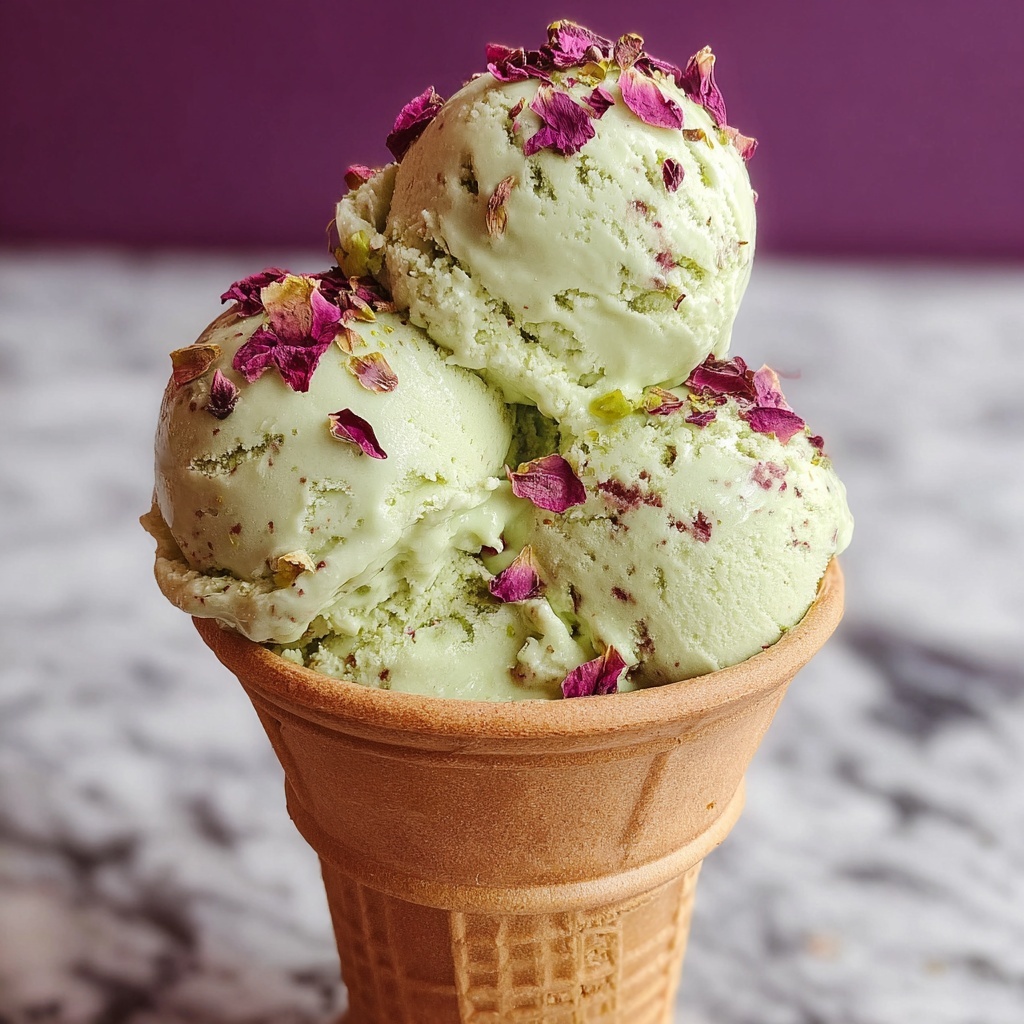
If you are craving a delightful, fragrant treat that feels like a warm hug on a sunny afternoon, you’re going to love making this Homemade Rose and Green Pista Ice Cream Recipe. Combining the delicate floral notes of rose syrup with the buttery crunch of finely chopped pistachios, all swirled into creamy, dreamy ice cream, this recipe transforms simple ingredients into a festive, refreshing dessert. Perfect for sharing at family gatherings or indulging in quiet moments, the flavors are uniquely satisfying and beautifully balanced, making it an absolute favorite in any season.
Ingredients You’ll Need
Gathering your ingredients for this ice cream is wonderfully straightforward. Each component plays a special role, whether adding creaminess, floral charm, nutty texture, or just a hint of color to bring this dessert to life.
- 2 cups heavy cream: The base that brings richness and smooth texture to your ice cream.
- 1 cup whole milk: Lightens the cream while maintaining a silky mouthfeel.
- 3/4 cup sweetened condensed milk: Adds natural sweetness and helps achieve the perfect scoopable consistency without churning.
- 2 tablespoons rose syrup: Infuses the ice cream with a subtle, fragrant floral flavor that is the heart of the recipe.
- 1/2 teaspoon rose water (optional): For a deeper, more layered floral aroma, enhancing the rose essence.
- 1/3 cup finely chopped pistachios (unsalted and shelled): Provides delightful crunch and a buttery nutty flavor.
- Few drops of green food coloring (optional): Adds a vibrant hue reminiscent of pistachio nuts without affecting taste.
- 2 tablespoons crushed pistachios for garnish: Offers texture and an inviting finish when serving.
How to Make Homemade Rose and Green Pista Ice Cream Recipe
Step 1: Whip Together the Cream and Condensed Milk
Start by combining the heavy cream and sweetened condensed milk in a large bowl. Use a hand mixer or stand mixer to whip these together until soft peaks form. This step is crucial for incorporating air, which gives your ice cream its light and creamy body without needing an ice cream maker.
Step 2: Incorporate the Flavorings and Pistachios
Gently fold in the whole milk, rose syrup, optional rose water, finely chopped pistachios, and green food coloring into the whipped cream mixture. Take your time at this stage to ensure an even distribution of flavors and color. The floral notes and nutty bites will shine through beautifully once frozen.
Step 3: Freeze and Set
Pour the mixture into a freezer-safe loaf pan or an airtight container. Smooth the surface, cover tightly with plastic wrap or a lid, and place it in the freezer. Allow at least 6 hours, preferably overnight, for the ice cream to firm up completely. This waiting time is where the flavors meld and the texture solidifies into something irresistible.
Step 4: Scoop and Garnish
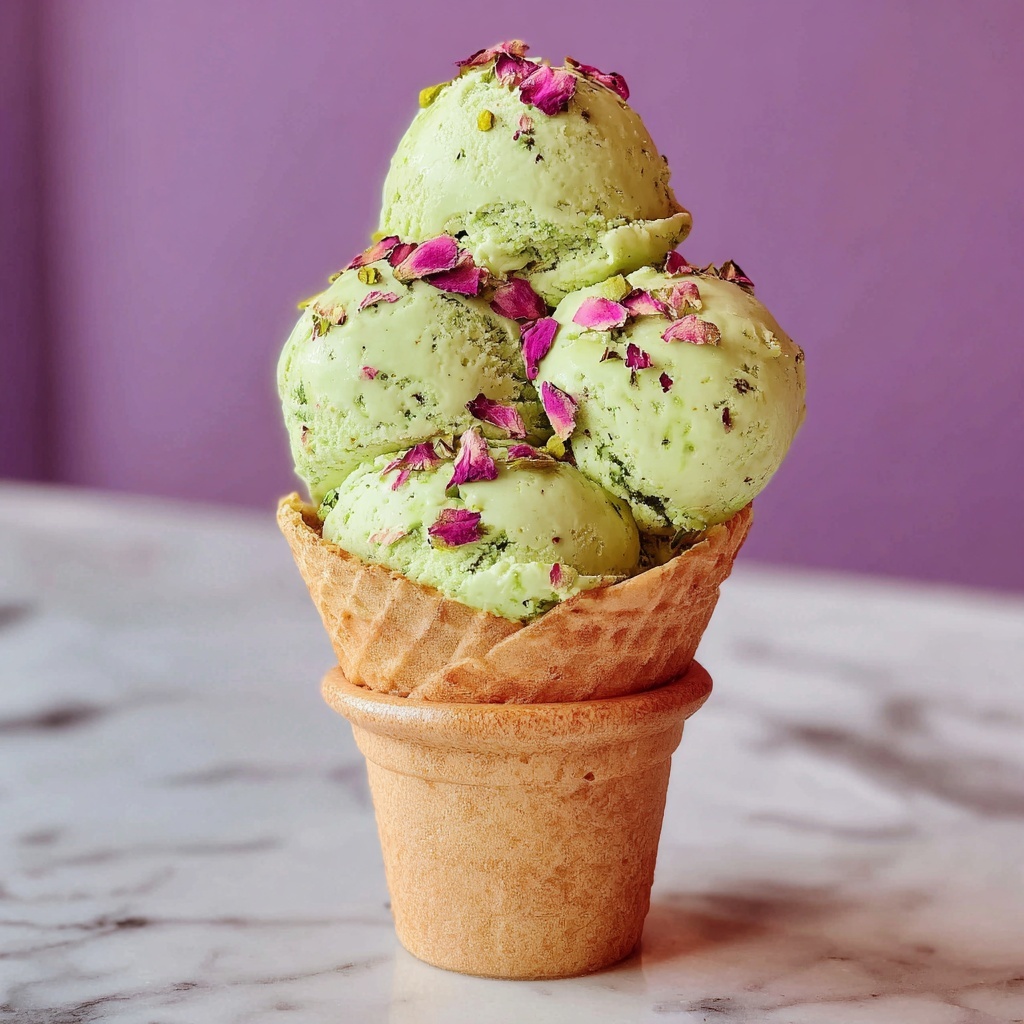
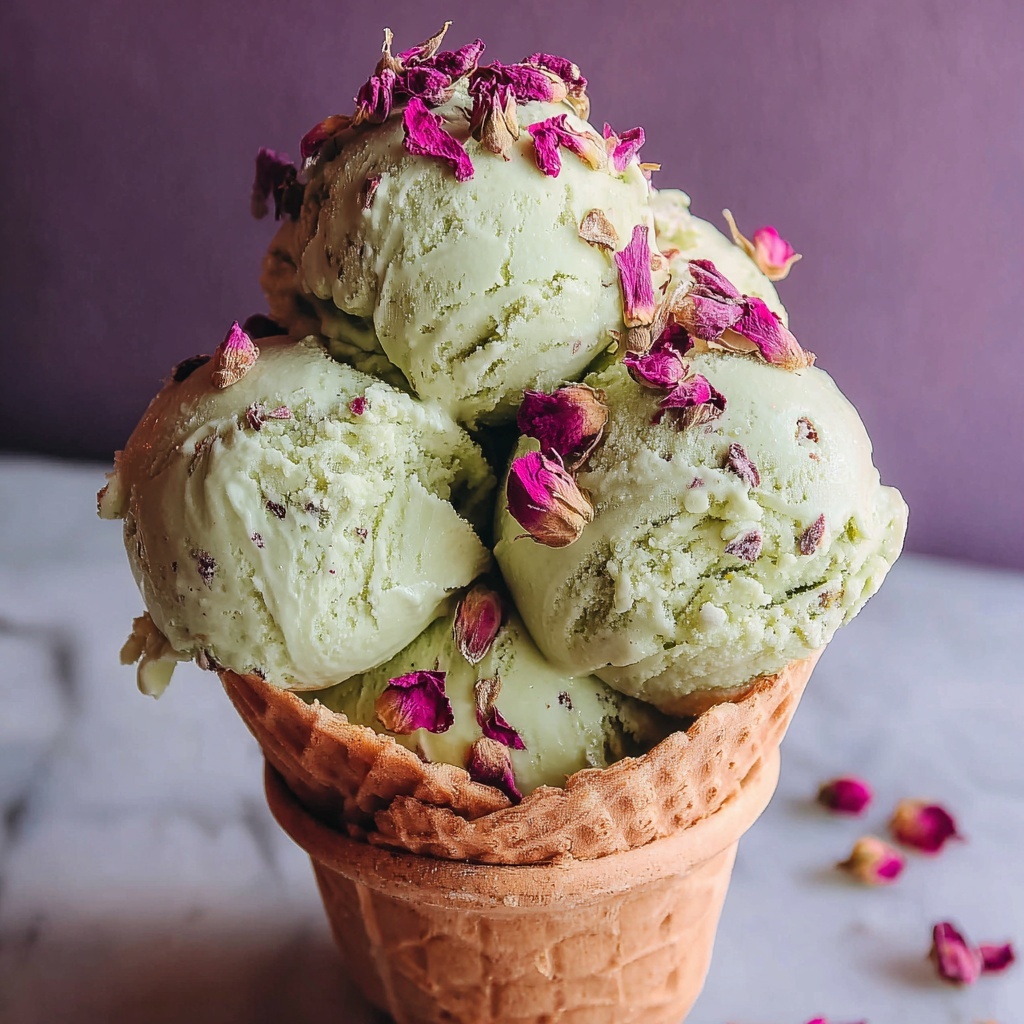
When you’re ready to serve, scoop generous portions into bowls or cones. Finish with a sprinkle of crushed pistachios to add a touch of crunch and make the presentation as lovely as the taste.
How to Serve Homemade Rose and Green Pista Ice Cream Recipe
Garnishes
Enhance the serving experience by sprinkling crushed pistachios on top for texture and a burst of nutty flavor. You can also drizzle a little extra rose syrup or scatter edible rose petals for an elegant, fragrant touch that will impress guests and family members alike.
Side Dishes
This ice cream pairs beautifully with light, complementary desserts such as cardamom-spiced cookies, almond biscotti, or fresh fruit like raspberries and pomegranate seeds. These sides add contrast and balance the creamy and floral notes, creating a delightful dessert spread.
Creative Ways to Present
For a fun twist, serve scoops inside hollowed-out rose-flavored kulfi cones or colorful glass bowls to highlight the ice cream’s vibrant hues. Adding a few pistachios around the plate or a small mint sprig offers a pop of color and freshness, turning a simple scoop into a gourmet treat.
Make Ahead and Storage
Storing Leftovers
After serving, make sure to transfer any leftover ice cream to an airtight container, pressing a piece of parchment paper directly on the surface to prevent ice crystals from forming. Proper storage keeps your ice cream fresh and creamy for several days.
Freezing
The Homemade Rose and Green Pista Ice Cream Recipe freezes exceptionally well. Keep it in a sealed container in your freezer, and it will maintain its flavor and texture for up to two weeks. Avoid repeated thawing and refreezing to preserve its luscious consistency.
Reheating
This ice cream is best enjoyed straight from the freezer. If it’s too hard to scoop, let it sit at room temperature for 5 to 10 minutes to soften slightly before serving. Avoid microwaving as it can affect the texture and flavor negatively.
FAQs
Can I make this recipe without green food coloring?
Absolutely! The green food coloring is completely optional. The rose syrup naturally imparts a soft pink hue, and skipping the coloring will give your ice cream a more natural look without sacrificing flavor.
What can I substitute for rose syrup?
If you don’t have rose syrup on hand, try using a small amount of rose water combined with simple syrup, though the intensity may vary. Alternatively, some flavored syrups with floral notes can work, but rose syrup is ideal for authentic taste.
Is this ice cream suitable for vegetarians?
Yes! This recipe uses only vegetarian-friendly ingredients including dairy, nuts, and natural flavorings, making it perfect for most vegetarian diets.
Can I use roasted pistachios instead of raw?
Definitely. Roasted pistachios add a deeper, nuttier flavor that some people love. Just be mindful they may introduce a slightly different texture and tone compared to raw pistachios.
How can I reduce the sweetness if I prefer less sugar?
You can reduce the amount of sweetened condensed milk slightly or replace a portion with unsweetened milk, but keep in mind this may affect the ice cream’s texture and freezing quality. Tasting as you go helps achieve the perfect balance.
Final Thoughts
Once you try this Homemade Rose and Green Pista Ice Cream Recipe, it’s hard not to fall in love with its charming blend of flavors and silky smoothness. It’s a celebration of simple ingredients transforming into something truly special, perfect for both everyday treats and special occasions. So grab your mixer, gather these staples, and create a scoop of happiness that will keep everyone coming back for more!
Print
Homemade Rose and Green Pista Ice Cream Recipe
- Prep Time: 15 minutes
- Cook Time: 0 minutes
- Total Time: 15 minutes plus freezing time
- Yield: 6 servings
- Category: Dessert
- Method: No-Cook
- Cuisine: Indian-Inspired
- Diet: Vegetarian
Description
This Homemade Rose and Green Pista Ice Cream is a luscious, no-churn dessert that blends the delicate floral notes of rose syrup and rose water with the rich, nutty flavor of pistachios. Creamy and vibrant, it’s an easy-to-make frozen treat inspired by Indian flavors, perfect for hot days or special occasions.
Ingredients
Ice Cream Base
- 2 cups heavy cream
- 1 cup whole milk
- 3/4 cup sweetened condensed milk
Flavoring
- 2 tablespoons rose syrup (such as Rooh Afza or any rose-flavored syrup)
- 1/2 teaspoon rose water (optional for deeper floral flavor)
- few drops of green food coloring (optional)
Add-ins and Garnish
- 1/3 cup finely chopped pistachios (unsalted and shelled)
- 2 tablespoons crushed pistachios for garnish
Instructions
- Prepare the base mixture: In a large bowl, combine the heavy cream and sweetened condensed milk. Using a hand mixer or stand mixer, whip the mixture until soft peaks form to create a light and airy base for the ice cream.
- Fold in remaining ingredients: Gently fold in the whole milk, rose syrup, rose water (if using), chopped pistachios, and green food coloring until everything is evenly mixed, ensuring the colors and flavors are well incorporated.
- Freeze the mixture: Pour the prepared mixture into a freezer-safe loaf pan or an airtight container. Smooth the top and cover tightly with plastic wrap or a lid to prevent ice crystals from forming. Place it in the freezer for at least 6 hours or overnight until firm.
- Serve and garnish: Once the ice cream is completely frozen, scoop into bowls or cones. Garnish each serving with the crushed pistachios to add a delightful crunch and extra pistachio flavor before enjoying.
Notes
- Adjust the sweetness to your preference by slightly reducing or increasing the amount of sweetened condensed milk used.
- Omit the green food coloring if you prefer a natural pink hue which comes from the rose syrup alone.
- For a deeper nutty taste, use roasted pistachios instead of raw pistachios.


