If you are craving a tropical treat that’s creamy, refreshingly fruity, and incredibly simple to make at home, this Homemade Pineapple Ice Cream Recipe is exactly what you need. Bursting with the sunny sweetness of fresh pineapple and mellowed by luscious cream, this recipe transforms everyday ingredients into a velvety dessert that feels like a vacation in every bite. Whether you want to cool down after a warm day or impress your friends with a homemade delight, this ice cream blends the perfect balance of tangy and sweet, making it a new favorite you’ll reach for again and again.
Ingredients You’ll Need
Gathering fresh, quality ingredients is the first step to creating a sublime pineapple ice cream. Each component plays an important role in the final texture, flavor, and color of this tropical delight, making the process surprisingly simple yet deeply rewarding.
- 2 cups fresh pineapple chunks (or canned, drained): The heart of the recipe, providing natural sweetness and vibrant tropical flavor.
- 1 cup heavy whipping cream: Adds richness and creamy texture, essential for that classic ice cream mouthfeel.
- 1 cup whole milk: Balances the creaminess and lightens the texture for a smooth consistency.
- ⅓ cup granulated sugar: Sweetens and enhances the pineapple’s natural fruitiness.
- 1 tablespoon lemon juice: Adds a subtle brightness to lift the tropical flavors.
- 1 teaspoon vanilla extract: Deepens flavor with warm aromatic notes that complement the pineapple perfectly.
- Pinch of salt: Balances sweetness and intensifies the overall flavor.
How to Make Homemade Pineapple Ice Cream Recipe
Step 1: Prepare the Pineapple Puree
Start by placing the pineapple chunks into a blender or food processor and blend until you get a smooth puree. For an ultra-smooth texture, push the puree through a fine mesh sieve to catch any fibrous pulp. This step ensures your ice cream feels silky and luxurious with every spoonful.
Step 2: Combine the Ingredients
In a large mixing bowl, whisk together your freshly made pineapple puree with the heavy whipping cream, whole milk, sugar, lemon juice, vanilla extract, and a pinch of salt. Keep whisking until the sugar fully dissolves — this is key so you’re not biting into any grainy sweetness that could detract from the smooth creaminess.
Step 3: Chill the Mixture
Pop the bowl into the refrigerator and chill the mixture for at least one hour. Chilling lets all the flavors mingle beautifully and thoroughly cools the base for optimal churning, which results in that perfect ice cream texture.
Step 4: Churn into Ice Cream
Once chilled, pour your mixture into an ice cream maker and churn as your machine’s instructions suggest — usually around 20 to 25 minutes. During this time, the mixture thickens and transforms into creamy, dreamy ice cream you can hardly wait to taste.
Step 5: Freeze for Firmness
Transfer the churned ice cream into a lidded container and freeze for at least two more hours. This final freeze helps the ice cream set fully, giving it that firm yet scoopable texture you expect from a perfect homemade dessert.
How to Serve Homemade Pineapple Ice Cream Recipe
Garnishes
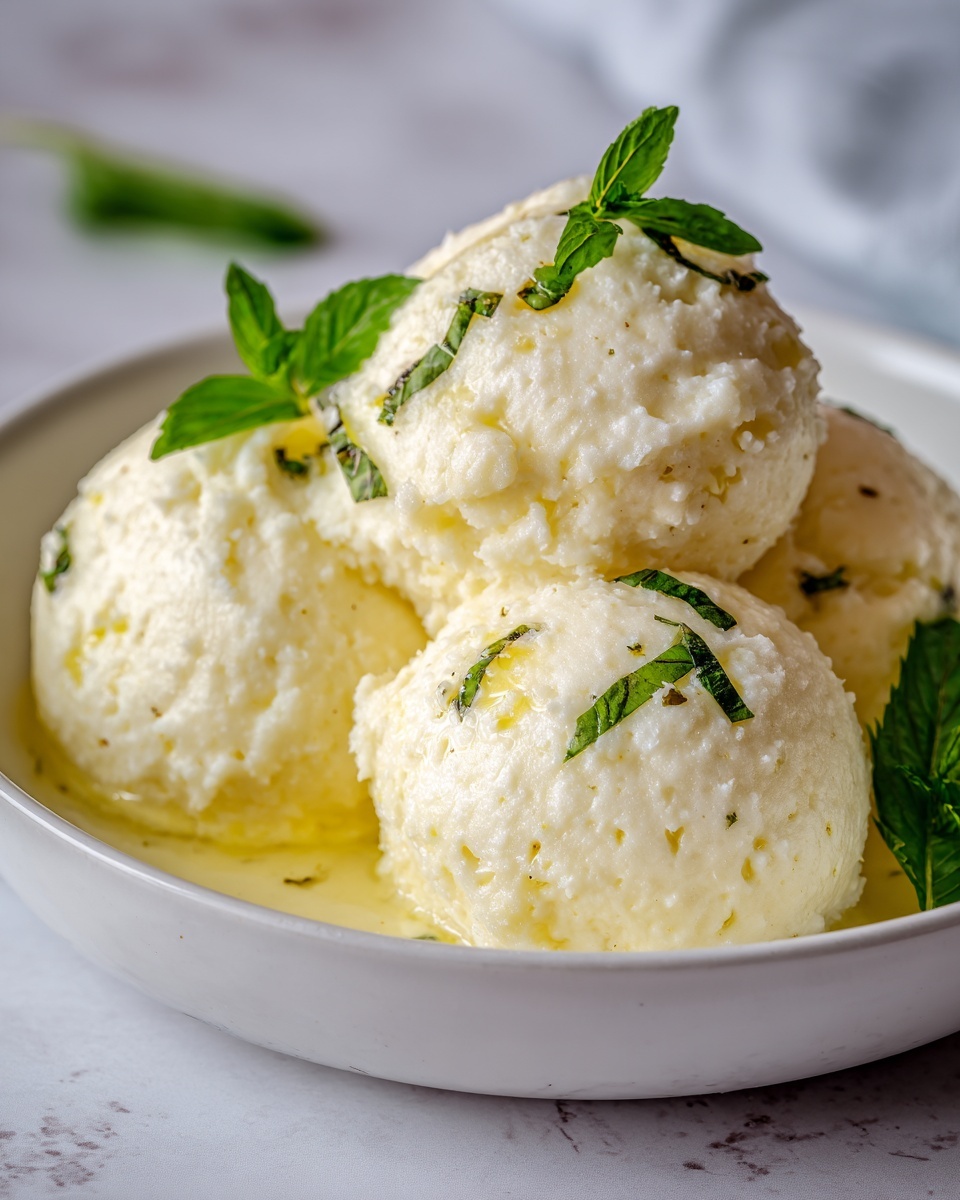
Elevate your ice cream with garnishes that highlight its tropical vibe—try toasted coconut flakes, a sprinkle of finely chopped fresh mint, or even a drizzle of honey. These touches add contrast in texture and an extra layer of flavor that makes every serving special.
Side Dishes
Pair this creamy homemade pineapple ice cream with fresh fruit salad for a light, refreshing combo. It also works amazingly well alongside buttery shortbread cookies or a slice of warm pound cake for a decadent dessert plate.
Creative Ways to Present
Serve the ice cream in hollowed-out pineapple halves for an impressive presentation that’s perfect for summer parties. Alternatively, scoop the ice cream into waffle cones or create layered pineapple parfaits with bits of crushed pineapple and whipped cream for a fun twist.
Make Ahead and Storage
Storing Leftovers
If you have leftovers, store them in an airtight container in the freezer to keep them fresh and prevent ice crystals from forming. Properly stored, the ice cream will maintain its flavor and texture for up to two weeks, giving you plenty of time to enjoy your homemade creation.
Freezing
This Homemade Pineapple Ice Cream Recipe freezes beautifully and benefits from the extra time in the freezer to develop a firmer texture. Just be sure to give it a few minutes at room temperature before scooping if it’s too hard straight from the freezer.
Reheating
Unlike cooked dishes, ice cream is best enjoyed cold, so reheating is not recommended. Instead, let the ice cream soften at room temperature for a few minutes if needed before serving to bring out the fullest flavor and creaminess.
FAQs
Can I use canned pineapple instead of fresh?
Absolutely! Just make sure to use canned pineapple packed in juice, not syrup, to avoid extra sweetness that could throw off the balance of flavors. Drain it well before blending for the best texture.
Is there a dairy-free version of this Homemade Pineapple Ice Cream Recipe?
Yes, you can easily swap the heavy cream and milk for coconut cream and almond milk. This will keep the creamy consistency while also adding a hint of coconut flavor that pairs wonderfully with pineapple.
Do I need an ice cream maker to make this recipe?
An ice cream maker is recommended because it churns while freezing, which gives you that classic creamy ice cream texture. However, you can try freezing the mixture and stirring every 30 minutes to break up ice crystals for a softer, homemade version.
How long does this ice cream take to make?
The active prep time is about 15 minutes, but you’ll want to factor in at least an hour of chilling and a couple of hours in the freezer for perfect firmness, making the total time a little over three hours.
Can I add chunks of pineapple to the ice cream?
Definitely! Folding in crushed or chopped pineapple pieces before the final freeze adds delightful texture and bursts of juicy fruit in every bite.
Final Thoughts
This Homemade Pineapple Ice Cream Recipe is a true delight that brings sunshine and sweetness to your kitchen with minimal effort. Its perfect blend of creamy and fruity will quickly make it a dessert centerpiece whether you’re enjoying a quiet night in or hosting your next gathering. Don’t hesitate to give it a try—once you taste this luscious, tropical treat, it might just become your new favorite homemade ice cream to make all year round!
Print
Homemade Pineapple Ice Cream Recipe
- Prep Time: 15 minutes
- Cook Time: 0 minutes
- Total Time: 3 hours 15 minutes
- Yield: 6 servings
- Category: Dessert
- Method: No-Cook
- Cuisine: American
- Diet: Vegetarian,Gluten Free
Description
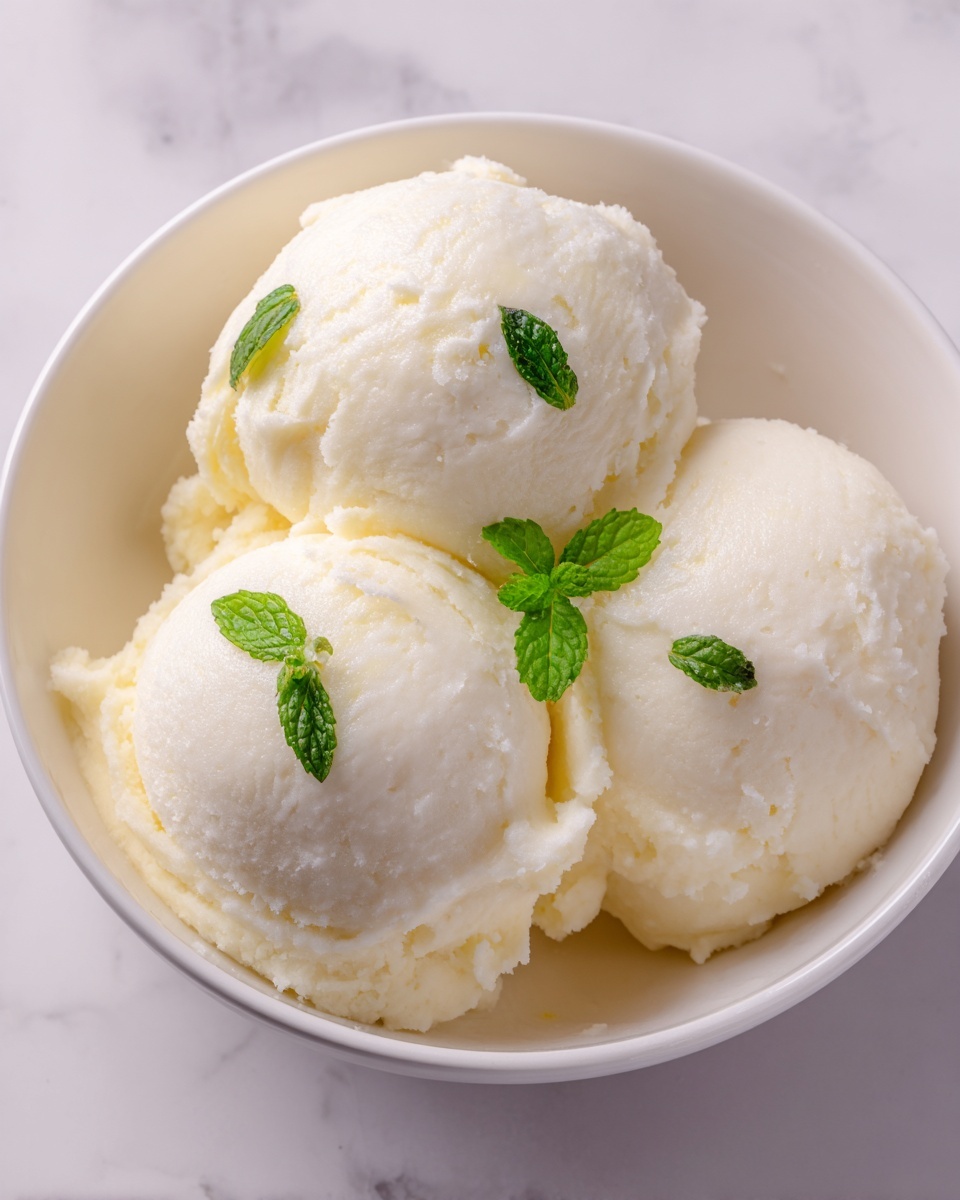
Enjoy a refreshing and creamy Homemade Pineapple Ice Cream that perfectly balances tropical sweetness with a smooth texture. Made with fresh pineapple, rich cream, and a hint of vanilla, this no-bake dessert is easy to prepare and perfect for warm days.
Ingredients
Main Ingredients
- 2 cups fresh pineapple chunks (or canned, drained)
- 1 cup heavy whipping cream
- 1 cup whole milk
- ⅓ cup granulated sugar
- 1 tablespoon lemon juice
- 1 teaspoon vanilla extract
- Pinch of salt
Instructions
- Prepare Pineapple Puree: Place the pineapple chunks in a blender or food processor and blend until smooth. For a smoother texture, strain the puree through a fine mesh sieve to remove excess pulp.
- Mix Ingredients: In a large bowl, whisk together the pineapple puree, heavy whipping cream, whole milk, granulated sugar, lemon juice, vanilla extract, and a pinch of salt until the sugar is completely dissolved.
- Chill Mixture: Cover the bowl and refrigerate the mixture for at least 1 hour to let the flavors meld and ensure the mixture is cold for churning.
- Churn Ice Cream: Pour the chilled mixture into an ice cream maker and churn according to the manufacturer’s instructions, usually for 20–25 minutes, until the ice cream thickens and develops a creamy texture.
- Freeze for Firmness: Transfer the churned ice cream to a lidded container and freeze for at least 2 hours to achieve a firmer consistency before serving.
Notes
- For a dairy-free version, substitute coconut cream and almond milk for the heavy cream and whole milk.
- You can fold in crushed pineapple before the final freezing for added texture.
- If using canned pineapple, ensure it is packed in juice rather than syrup to avoid excessive sweetness.


