
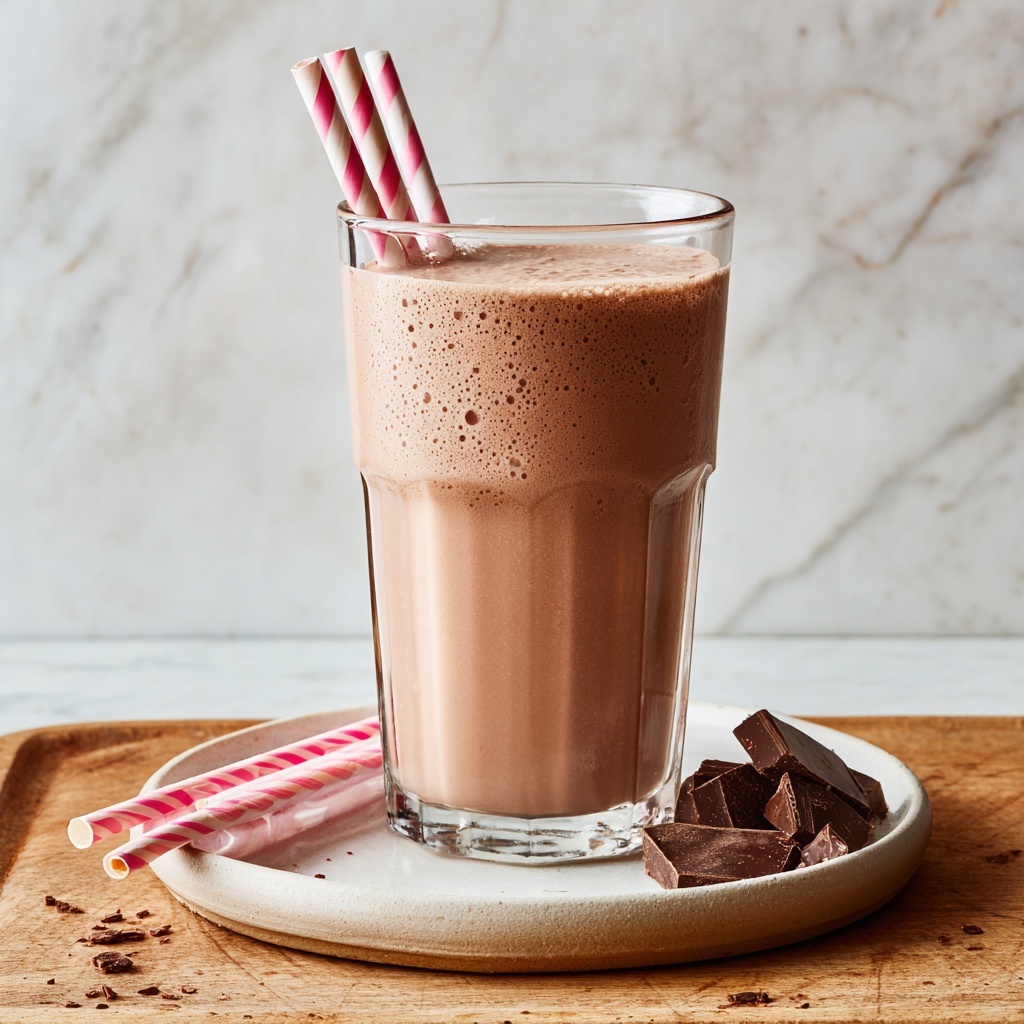
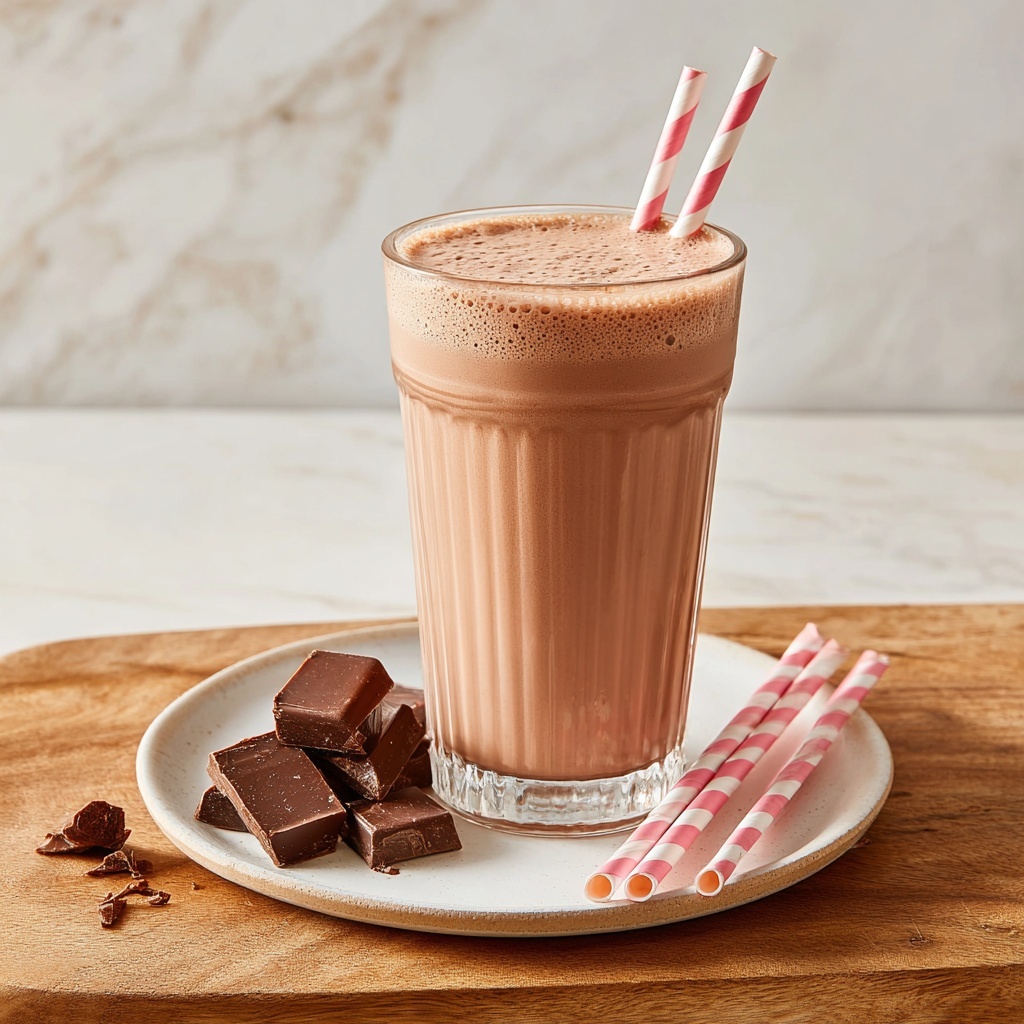
If you have ever craved the rich, creamy delight of a cafe-quality chocolate milk but wanted to make it yourself at home, then you are going to love this Homemade Chocolate Milk Recipe. It is incredibly simple, uses just a handful of everyday ingredients, and delivers a velvety, perfectly chocolatey drink that will have you reaching for a second glass. Whether you prefer whole milk, 2%, or a plant-based alternative, this recipe is flexible and easy to personalize with a touch of vanilla or a pinch of salt to elevate the flavors. Trust me, once you try this Homemade Chocolate Milk Recipe, there’s no looking back to store-bought versions.
Ingredients You’ll Need
Creating the perfect chocolate milk is all about balance, and these few essential ingredients work together to create a luscious, smooth drink. Each element plays a key role in the taste, texture, and visual appeal of your homemade treat.
- 2 cups cold milk (whole, 2%, or plant-based): The creamy base that gives your drink body and a smooth mouthfeel.
- 2 tablespoons unsweetened cocoa powder: Provides intense chocolate flavor without added sugar, allowing you to control the sweetness.
- 2 tablespoons granulated sugar or maple syrup: Sweetens the milk naturally and balances the bitterness of the cocoa; adjust to your taste!
- 1/2 teaspoon vanilla extract (optional): Adds a warm, aromatic note that makes the chocolate flavor pop beautifully.
- Pinch of salt (optional): Enhances the overall flavor by mellowing bitterness and brightening sweetness.
How to Make Homemade Chocolate Milk Recipe
Step 1: Make the Cocoa Paste
Start by combining the unsweetened cocoa powder and sugar in a small bowl. Add just a few tablespoons of your cold milk and stir vigorously until a smooth, lump-free paste forms. This step is crucial because it ensures the cocoa powder fully dissolves, preventing any gritty texture in your final drink.
Step 2: Combine with Remaining Milk
Pour the smooth chocolate paste into a bigger glass or jar containing the rest of your cold milk. Stir thoroughly, or if you prefer, screw on the lid and give it a good shake. This creates a wonderfully uniform chocolate milk without the need for extra equipment.
Step 3: Add Flavors
If you want to take your Homemade Chocolate Milk Recipe to the next level, stir in the optional vanilla extract and a pinch of salt now. These ingredients subtly deepen the flavor, making each sip more satisfying and surprisingly complex for such a simple drink.
Step 4: Serve Immediately or Chill
You can enjoy your chocolate milk right away over ice, or pop it in the refrigerator to chill further. Just remember to give it a quick stir before drinking if it sits for a while, as separation might naturally occur.
How to Serve Homemade Chocolate Milk Recipe
Garnishes
A lovely way to dress up this homemade drink is with a few simple garnishes. Try a sprinkle of cocoa powder or finely grated dark chocolate on top for a touch of elegance. Mini marshmallows or a dollop of whipped cream also make for delightful, kid-friendly extras that turn a glass of chocolate milk into a mini celebration.
Side Dishes
This drink pairs wonderfully with a variety of snacks. Classic chocolate chip cookies or buttery shortbread provide a perfect crunchy contrast, while fresh fruit like strawberries or bananas add a refreshing balance. For a breakfast twist, serve alongside warm pancakes or waffles for a comforting start to your day.
Creative Ways to Present
For gatherings or a fun treat, try layering your homemade chocolate milk with a splash of espresso or a drizzle of caramel syrup for an indulgent twist. Serving it in clear glasses lets the beautiful chocolatey hue shine, and a fun striped straw or colorful napkin adds an inviting touch. You might even freeze it into popsicles for a cool summertime version of the Homemade Chocolate Milk Recipe!
Make Ahead and Storage
Storing Leftovers
If you find yourself with some leftover chocolate milk, simply cover it tightly and refrigerate. It should stay fresh and delicious for up to two days. Be sure to give it a good stir before pouring, as natural separation can occur.
Freezing
While freezing homemade chocolate milk isn’t typically recommended because the texture can change and fats may separate, you can freeze it in ice cube trays for use in smoothies or iced coffee later. This preserves the flavor without compromising the overall experience.
Reheating
If you prefer your chocolate milk warm, gently heat your refrigerated portion in a saucepan over low heat, stirring constantly until steaming but not boiling. This will keep the flavors harmonious and maintain that luscious texture you love from the Homemade Chocolate Milk Recipe.
FAQs
Can I use plant-based milk to make this recipe?
Absolutely! Almond, oat, soy, or any other plant-based milk work wonderfully in this recipe. Each will lend a slightly different flavor and texture, so feel free to experiment to find your favorite combination.
How can I make this chocolate milk less sweet?
Simply reduce the amount of sugar or maple syrup used. Since the cocoa powder is unsweetened, you control the sweetness fully, which is great for customizing the drink to your taste buds.
Is it better to use warm or cold milk?
Cold milk is best for a refreshing drink, but if you want a cozy version, warm the milk slightly before mixing it with the cocoa paste. Either way, the taste will be delicious.
What’s the purpose of adding a pinch of salt?
A little salt enhances the chocolate flavor by balancing bitterness and sweetness, making the drink taste richer and more well-rounded, even though it’s optional.
Can I make a large batch of this chocolate milk?
Definitely! Just multiply the ingredients accordingly and mix in a large pitcher. Keep it refrigerated and stir before serving as separation is natural over time.
Final Thoughts
I truly hope you enjoy this Homemade Chocolate Milk Recipe as much as I do. It’s such a comforting, simple pleasure that elevates a humble glass of milk into something special and indulgent. Whip it up anytime you need a quick pick-me-up or a nostalgic treat—your taste buds will thank you!
Print
Homemade Chocolate Milk Recipe
- Prep Time: 5 minutes
- Cook Time: 0 minutes
- Total Time: 5 minutes
- Yield: 2 servings
- Category: Beverage
- Method: No-Cook
- Cuisine: American
- Diet: Vegetarian, Gluten Free
Description
Enjoy a rich and creamy homemade chocolate milk made from simple ingredients like milk, cocoa powder, and sweetener. This easy, kid-friendly beverage is perfect served cold or warm and can be adjusted to suit your dietary preferences including vegetarian and gluten-free diets.
Ingredients
Chocolate Milk Ingredients
- 2 cups cold milk (whole, 2%, or plant-based)
- 2 tablespoons unsweetened cocoa powder
- 2 tablespoons granulated sugar or maple syrup (adjust to taste)
- 1/2 teaspoon vanilla extract (optional)
- Pinch of salt (optional, to enhance flavor)
Instructions
- Make the Cocoa Paste: In a small bowl, combine the cocoa powder, sugar, and a few tablespoons of cold milk. Stir thoroughly until you form a smooth paste without any lumps.
- Combine with Milk: Pour the cocoa paste into the remaining cold milk in a glass or jar. Stir vigorously or shake well until the mixture is fully combined and smooth. Add vanilla extract and a pinch of salt at this stage if using.
- Serve or Chill: Serve the chocolate milk immediately over ice or chill in the refrigerator. Stir again before drinking if the ingredients have separated.
- Optional Warm Version: For warm chocolate milk, heat the milk before mixing with the cocoa paste. Alternatively, blend all ingredients in a blender for an ultra-smooth texture.
Notes
- Adjust sweetness according to your taste preference by varying the amount of sugar or maple syrup.
- For a richer flavor, use whole milk or a creamy plant-based milk like oat or almond.
- The pinch of salt enhances the chocolate flavor but can be omitted if preferred.
- Blending the ingredients can provide a creamier, frothier texture.
- Store any leftovers in the refrigerator and shake well before use as natural separation may occur.


