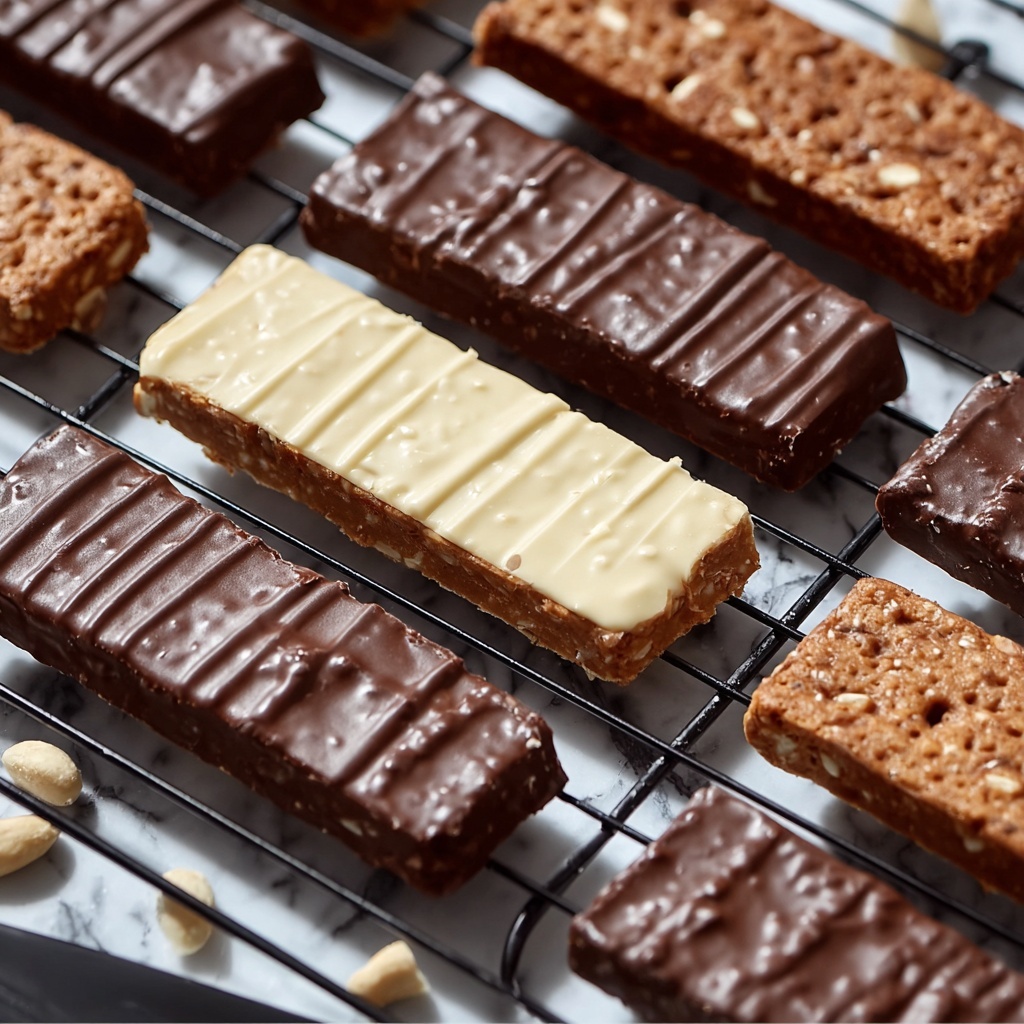
If you’re on the lookout for a delicious and nutritious snack that keeps you fueled without fuss, the Easy Homemade Protein Bars to Energize Your Day Recipe is exactly what you need. These bars are not only packed with protein but also bring together delightful natural flavors and textures that make every bite a little moment of joy. Whether you’re rushing out the door or looking to power through an afternoon slump, these homemade bars offer the perfect balance of wholesome ingredients and satisfying taste to keep your energy soaring.
Ingredients You’ll Need
The beauty of the Easy Homemade Protein Bars to Energize Your Day Recipe lies in its simplicity, featuring ingredients that each play a vital role in creating taste, texture, and that irresistible feel-good factor. Let’s dive into the essentials that make these bars so special.
- Coconut flour: Adds fiber and a subtle natural sweetness, helping with texture and a gentle coconutty flavor.
- Protein powder: Choose your favorite flavor to boost protein content and add a personalized twist.
- Peanut butter: Creamy richness that binds everything together while delivering healthy fats.
- Maple syrup: Acts as a natural sweetener, perfectly balancing the flavors and providing moisture.
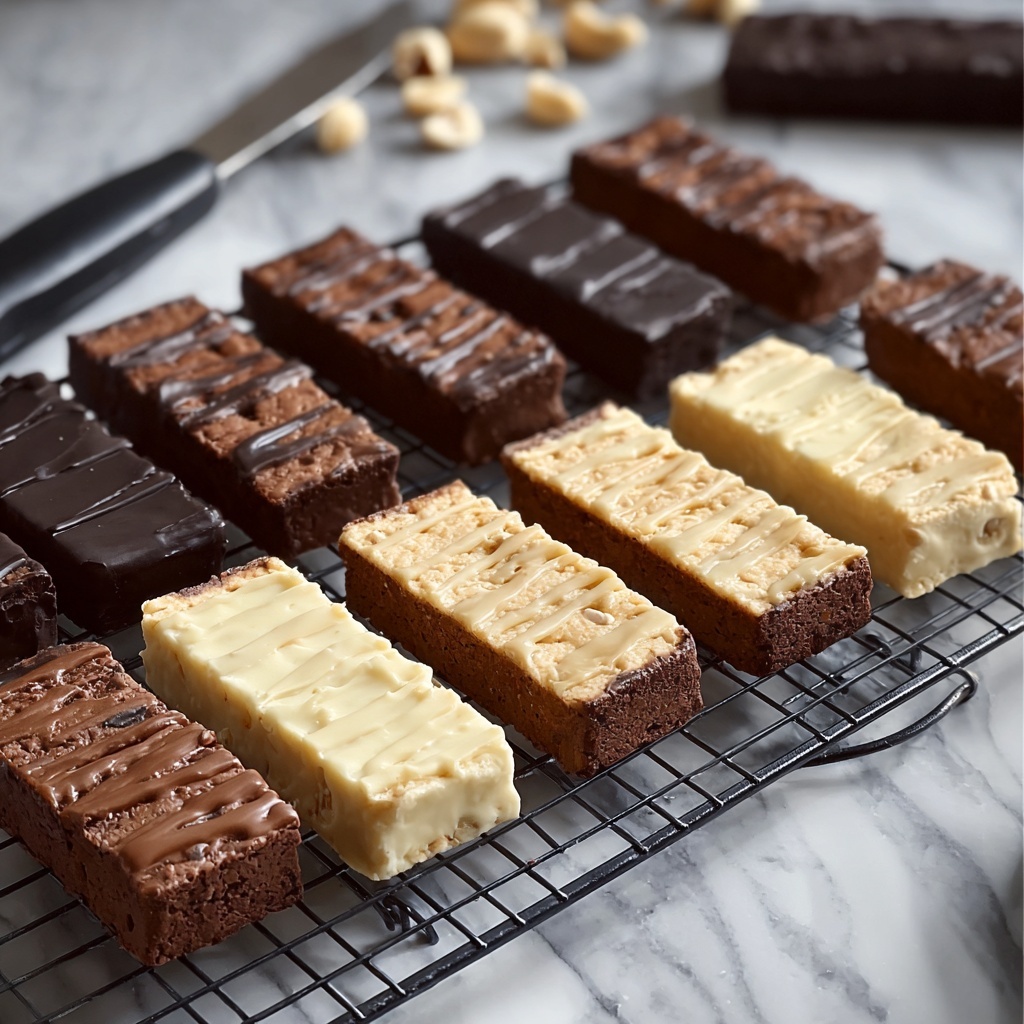
- Chocolate chips: For that decadent finish, melting slightly to add bursts of chocolaty goodness.
How to Make Easy Homemade Protein Bars to Energize Your Day Recipe
Step 1: Prepare Your Pan
Start by lining a deep pan with parchment paper to ensure the bars come out easily once set. This simple step helps keep cleanup to a minimum and preserves the shape perfectly.
Step 2: Combine Dry Ingredients
In a large mixing bowl, whisk together the coconut flour and your choice of protein powder. This blend creates the base of the bars, providing both structure and that satisfying protein punch.
Step 3: Melt the Peanut Butter and Maple Syrup
Take a small bowl and gently melt the peanut butter with the maple syrup until the mixture is smooth and runny. This step is key for making sure the wet ingredients integrate seamlessly with the dry, ensuring a perfect consistency.
Step 4: Mix Wet and Dry Ingredients
Pour the melted peanut butter and maple syrup into your dry ingredients and stir thoroughly. You want every bit of these flavors to meld together, creating a thick and sticky batter ready for shaping.
Step 5: Transfer and Firm Up
Press the batter firmly into your prepared pan, making sure it’s even and compact. Then, pop it in the refrigerator or freezer to set for about 30 minutes, letting the bars firm up for easy slicing and handling.
How to Serve Easy Homemade Protein Bars to Energize Your Day Recipe
Garnishes
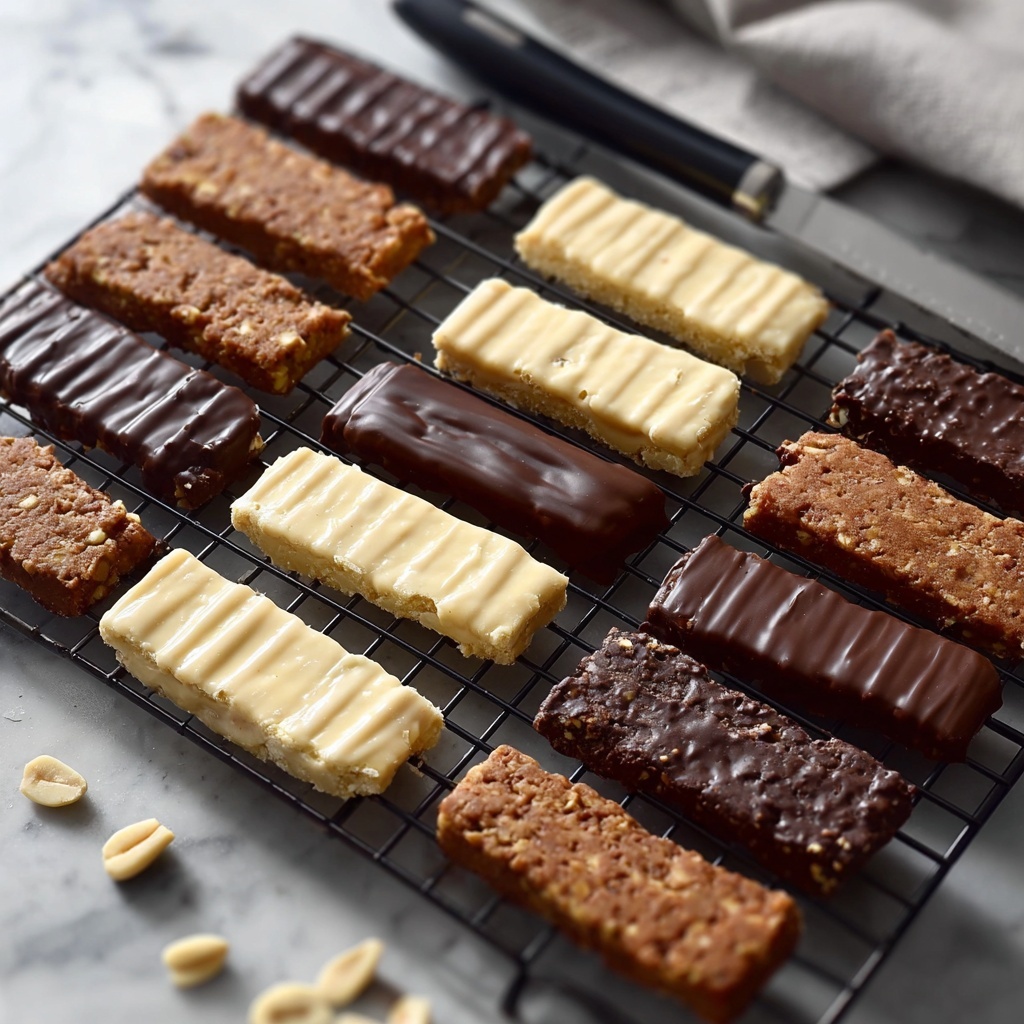
While these bars shine on their own, a sprinkle of crushed nuts or a drizzle of melted dark chocolate can add a little extra flair and texture. Fresh berries on the side also brighten the presentation and add a juicy contrast.
Side Dishes
Pair your protein bars with a refreshing smoothie or a cup of herbal tea for a balanced snack experience. These combinations keep the energy flowing without overpowering the delicious simplicity of the bars.
Creative Ways to Present
Wrap each bar individually in parchment paper and tie with a rustic string for an adorable grab-and-go snack. For gatherings, arrange the bars on a colorful platter with nuts and dried fruit around, enticing everyone to dig in.
Make Ahead and Storage
Storing Leftovers
Easy Homemade Protein Bars to Energize Your Day Recipe bars store wonderfully in an airtight container in the fridge. This keeps them fresh and firm for up to a week, perfect for busy days when you need a quick pick-me-up.
Freezing
If you prefer to prepare ahead, these bars freeze beautifully. Wrap them individually and keep in a freezer-safe container for up to three months, ready to thaw when hunger strikes.
Reheating
These bars are best enjoyed cold or at room temperature, but if you’re craving a warm treat, a few seconds in the microwave works perfectly without compromising texture.
FAQs
Can I use a different nut butter instead of peanut butter?
Absolutely! Almond butter or cashew butter will work beautifully and bring their own unique flavors to the bars.
Is it possible to make these bars vegan?
Yes, just ensure your protein powder is plant-based and substitute the peanut butter with a vegan-friendly alternative. Also, check that your chocolate chips are dairy-free.
How long do these protein bars last?
Stored properly in the fridge, they last about one week. For longer storage, freezing is your best friend.
Can I add other mix-ins?
Definitely! Chopped nuts, seeds, dried fruit, or even a dash of cinnamon can be mixed in to customize your bars.
What is the best protein powder to use?
It really depends on your taste and dietary preferences—whey, plant-based, or casein protein powders all work well in this recipe.
Final Thoughts
Getting to enjoy the Easy Homemade Protein Bars to Energize Your Day Recipe is like giving yourself a little boost wrapped in a delicious, wholesome package. The simplicity, the tantalizing flavors, and the ability to tailor these bars to your liking make them a staple snack that you’ll reach for again and again. I can’t wait for you to try this recipe and find your perfect on-the-go energy companion.
Print
Easy Homemade Protein Bars to Energize Your Day Recipe
- Prep Time: 6 minutes
- Cook Time: 0 minutes
- Total Time: 36 minutes
- Yield: 8 servings
- Category: Snack
- Method: No-Cook
- Cuisine: American
- Diet: Vegetarian
Description
These easy homemade protein bars are a delicious and nutritious way to energize your day. Made with coconut flour, protein powder, creamy peanut butter, maple syrup, and chocolate chips, these bars provide a perfect balance of fiber, protein, and natural sweetness. No baking required—just mix, chill, and enjoy a healthy snack anytime.
Ingredients
Dry Ingredients
- 1 cup coconut flour (adds fiber and sweetness)
- 1 cup protein powder (choose your favorite flavor)
Wet Ingredients
- 1 cup creamy peanut butter (rich and smooth)
- 1/2 cup maple syrup (natural sweetener)
Add-ins
- 1/2 cup chocolate chips (decadent finish)
Instructions
- Prepare the pan: Line a deep pan or baking dish with parchment paper to prevent sticking and make removing the bars easy.
- Mix dry ingredients: In a large mixing bowl, combine 1 cup coconut flour and 1 cup protein powder thoroughly to ensure even distribution.
- Melt wet ingredients: In a small bowl, gently melt 1 cup peanut butter with 1/2 cup maple syrup until the mixture is smooth and combined, making it easier to mix with dry ingredients.
- Combine mixtures: Pour the melted peanut butter and maple syrup mixture into the dry ingredients bowl, adding 1/2 cup chocolate chips. Mix thoroughly until a uniform batter forms.
- Press batter into pan: Transfer the batter into the prepared baking dish and press down firmly and evenly to form an even layer.
- Chill to set: Place the pan in the refrigerator or freezer for about 30 minutes until the bars are firm and easy to cut.
- Serve and store: Once firm, remove from the pan, cut into 8 bars, and enjoy. Store leftover bars in an airtight container in the refrigerator.
Notes
- You can substitute peanut butter with almond or cashew butter for variety.
- Use your favorite flavor of protein powder to customize taste.
- For a vegan version, ensure your protein powder is plant-based and maple syrup is used as the sweetener.
- Chilling time may vary depending on your refrigerator settings.
- Optional: Add nuts or dried fruit for extra texture.
