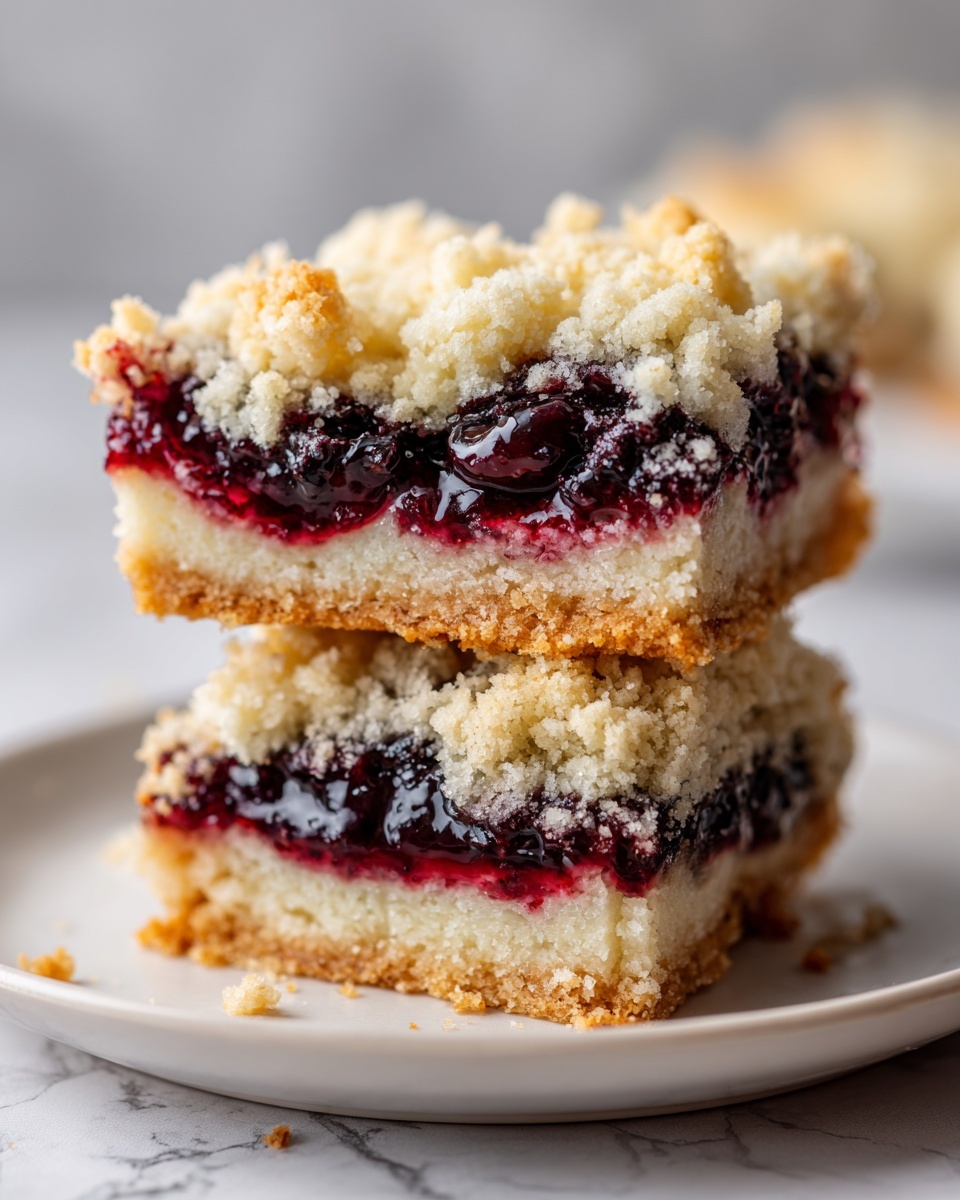
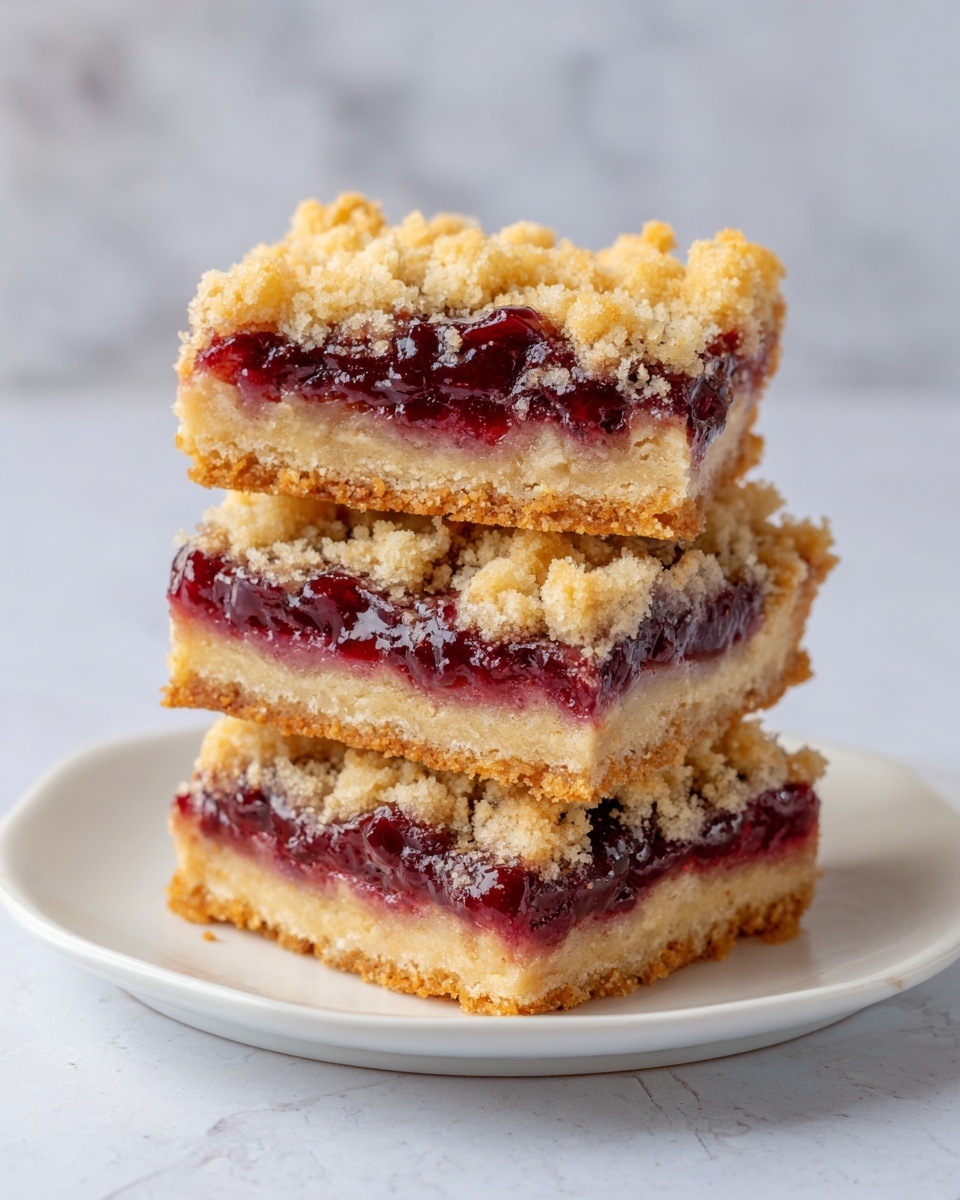
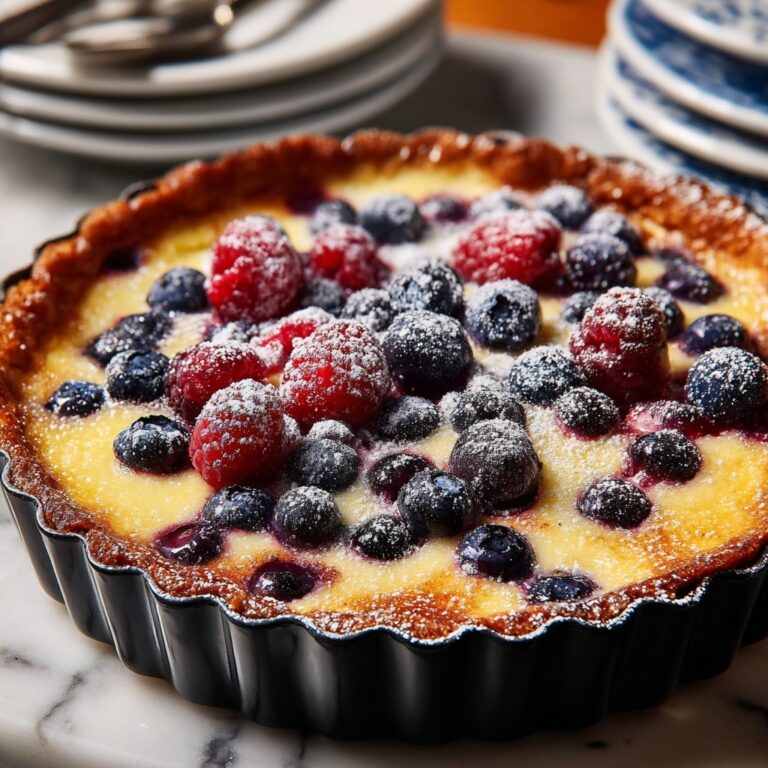
There’s something truly magical about cherry pie, but not everyone has the time or patience to fuss with a traditional crust. That’s why this Cherry Pie Bars Recipe is an absolute game-changer. With a soft, buttery base that melts in your mouth, a luscious cherry pie filling that bursts with flavor, and a delicate vanilla glaze drizzled on top, these bars bring all the joy of classic cherry pie into an easy-to-make, portable form. Whether you’re hosting a holiday gathering, bringing a dish to a potluck, or simply craving a sweet treat, these cherry pie bars are destined to become your new favorite dessert.
Ingredients You’ll Need
Ingredients You’ll Need
Gathering the right ingredients is your first step toward cherry pie bar bliss. Each component plays its part: the butter creates that tender, rich base; sugar adds sweetness; eggs bind everything together; and that cherry pie filling provides the signature fruity punch that makes this recipe impossible to resist.
- Unsalted butter (1 cup, softened): Provides a rich, tender crumb for the bars, ensuring they’re buttery without being greasy.
- Granulated sugar (1 3/4 cups): Sweetens the batter perfectly, balancing the tartness of the cherries.
- Salt (1/2 teaspoon): Enhances all the flavors, making every bite pop wonderfully.
- Large eggs (4): Bind the ingredients together and add moisture for a soft texture.
- Vanilla extract (1 teaspoon): Lends a warm, inviting aroma and depth of flavor.
- Almond extract (1/4 teaspoon, optional): Adds a subtle, complementary nuttiness that pairs beautifully with cherries.
- All-purpose flour (2 1/2 cups): The structure-builder of the bars, giving them enough heft without heaviness.
- Cherry pie filling (1 can, 21 oz): The star of the show with sweet-tart cherries in syrupy goodness.
For the glaze:
- Powdered sugar (1 cup): Creates a smooth, sweet drizzle that finishes the bars perfectly.
- Milk (2 tablespoons): Adjusts glaze consistency for that picture-perfect pour.
- Vanilla extract (1/2 teaspoon): Enhances the glaze with a lovely hint of vanilla warmth.
How to Make Cherry Pie Bars Recipe
Step 1: Prep Your Pan and Batter
Start by preheating your oven to 350°F and greasing a 9×13-inch baking dish to prevent sticking. In a large bowl, cream together the softened butter, sugar, and salt until the mixture feels light and fluffy—this is key for that soft, rich base everyone will love. Slowly beat in the eggs one at a time, making sure each is fully incorporated before adding the next. Add in the vanilla extract and, if you like, a touch of almond extract for an extra layer of flavor.
Step 2: Bring the Batter Together
Gradually add the all-purpose flour to the wet ingredients, mixing just until combined. Overmixing can make the bars tough, so be gentle here. The batter will be thick but spreadable—perfect for layering.
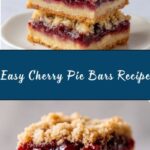
Step 3: Layer the Cherry Pie Bars
Spread about two-thirds of the batter evenly into your prepared pan, creating a solid, buttery base to hold all that luscious cherry pie filling. Then, spoon the cherry pie filling evenly over the batter, making sure to distribute those plump cherries throughout. Finally, drop small spoonfuls of the remaining batter over the cherry layer — this creates a lovely, textured top to your bars once baked.
Step 4: Bake Until Golden
Pop your pan into the oven and bake for 35 to 40 minutes. You’ll want to see that golden-brown color on top and test doneness with a toothpick, which should come out mostly clean with just a few moist crumbs. Let the bars cool completely in the pan; this resting time helps them set perfectly before glazing.
Step 5: Glaze and Serve
In a small bowl, whisk together powdered sugar, milk, and vanilla extract until smooth and pourable. Drizzle this luscious glaze over the cooled bars using a spoon or fork for that classic dessert finish. Let the glaze firm up a bit before slicing the bars into squares—this part is just as fun as eating them!
How to Serve Cherry Pie Bars Recipe
Garnishes
To elevate your cherry pie bars, try sprinkling some sliced almonds on top before baking for a subtle crunch and nutty flavor. Fresh mint leaves on the side add a refreshing contrast and a pop of color that makes the bars look even more inviting.
Side Dishes
While these bars stand beautifully on their own, pairing them with a scoop of vanilla ice cream or a dollop of whipped cream takes the experience next-level. For cozy gatherings, a warm cup of coffee or a splash of almond milk complements the sweet and tart flavor profile perfectly.
Creative Ways to Present
Thinking beyond the usual square cut? Arrange your cherry pie bars on a pretty platter with edible flowers or fresh cherries for a charming presentation. You can also serve them in individual ramekins with a drizzle of extra glaze and a sprinkle of powdered sugar for a more personalized touch.
Make Ahead and Storage
Storing Leftovers
If you don’t devour all your cherry pie bars right away (though that can be a challenge!), store leftovers in an airtight container at room temperature for up to two days. For longer freshness, refrigerate them where they’ll keep beautifully for about five days without losing flavor or texture.
Freezing
These bars freeze wonderfully, making them a great make-ahead treat. Wrap individual bars tightly in plastic wrap and place them in a freezer bag or container. When ready to enjoy, thaw overnight in the fridge for the best texture and flavor.
Reheating
Warm up your bars gently in the microwave for about 15 to 20 seconds or until soft, but avoid overheating to prevent drying out. Reheating adds a fresh-baked feel that can make your Cherry Pie Bars Recipe taste just like they came out of the oven!
FAQs
Can I use fresh cherries instead of canned pie filling?
Absolutely! If you prefer fresh cherries, cook them down with sugar and a bit of cornstarch to thicken before using them as your filling. This gives you control over sweetness and texture while keeping that fresh flavor.
How do I make this recipe gluten-free?
Swap the all-purpose flour for a gluten-free flour blend that measures cup-for-cup. Just make sure your blend contains xanthan gum or another binder for best results in texture and structure.
Can I add a crumb topping to the bars?
Definitely! Adding a simple crumb topping made from butter, sugar, and flour sprinkled over the cherry layer before baking gives a lovely crunch and extra dimension to each bite.
Is almond extract necessary?
The almond extract adds a subtle, delicious nuance that elevates the cherry flavor but is completely optional. If you’re allergic or don’t have any on hand, just omit it — the bars will still be amazing.
How thick should I spread the batter layers?
Spread about two-thirds of the batter for the bottom layer to create a sturdy base. The remaining third, dropped in spoonfuls on top, creates a beautiful, rustic top crust that bakes up golden and slightly crisp.
Final Thoughts
If you’re looking for an easy yet utterly delicious way to capture the spirit of cherry pie, this Cherry Pie Bars Recipe is it. Each bite offers that perfect balance of buttery softness, juicy cherries, and sweet glaze that’s hard to beat. Trust me, once you try these bars, they’ll become your go-to dessert for every celebration and casual treat alike. Don’t hesitate—grab your ingredients and start baking this delightful treat today!
Print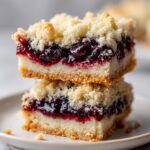
Cherry Pie Bars Recipe
- Prep Time: 15 minutes
- Cook Time: 40 minutes
- Total Time: 55 minutes
- Yield: 24 bars
- Category: Dessert
- Method: Baking
- Cuisine: American
- Diet: Vegetarian
Description
Cherry pie bars are a delicious and easy way to enjoy the flavor of cherry pie without the fuss of a traditional crust. Featuring a soft, buttery base topped with sweet cherry pie filling and finished with a light vanilla glaze, these bars make a perfect treat for holidays, potlucks, or any everyday dessert craving.
Ingredients
Base and Filling
- 1 cup unsalted butter, softened
- 1 3/4 cups granulated sugar
- 1/2 teaspoon salt
- 4 large eggs
- 1 teaspoon vanilla extract
- 1/4 teaspoon almond extract (optional)
- 2 1/2 cups all-purpose flour
- 1 (21 oz) can cherry pie filling
Glaze
- 1 cup powdered sugar
- 2 tablespoons milk
- 1/2 teaspoon vanilla extract
Instructions
- Preheat Oven and Prepare Pan: Preheat your oven to 350°F (175°C) and grease a 9×13-inch baking dish to prevent sticking and ensure easy removal of the bars.
- Cream Butter and Sugar: In a large bowl, cream together the softened butter, granulated sugar, and salt using a hand mixer or stand mixer until the mixture is light and fluffy, about 3–4 minutes.
- Add Eggs and Extracts: Beat in the eggs one at a time, ensuring each is fully incorporated before adding the next. Stir in vanilla extract and almond extract if using, to enhance the flavor complexity.
- Mix in Flour: Gradually add the all-purpose flour into the wet mixture, folding carefully until a cohesive batter forms without overmixing.
- Spread Base Batter: Spread about two-thirds of the batter evenly in the prepared baking dish, smoothing it out with a spatula to form the base layer.
- Add Cherry Pie Filling: Spoon the entire can of cherry pie filling evenly over the batter layer, distributing it uniformly.
- Top with Remaining Batter: Drop small dollops of the remaining batter over the cherry filling. These will bake into a crumbly topping.
- Bake the Bars: Place the pan in the preheated oven and bake for 35 to 40 minutes or until the bars are golden brown and a toothpick inserted near the center comes out mostly clean.
- Cool Completely: Remove the pan from the oven and allow the bars to cool completely in the pan on a wire rack for best results and easier glazing.
- Prepare and Drizzle Glaze: In a small bowl, whisk together powdered sugar, milk, and vanilla extract until smooth. Drizzle this glaze over the cooled bars evenly and allow it to set before cutting the bars into 24 squares.
Notes
- You can substitute cherry pie filling with other flavors like blueberry or apple for variety.
- For extra texture and flavor, sprinkle sliced almonds on top before baking.
- Store bars at room temperature for up to 2 days or refrigerate for up to 5 days to keep them fresh.
