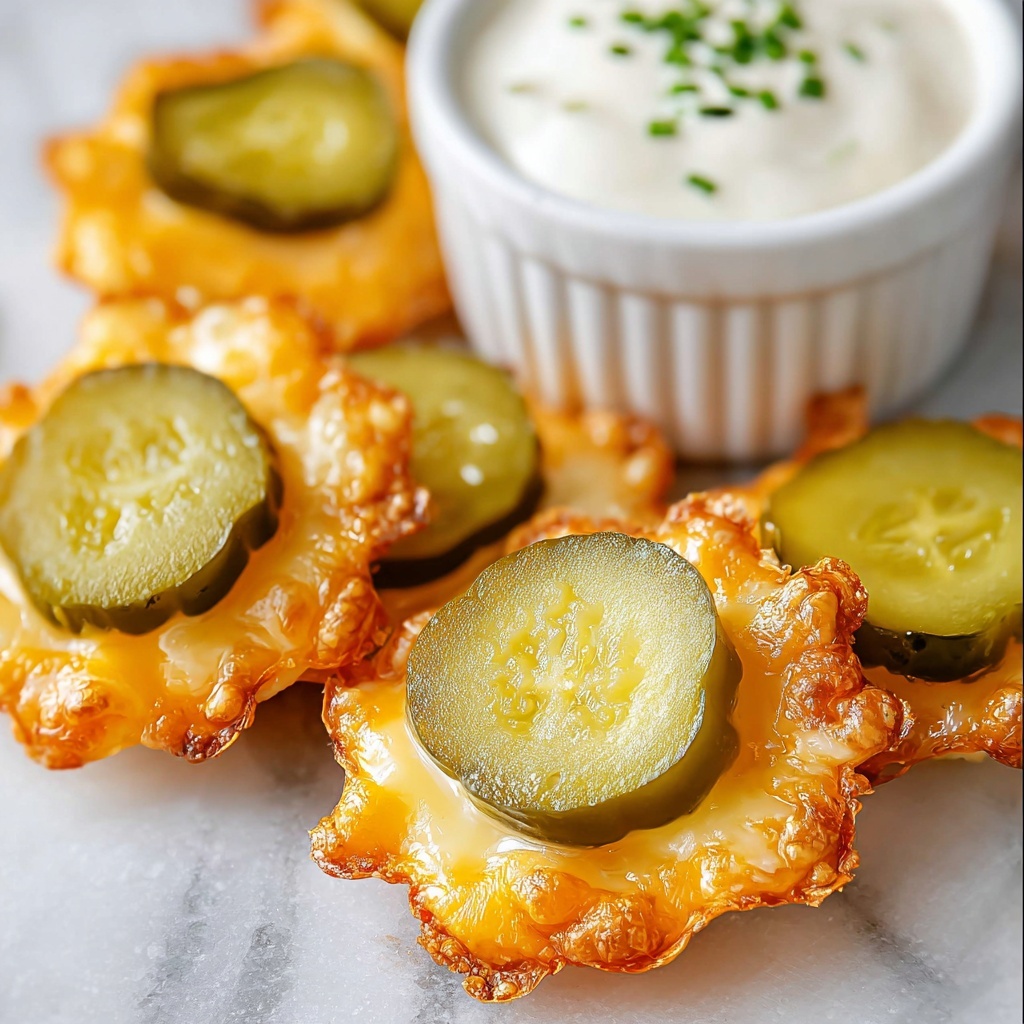
If you are searching for a snack that perfectly combines tangy, salty, and irresistibly cheesy flavors, look no further than this Cheesy Pickle Chips Recipe. These bite-sized delights bring together crispy dill pickle chips smothered in melty cheese and zesty ranch seasoning, baked to golden perfection. Whether you’re hosting a party or just craving a unique snack, this recipe promises bursts of flavor in every crunchy, cheesy bite that will keep you coming back for more.
Ingredients You’ll Need
The magic of this Cheesy Pickle Chips Recipe lies in its simplicity, using just a few key ingredients that pack a punch. Each element contributes essential flavor and texture: tangy pickle chips provide crispness and acidity, shredded cheese offers gooey richness, and ranch seasoning adds a savory herbal kick that pulls it all together.
- Dill pickle hamburger chips: These are the tangy, crunchy base and star ingredient; be sure to drain and dry them well.
- Shredded cheese: Choose cheddar or a blend for a melty, flavorful layer that crisps beautifully in the oven.
- Dry ranch seasoning: Adds a savory, herb-infused note that enhances both the pickles and the cheese perfectly.
How to Make Cheesy Pickle Chips Recipe
Step 1: Preheat Oven
Start by preheating your oven to 350 degrees Fahrenheit (175°C). This temperature is ideal for melting the cheese evenly and crisping up the pickle chips without burning them.
Step 2: Prepare Pickles
Drain the dill pickle hamburger chips thoroughly and pat each one dry with paper towels. Removing excess moisture is key to avoiding sogginess and ensuring each pickle chip crisps up nicely under the cheese.
Step 3: Layer Cheese
Grab a mini muffin pan and sprinkle about 1 tablespoon of shredded cheese into each tin. This cheesy base will help hold the pickle chips in place and create a crispy cheese cup once baked.
Step 4: Add Pickles
Carefully place one dill pickle chip on top of the shredded cheese in each muffin tin. This layering sets the stage for the perfect bite where tangy pickle meets gooey cheese.
Step 5: Season & Top with Cheese
Sprinkle about a tablespoon of dry ranch seasoning over the pickles for that savory, herby flavor. Then add roughly half a teaspoon more shredded cheese on top of each chip to keep things extra cheesy and appealing.
Step 6: Bake
Place the muffin pan in your preheated oven and bake for about 6 minutes or until the cheese bubbles and turns lightly browned. The cheese will crisp in the edges while staying creamy in the middle, creating an irresistible contrast.
Step 7: Cool & Crisp
Once baked, carefully remove the pan from the oven and let the cheesy pickle chips cool for a few minutes. Transfer them onto a paper towel to finish crisping up as they cool, ensuring an addictive crunch with every bite.
Step 8: Serve
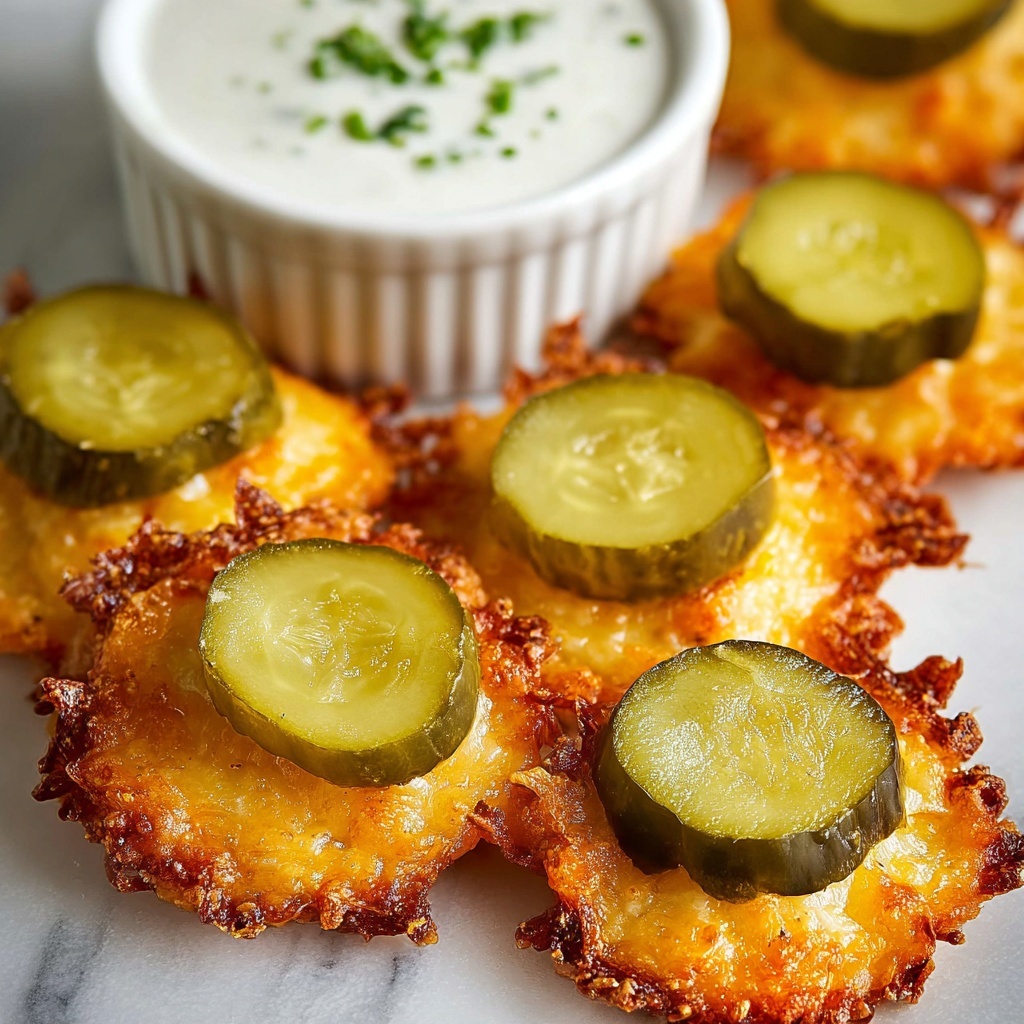
Your Cheesy Pickle Chips Recipe is now ready to be enjoyed! Whether eaten on their own or dipped in your favorite sauce, these little snacks are perfect for any occasion.
How to Serve Cheesy Pickle Chips Recipe
Garnishes
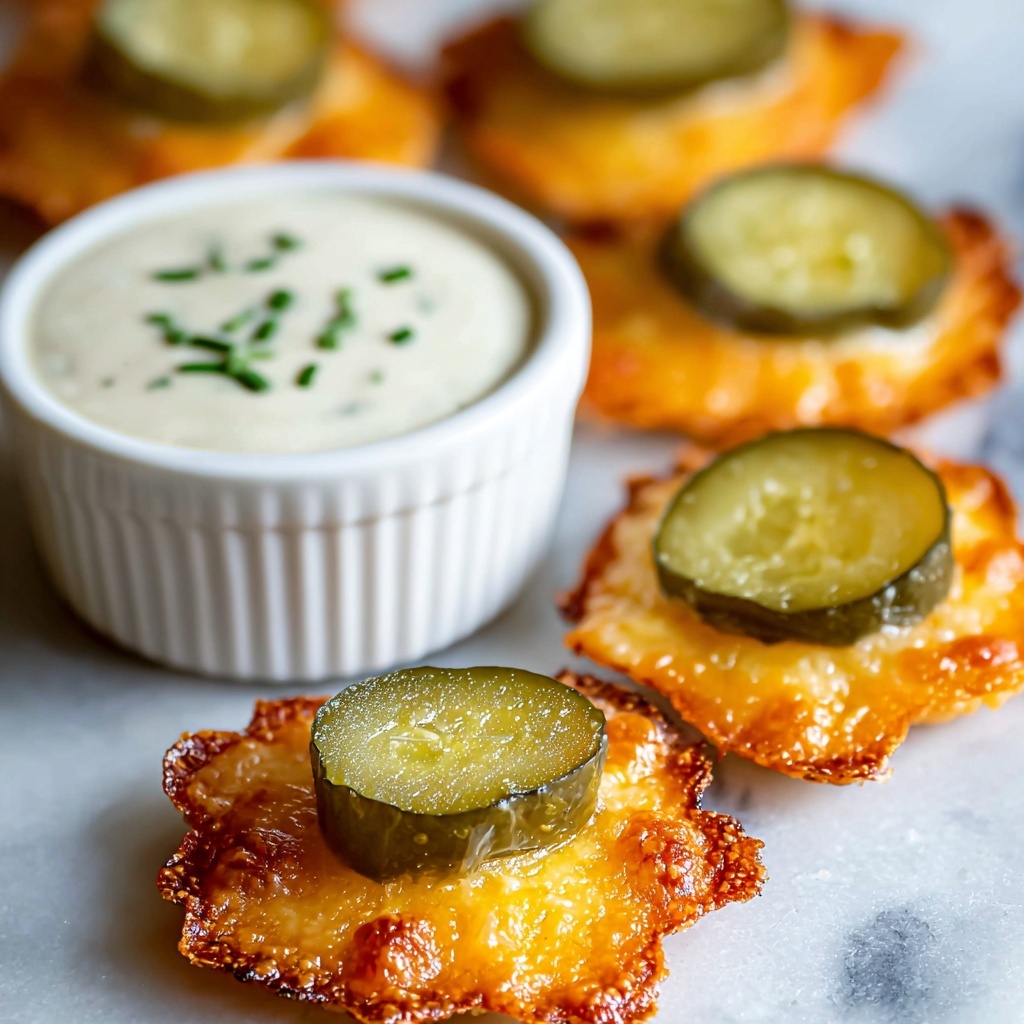
Adding fresh herbs like chopped chives or parsley can brighten the flavor and give your Cheesy Pickle Chips a fresh, colorful finish. A sprinkle of smoked paprika adds a subtle smoky hint that complements the cheese beautifully.
Side Dishes
Pair these chips with cool, creamy dips such as ranch dressing or sour cream for a delightful contrast. They also go wonderfully with hearty sandwiches or burgers, adding a crunchy, flavorful sidekick.
Creative Ways to Present
Serve the cheesy pickle chips on a stylish platter garnished with slices of fresh lemon or jalapeños for a zesty twist. For parties, consider skewering several on toothpicks with cubes of cheese and olives for a fun, bite-sized appetizer.
Make Ahead and Storage
Storing Leftovers
If you have any leftover Cheesy Pickle Chips, store them in an airtight container at room temperature for up to one day. To keep them crisp, avoid refrigerating as moisture can make them soggy.
Freezing
Because these chips are best enjoyed crunchy and fresh, freezing is not recommended as it affects the texture of both pickles and cheese.
Reheating
To bring leftovers back to life, reheat them briefly in a hot oven or toaster oven for about 2–3 minutes. This will help the cheese regain its gooey texture and the pickles remain crispy without turning soggy.
FAQs
Can I use other types of cheese in this recipe?
Absolutely! While cheddar adds a classic flavor and melts well, feel free to experiment with Monterey Jack, pepper jack, or a blend to suit your taste preferences.
What if I don’t have dry ranch seasoning?
You can make a simple substitute using a mix of garlic powder, onion powder, dried dill, and a pinch of salt and pepper. This will give a similar savory herbiness to your Cheesy Pickle Chips.
Can these be made gluten-free?
Yes! This recipe is naturally gluten-free as it uses just pickles, cheese, and seasoning. Just double-check that your ranch seasoning packet is gluten-free to be certain.
How can I make these less salty?
Pickled items and cheese both carry salt, so choosing low-sodium dill pickle chips and a milder cheese can help reduce overall saltiness without sacrificing flavor.
Is this recipe suitable for a crowd?
Definitely! The mini muffin pan setup makes it easy to prepare multiple batches quickly, so it’s a fantastic finger food option for parties or gatherings.
Final Thoughts
I hope you’re as excited to try this Cheesy Pickle Chips Recipe as I am to share it with you. It’s one of those wonderfully simple snacks that delivers bold flavors and satisfying textures in just a few easy steps. Perfect for sharing, snacking, or surprising your guests with something different, these cheesy pickle chips are bound to become a beloved favorite in your kitchen too!
Print
Cheesy Pickle Chips Recipe
- Prep Time: 5 minutes
- Cook Time: 6 minutes
- Total Time: 11 minutes
- Yield: 24 servings
- Category: Appetizer
- Method: Baking
- Cuisine: American
Description
Crispy, cheesy pickle chips baked to golden perfection, seasoned with tangy ranch spice for a deliciously addictive snack or appetizer.
Ingredients
Pickle Chips
- 24 dill pickle hamburger chips
Cheese
- 2 cups shredded cheese (such as cheddar or a blend)
Seasoning
- 3 tbsp dry ranch seasoning (from a packet)
Instructions
- Preheat Oven: Preheat your oven to 350 degrees F (175°C) to prepare for baking the chips.
- Prepare Pickles: Drain the dill pickle chips and pat them dry thoroughly with paper towels. This removes excess moisture to help the cheese crisp up and prevents sogginess.
- Layer Cheese: Using a mini muffin pan, sprinkle about 1 tablespoon of shredded cheese into each tin to create a cheesy base for the pickle chips.
- Add Pickles: Place one dill pickle chip on top of the shredded cheese in each muffin tin, ensuring it is centered.
- Season & Top with Cheese: Evenly sprinkle dry ranch seasoning over each pickle chip, then add about ½ teaspoon more shredded cheese on top of each chip for extra cheesy flavor.
- Bake: Place the mini muffin pan in the preheated oven and bake for about 6 minutes or until the cheese turns brown and begins to bubble.
- Cool & Crisp: Remove the pan from the oven and let the chips cool in the pan for a few minutes. Then transfer each chip onto a paper towel-lined plate to allow them to crisp up further as they cool.
- Serve: Enjoy the Cheesy Pickle Chips plain or paired with your favorite dip for an irresistible snack or appetizer.
Notes
- Patting the pickle chips dry is essential to prevent sogginess and to help the cheese crisp nicely.
- Feel free to use a cheese blend that melts well, such as cheddar with mozzarella.
- If you prefer a spicier seasoning, substitute ranch seasoning with a spicy ranch or add chili powder.
- Use a mini muffin pan to keep the chips upright and contain the cheese while baking.
- Serve immediately for best texture, but leftovers can be reheated in a toaster oven to crisp again.

