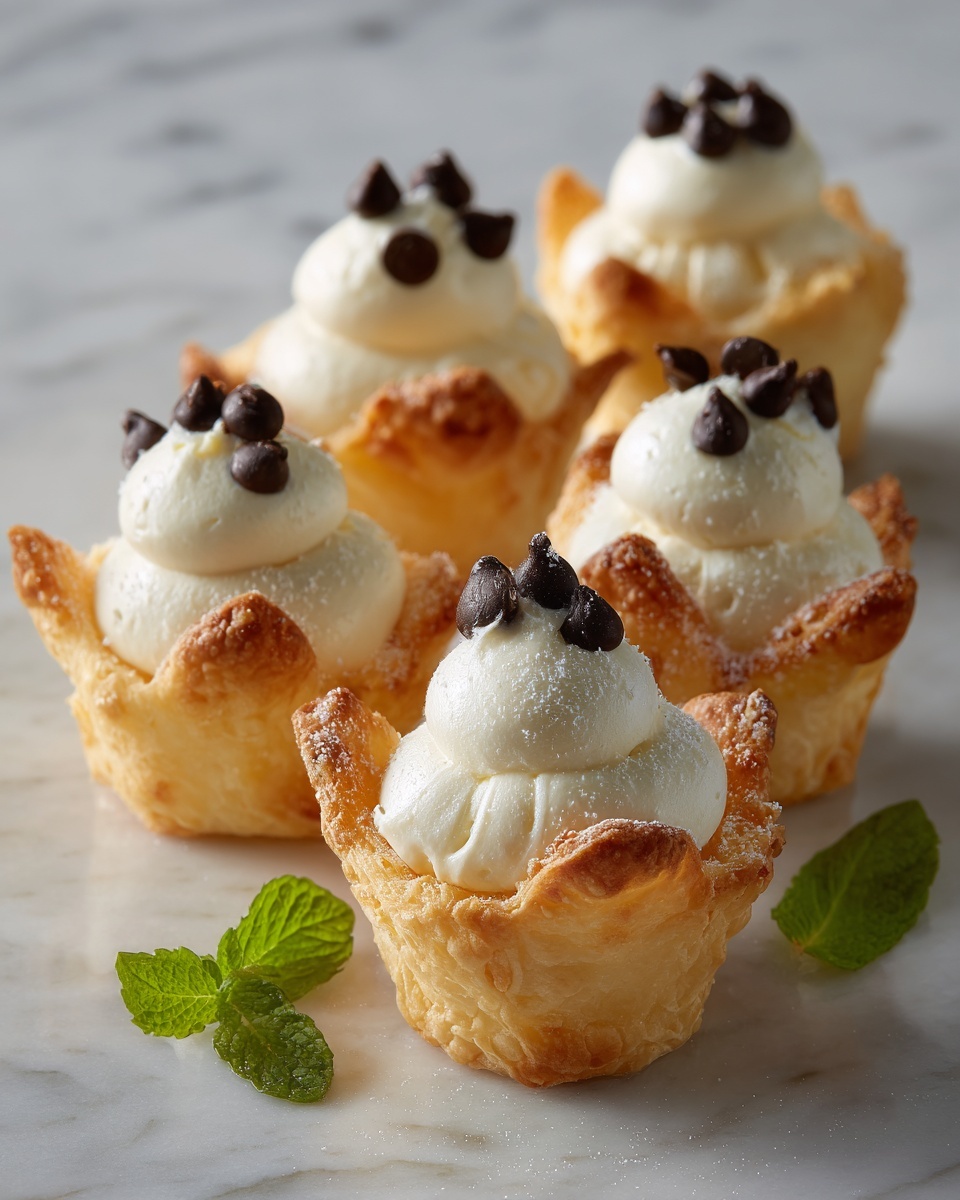
If you adore traditional cannoli but are looking for a fresh take, you are going to love Cannoli Cups: A Delicious Twist on a Classic Italian Dessert Recipe. This delightful dish transforms the beloved flavors of creamy ricotta and sweet chocolate chips into perfectly portioned, crunchy pastry cups. It’s a charming and accessible way to enjoy a classic Italian treat in a new form that is just as indulgent but wonderfully playful. Whether you’re serving these at a family gathering or as a special treat, these cannoli cups make every bite a celebration of rich textures and comforting sweetness.
Ingredients You’ll Need
Gathering just the right ingredients is key to capturing the essence of this dish. Each component plays a vital role, from the smooth, creamy filling to the crisp, golden pastry cups that hold it all together.
- Whole milk ricotta cheese: Provides the rich and creamy base of the filling with authentic Italian flavor.
- Confectioners’ sugar: Adds sweetness while ensuring a smooth, powdery texture in the filling.
- White sugar or Stevia: Balances the tartness of the ricotta with a gentle sweetness.
- Vanilla extract: Enhances the flavor with warm, floral notes that complement the ricotta perfectly.
- Mini semisweet chocolate chips: Give delightful bursts of chocolate in every bite.
- Pillsbury refrigerated pie crusts: Make for easy, flaky, buttery cups without any fuss.
- Sugar and cinnamon: Sprinkled on the crust for a touch of crunchy sweetness and subtle spice.
- Flour for dusting: Keeps the dough from sticking while rolling and cutting.
How to Make Cannoli Cups: A Delicious Twist on a Classic Italian Dessert Recipe
Step 1: Prepare the Oven and Filling
Preheat your oven to 425°F (220°C) to ensure it’s hot enough to crisp up the pastry. While the oven warms, whip together the ricotta, confectioners’ sugar, white sugar, and vanilla extract until luscious and smooth. This silky filling is the heart of your cannoli cups, so mixing it well guarantees every bite is creamy perfection. Pop it into a freezer bag and chill it in the fridge to let the flavors meld beautifully.
Step 2: Roll Out and Season the Pie Crusts
You’ll love how easy it is to transform store-bought pie crusts into something magical. Roll them out smoothly on a lightly floured surface to avoid sticking. Sprinkle one side of each with a mixture of sugar and cinnamon, then gently press it in with a rolling pin. This sweet-spiced crust adds a delightful aroma and a hint of crunch that perfectly complements the creamy filling.
Step 3: Cut and Shape the Pastry Cups
Using a biscuit cutter, cut out circles from the dough — these will become your cups. Press each circle gently but firmly into the cavities of an ungreased cupcake pan, shaping the dough into little cups. This step is simple but crucial to form a sturdy shell that will hold the filling without falling apart.
Step 4: Bake the Cups
Before baking, prick the bottom of each pastry cup lightly with a fork so they don’t puff up too much. Then bake them for 8 to 10 minutes, just until they turn golden brown and crisp. Let them cool completely in the pan so they hold their shape and become delightfully crunchy—a perfect contrast to the creamy filling.
Step 5: Fill and Garnish
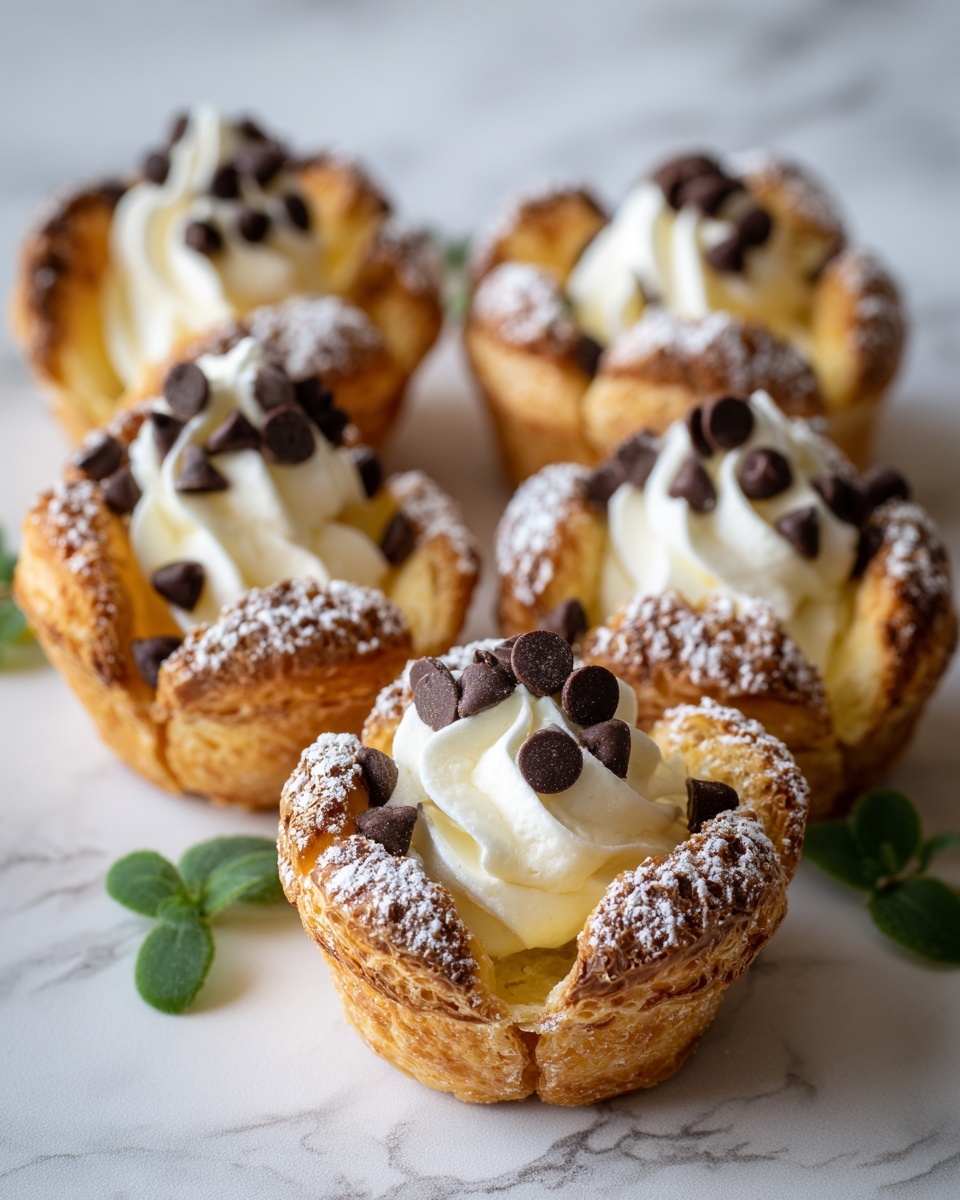
Once your cups have cooled, it’s time for the best part—filling them! Snip a small corner off your chilled ricotta mixture bag and pipe the luscious filling steadily into each cup. Top with mini chocolate chips and a light dusting of powdered sugar. This finishing touch not only adds sweetness but also makes them look as good as they taste.
How to Serve Cannoli Cups: A Delicious Twist on a Classic Italian Dessert Recipe
Garnishes
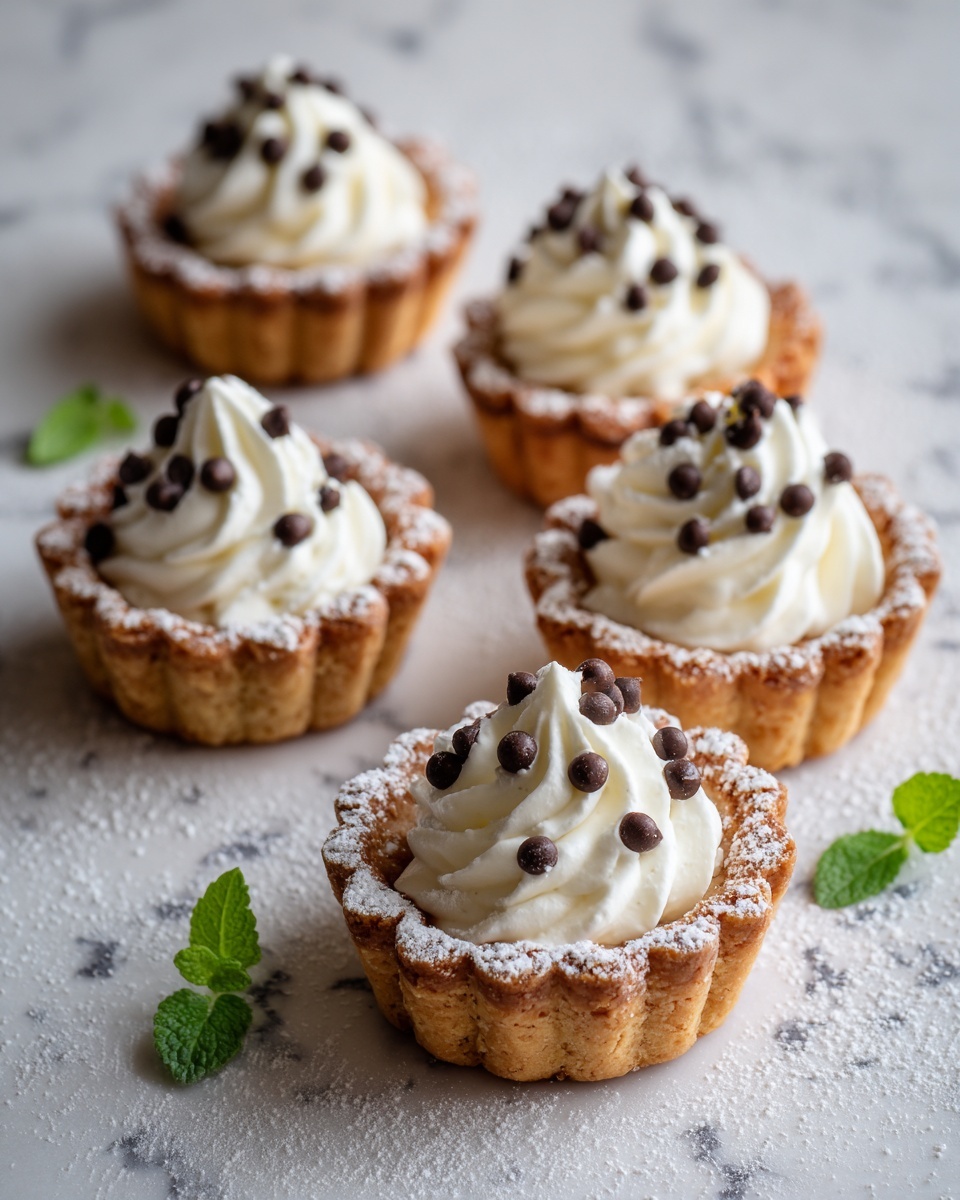
Sometimes, it’s the little extras that make a presentation shine. Beyond the classic chocolate chips and powdered sugar, consider adding a few toasted pistachios for crunch and color or fresh berries for a burst of juiciness. A tiny mint leaf can add a fresh pop and elevate the visual appeal. These simple toppings help balance the richness and make your Cannoli Cups even more inviting.
Side Dishes
Serving Cannoli Cups alongside a light accompaniment can create a beautiful dessert experience. Try pairing them with a scoop of lemon sorbet or a fresh fruit salad to add a refreshing contrast. A small espresso or a sweet dessert wine also pairs wonderfully, rounding out the flavors and enhancing the Italian-inspired vibe.
Creative Ways to Present
Impress your guests by presenting the cups on a decorative platter lined with doilies or fresh mint sprigs. You could also serve each cup in a colorful mini dessert dish or on individual plates with a drizzle of chocolate or caramel sauce for a restaurant-quality finish. Play around with layering the filling with fruit or chocolate ganache inside the cups for a decadent surprise.
Make Ahead and Storage
Storing Leftovers
If you have any leftover filling, keep it in an airtight container in the refrigerator for up to three days. It stays creamy and fresh, waiting to be filled into freshly baked cups or enjoyed in other desserts like parfaits or spread on toast.
Freezing
The baked pastry cups can be frozen before filling. Simply cool them completely and place them in an airtight container or freezer bag for up to one month. When you’re ready to serve, thaw them at room temperature and fill with fresh ricotta mixture for the best texture and flavor.
Reheating
To restore crispness to the pastry cups after freezing, warm them in a preheated oven at 350°F (175°C) for about 5 minutes. Avoid microwaving as it can soften the pastry. Then fill them right before serving to maintain the delightful contrast between crunchy and creamy.
FAQs
Can I make the ricotta filling ahead of time?
Absolutely! The ricotta filling can be prepared up to three days in advance and stored in the refrigerator. Just keep it sealed well and give it a quick stir before piping into the cups.
What can I substitute for Pillsbury pie crust?
You can use any store-bought pie dough or puff pastry if you prefer. Homemade pie dough works wonderfully too, adding a personal touch to the Cannoli Cups.
Are there alternatives to mini chocolate chips?
If you don’t have mini chocolate chips, finely chopped dark or milk chocolate chunks work just as well. You could also experiment with white chocolate chips for a different flavor profile.
Why do I need to prick the pastry cup bottoms?
Pricking the bottoms prevents the dough from puffing up too much during baking, helping the cups keep their intended shape and ensuring a crisp base that holds the filling perfectly.
Can I make these cups gluten-free?
Yes! Using a gluten-free pie crust or dough alternative will work beautifully. Just make sure your dough is well-chilled and sturdy enough to hold the filling without cracking.
Final Thoughts
There’s something truly special about taking a beloved classic like cannoli and giving it a fun, approachable twist. With Cannoli Cups: A Delicious Twist on a Classic Italian Dessert Recipe, you get all the creamy decadence and crispy textures that make cannoli irresistible, but in a playful and simple-to-serve format. I urge you to try making these—it’s a delightful project that yields impressive results and brings a touch of Italian charm to any occasion. Your friends and family will be asking for the recipe before the last cup disappears!
Print
Cannoli Cups: A Delicious Twist on a Classic Italian Dessert Recipe
- Prep Time: 15 minutes
- Cook Time: 10 minutes
- Total Time: 30 minutes
- Yield: 12 servings
- Category: Dessert
- Method: Baking
- Cuisine: Italian
Description
These Cannoli Cups offer a delightful twist on the classic Italian dessert by using crispy pie crusts shaped into cups and filled with a creamy ricotta mixture. Topped with mini chocolate chips and a dusting of powdered sugar, this easy-to-make treat is perfect for parties or a sweet indulgence any time.
Ingredients
Ricotta Filling
- 1 (15 oz) container whole milk ricotta cheese
- 1/2 cup confectioners’ sugar
- 2 tablespoons white sugar (or substitute with Stevia)
- 1 teaspoon vanilla extract
- 1/4 cup mini semisweet chocolate chips
Pie Crust Cups
- 2 Pillsbury refrigerated pie crusts
- 3 tablespoons sugar
- 1 teaspoon cinnamon
- Flour for dusting surface
Instructions
- Preheat oven: Preheat your oven to 425°F (220°C) to prepare for baking the pie crust cups.
- Prepare ricotta filling: In a mixing bowl, combine the ricotta cheese, confectioners’ sugar, white sugar, and vanilla extract. Use an electric mixer to blend until smooth. Transfer the mixture into a one-gallon freezer bag and refrigerate to chill and thicken.
- Prepare pie crusts: Lightly dust your working surface with flour. Roll out the refrigerated pie crusts. Sprinkle one side of each crust evenly with sugar and cinnamon, then gently press this mixture into the dough with a rolling pin to ensure it sticks.
- Cut and shape cups: Use a biscuit cutter to cut circles from the dough. Press each circle lightly into the cups of an ungreased cupcake pan, forming cup shapes that will hold the filling.
- Prick dough bottoms: To prevent excessive rising, gently prick the bottom of each pastry cup with a fork.
- Bake cups: Bake the prepared cups in the oven for 8-10 minutes, or until they turn golden brown. Remove and allow them to cool completely in the pan.
- Fill cups: Once the cups are cool, cut off a small corner of the chilled ricotta mixture bag and pipe the filling neatly into each pastry cup.
- Add toppings: Sprinkle mini semisweet chocolate chips over each filled cup and lightly dust with powdered sugar for added sweetness and decoration.
- Storage and serving tips: The ricotta filling can be refrigerated for up to 3 days before filling the cups. For best texture and flavor, fill the cups about 1 hour before serving. For a thicker cream, strain the ricotta through cheesecloth overnight to remove excess liquid.
Notes
- You can substitute white sugar with Stevia for a lower sugar option.
- Make sure to prick the bottoms of the crusts well to avoid puffing up during baking.
- Filling the cups shortly before serving helps keep the crust crisp.
- For an even richer filling, strain ricotta overnight to remove extra moisture.
- These cups can be served chilled or at room temperature, depending on preference.

