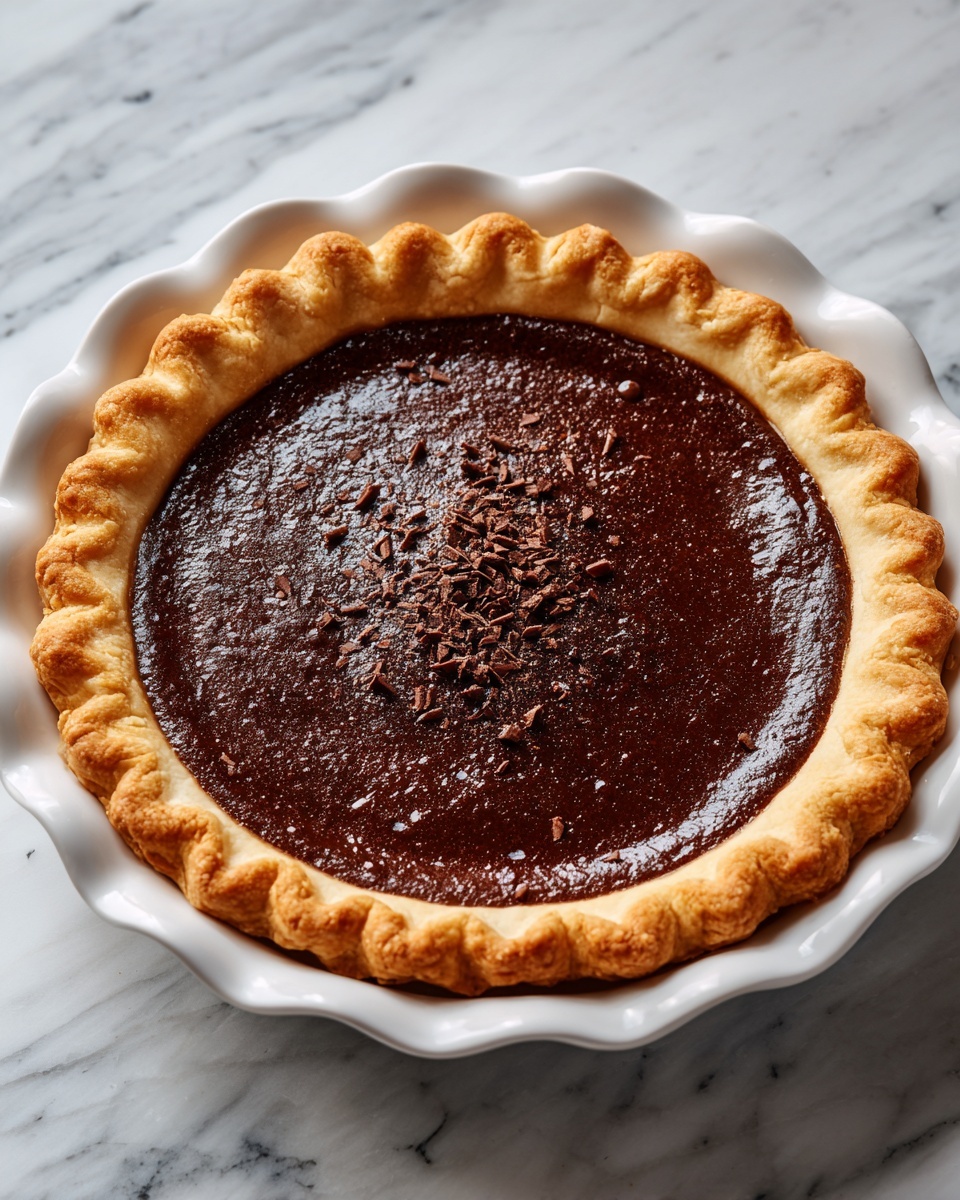
If you’re searching for a dessert that instantly brings warmth and nostalgia to the table, look no further than Grandma’s Classic Chocolate Pie Recipe. This pie has that rich, velvety chocolate filling that’s perfectly balanced between bold cocoa and sweet creaminess, all nestled inside a crisp pie shell. Every spoonful tastes like a hug from the past, making it the ultimate comfort food whenever you need a little sweetness in your life. It’s simple yet extraordinary, proving that the best desserts don’t need to be complicated to be unforgettable.
Ingredients You’ll Need
Gathering the ingredients for Grandma’s Classic Chocolate Pie Recipe is a breeze because each one plays a crucial role in creating the luscious texture and deep chocolate flavor you’ll adore. These simple pantry staples come together to transform an ordinary day into a special occasion.
- ½ cup cocoa: This provides the rich, chocolatey depth that defines the pie’s flavor.
- ¼ cup cornstarch: Essential for thickening the filling to that perfect, creamy consistency without lumps.
- 3 egg yolks: These add richness and help give the filling a smooth, custardy texture.
- 1 ½ cups sugar: The perfect amount of sweetness to balance the cocoa’s intensity.
- ¼ teaspoon salt: A pinch that enhances all the flavors and keeps the chocolate from tasting flat.
- 2 cups milk: The creamy base that makes the filling luscious and tender.
- 1 teaspoon vanilla: A subtle hint of warmth that rounds out the chocolate beautifully.
How to Make Grandma’s Classic Chocolate Pie Recipe
Step 1: Mix the Ingredients
Begin by combining the cocoa, cornstarch, beaten egg yolks, sugar, salt, and vanilla in a saucepan. Gradually add the milk, stirring continuously as you pour. This slow incorporation helps make sure everything blends perfectly without clumps, setting the foundation for a smooth and creamy filling.
Step 2: Cook the Filling
Place the saucepan over medium-high heat and keep stirring steadily. This is where the magic happens—the mixture heats up and thickens into that luscious custard consistency that’s the heart and soul of Grandma’s Classic Chocolate Pie Recipe. Stirring constantly is key to prevent lumps and ensure a silky texture.
Step 3: Pour Into the Pie Shell
Once the filling has thickened beautifully, pour it right into a pre-baked pie shell. This shell will provide that satisfying crunch that contrasts with the creamy chocolate filling so perfectly.
Step 4: Chill the Pie
Allow your pie to cool at room temperature for a few minutes, then set it in the fridge to chill for about 2 hours. This chilling helps the filling set firm enough to slice cleanly while keeping it delightfully creamy.
Step 5: Serve
After chilling, slice the pie and get ready to enjoy. Whether you add a dollop of whipped cream or a cloud of meringue or serve it plain, the rich chocolate filling will steal the show every time.
How to Serve Grandma’s Classic Chocolate Pie Recipe
Garnishes
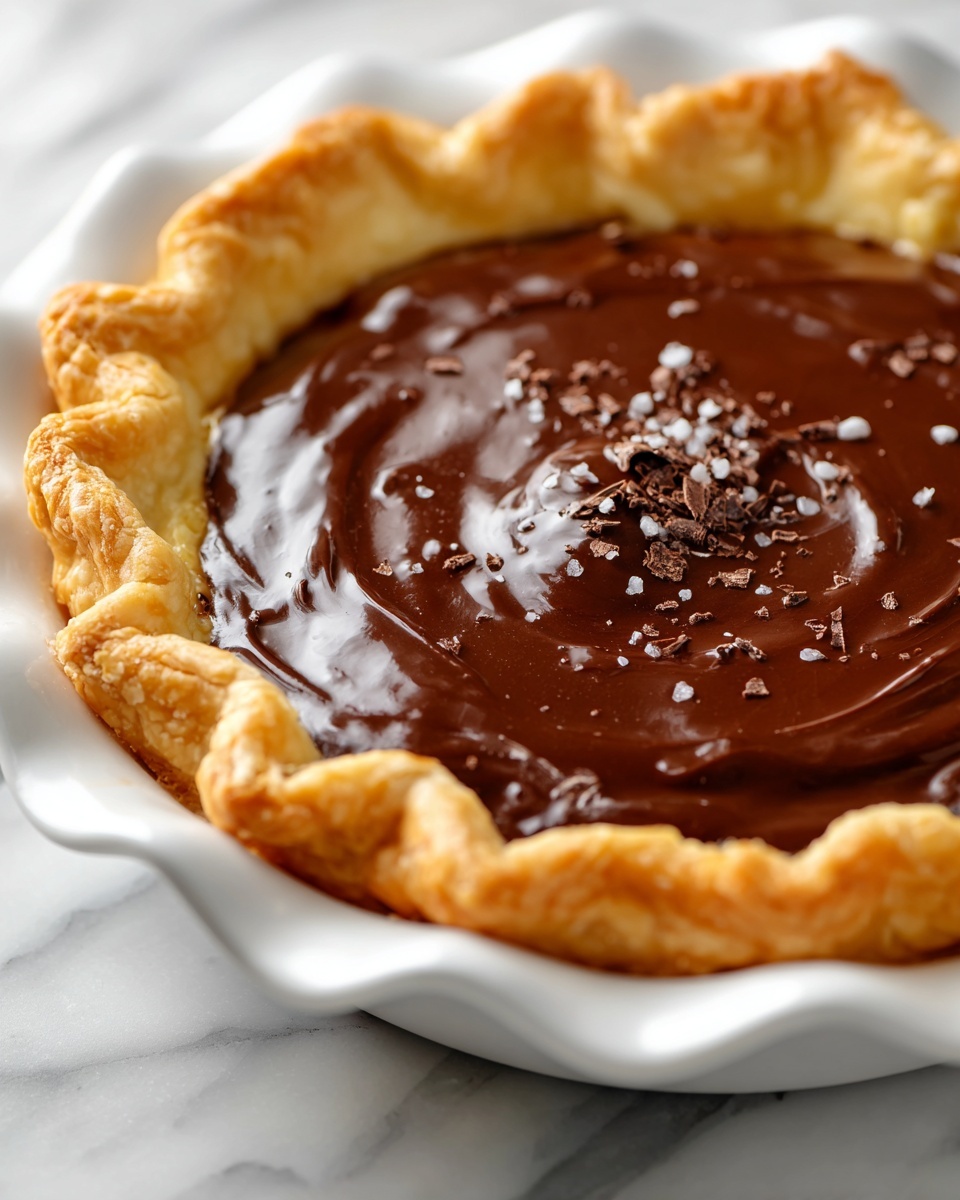
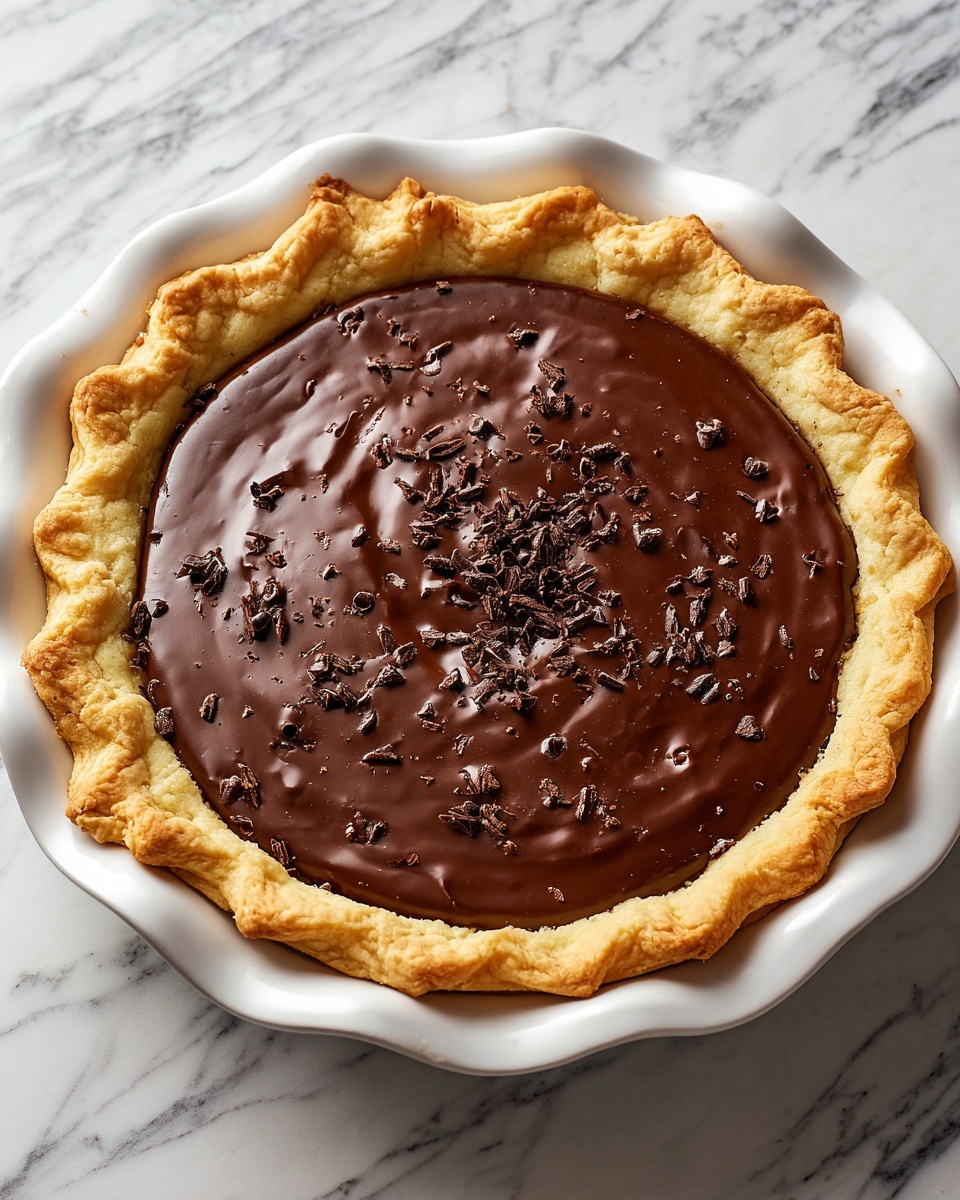
While Grandma’s Classic Chocolate Pie Recipe tastes incredible on its own, a light topping can elevate the experience even more. Fresh whipped cream adds a fluffy contrast to the rich filling, while toasted coconut or chopped nuts bring a delightful crunch. A sprinkle of shaved dark chocolate or a dusting of cocoa powder makes it feel extra special.
Side Dishes
Pair this pie with a simple fresh fruit salad or a scoop of vanilla ice cream to balance out the rich chocolate. A cup of freshly brewed coffee or a glass of cold milk makes the perfect companion, rounding out your dessert experience beautifully.
Creative Ways to Present
Think beyond classic pie slices—serve this pie in individual mini tart shells for a charming presentation at parties. You can also layer pieces of pie with whipped cream in a glass to create an irresistible chocolate parfait that highlights all the delicious textures.
Make Ahead and Storage
Storing Leftovers
Wrap leftover pie tightly in plastic wrap or store it in an airtight container and refrigerate. Grandma’s Classic Chocolate Pie Recipe keeps well for 3 to 4 days, ensuring you can enjoy another slice or two without losing that fresh, creamy texture.
Freezing
While this pie is best enjoyed fresh, you can freeze the filling separately before pouring into the shell. Once frozen, thaw in the refrigerator overnight before chilling again until firm. Freezing the whole pie is less ideal, as the crust may become soggy.
Reheating
This chocolate pie is a delight served cold, so reheating is not recommended. Instead, if you prefer it slightly warmer, let slices sit at room temperature for about 15 minutes before serving to take the chill off without compromising texture.
FAQs
Can I use a store-bought pie crust for this recipe?
Absolutely! A store-bought crust works perfectly and saves time while still providing a crisp, tasty base for the rich chocolate filling.
What if I don’t have cornstarch? Can I use flour instead?
Cornstarch gives a lighter, smoother texture, but you can substitute with flour. Use about double the amount, and cook a little longer to thicken properly, keeping the filling silky.
Is it necessary to chill the pie before serving?
Yes, chilling allows the filling to set properly so that each slice holds together well and the flavors meld beautifully. It’s definitely worth the wait!
Can I make this pie vegan or dairy-free?
To adapt Grandma’s Classic Chocolate Pie Recipe for vegan or dairy-free diets, try using plant-based milk alternatives and an egg yolk substitute such as cornstarch or silken tofu for thickening, though the texture and taste will be slightly different.
How long does the pie stay fresh in the fridge?
Stored correctly in an airtight container, this pie stays fresh for up to 4 days. Beyond that, the crust may start to lose its crispness and the filling’s texture can change.
Final Thoughts
There’s something truly special about Grandma’s Classic Chocolate Pie Recipe that makes it a timeless favorite. It’s the kind of dessert that feels like home and creates moments worth sharing. Whether you’re making it for a holiday, a casual gathering, or just a treat for yourself, it’s bound to become one of your cherished go-to recipes. So I encourage you to give it a try and bask in the joy of each luscious, chocolatey bite—you’re going to love it as much as I do!
Print
Grandma’s Classic Chocolate Pie Recipe
- Prep Time: 10 minutes
- Cook Time: 10 minutes
- Total Time: 2 hours 20 minutes
- Yield: 8 servings
- Category: Dessert
- Method: Stovetop
- Cuisine: American
Description
Grandma’s Chocolate Pie is a classic, creamy chocolate custard pie made with simple pantry ingredients. This rich and silky dessert features a smooth chocolate filling cooked on the stovetop, poured into a flaky pre-baked pie crust, and chilled until perfectly set. An easy, comforting treat that’s perfect for any occasion and can be topped with whipped cream or meringue for extra indulgence.
Ingredients
Chocolate Filling
- ½ cup unsweetened cocoa powder
- ¼ cup cornstarch
- 3 egg yolks, beaten
- 1 ½ cups granulated sugar
- ¼ teaspoon salt
- 2 cups milk
- 1 teaspoon vanilla extract
Pie Base
- 1 pre-baked 9-inch pie shell
Optional Toppings
- Whipped cream
- Meringue
Instructions
- Mix the Ingredients: In a medium bowl, combine the cocoa powder, cornstarch, beaten egg yolks, sugar, and salt. Stir in the vanilla extract. Gradually whisk in the milk to create a smooth mixture with no lumps.
- Cook the Filling: Transfer the mixture to a saucepan and place it over medium-high heat. Stir continuously to prevent lumps and sticking. Continue cooking until the filling thickens to a creamy, pudding-like consistency.
- Pour Into the Pie Shell: Once thickened, immediately pour the hot chocolate filling into the pre-baked pie shell, spreading it evenly.
- Chill the Pie: Let the pie cool at room temperature for several minutes, then refrigerate for about 2 hours or until the filling is fully set and firm.
- Serve: Slice and serve chilled. Optionally, top with whipped cream or meringue for extra flavor and decoration.
Notes
- Use a pre-baked pie shell to ensure a crisp crust and prevent sogginess.
- Stirring continuously during cooking is key to avoid lumps and burning the filling.
- Adjust sweetness or cocoa intensity to taste if desired.
- Pie can be refrigerated for up to 2 days for best freshness.
- For a dairy-free option, substitute milk with almond or oat milk, though texture may vary slightly.
