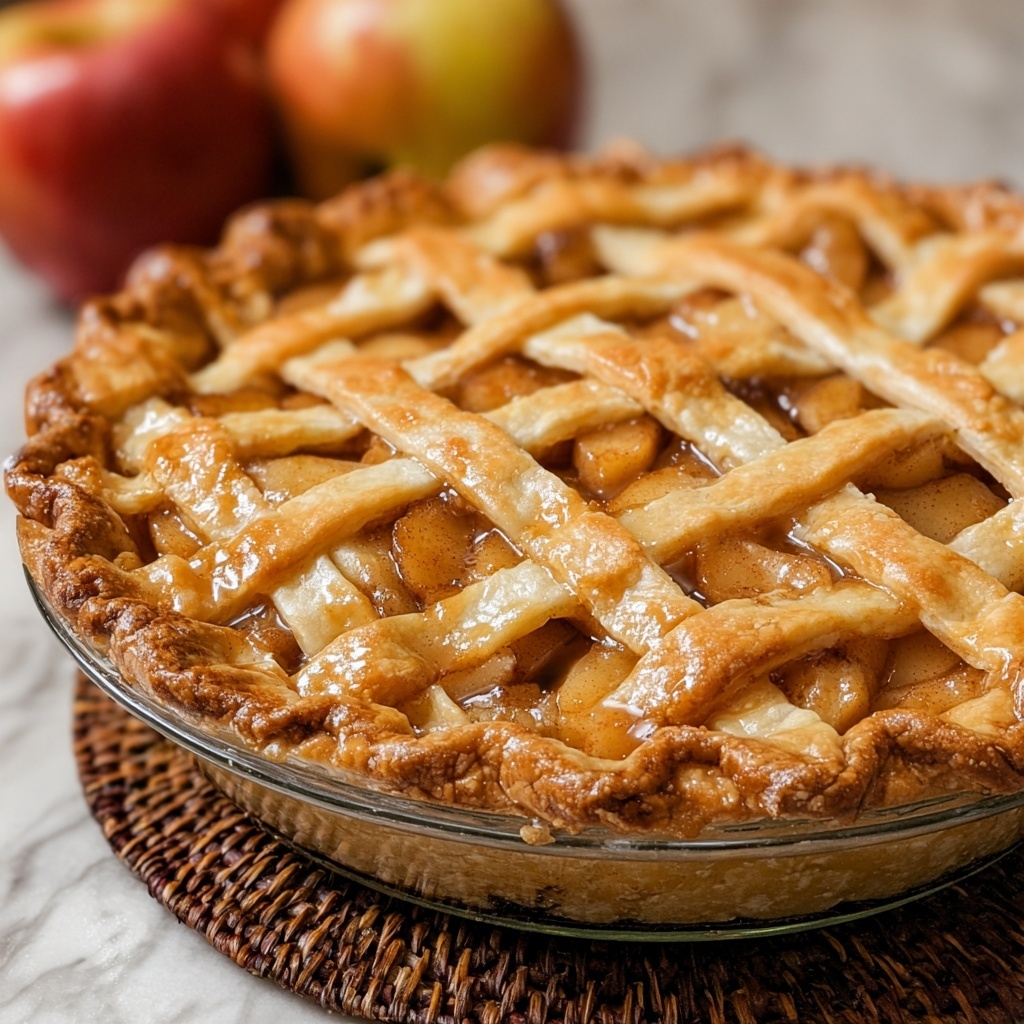
There is nothing quite like the warm, comforting embrace of a homemade pie fresh from the oven, and this Homemade Classic Apple Pie Recipe hits all the right notes. With perfectly spiced apple filling nestled inside a flaky, buttery crust, it’s a timeless dessert that evokes cozy family gatherings and holiday cheer. This recipe is easy enough to become a go-to favorite but special enough to impress anyone lucky enough to share a slice. Whether you choose Granny Smith for tartness or Honeycrisp for that perfect sweet crunch, each bite bursts with the essence of autumn and nostalgia.
Ingredients You’ll Need
Gathering simple, high-quality ingredients is the secret to nailing this pie every time. Each element plays a unique role toward creating that perfect harmony of flavors, textures, and visual appeal that a homemade pie promises.
- 2 1/2 cups all-purpose flour: The backbone of the crust, providing structure and a tender crumb.
- 1 cup unsalted butter, cold and cubed: Cold butter ensures a flaky crust with delightful pockets of buttery goodness.
- 1 teaspoon salt: Enhances the flavors without overpowering the pie.
- 1 teaspoon sugar: A touch of sweetness in the dough balances the savory notes.
- 6-8 tablespoons ice water: Brings the flour and butter together, just enough to form a dough without being sticky.
- 6 cups thinly sliced apples (Granny Smith or Honeycrisp recommended): The star of the pie, combining tartness and sweetness.
- 3/4 cup granulated sugar: Sweetens the apple filling perfectly.
- 1/4 cup brown sugar: Adds a rich molasses flavor and moisture depth to the filling.
- 2 tablespoons all-purpose flour: Thickens the filling so it’s not runny after baking.
- 1 teaspoon ground cinnamon: Warm spice that pairs beautifully with apples.
- 1/4 teaspoon ground nutmeg: Adds a subtle, spicy undertone that enhances complexity.
- 1/8 teaspoon ground allspice: A hint of aromatic earthiness that rounds out the spices.
- 1 tablespoon lemon juice: Brightens the apple flavor and prevents browning.
- 2 tablespoons unsalted butter, cubed: Added on top of the filling for a rich finishing touch.
- 1 egg, beaten (for egg wash): Creates a golden, glossy crust that’s beautifully inviting.
- 1 tablespoon sugar (for sprinkling): Adds sparkle and a touch of crunch to the crust.
How to Make Homemade Classic Apple Pie Recipe
Step 1: Prepare the Pie Crust
The crust is where patience and precision pay off. Start by mixing the flour, salt, and sugar in a large bowl. Cut in the cold, cubed butter until your mixture resembles coarse crumbs—that’s the key to achieving that flaky texture everyone loves. Add the ice water, tablespoon by tablespoon, until the dough just comes together. Avoid overworking it to keep the pastry tender. Once combined, divide the dough into two disks, wrap tightly in plastic wrap, and chill in the fridge for at least one hour. This resting period helps relax the gluten and solidify the butter for easier rolling.
Step 2: Make the Apple Filling
While the dough chills, it’s time to work on that luscious apple filling. Toss your thinly sliced apples with granulated sugar, brown sugar, flour, cinnamon, nutmeg, allspice, and fresh lemon juice. The question often is which apples to use; Granny Smith offers a refreshing tartness while Honeycrisp brings a delightful sweetness. Let the mixture sit for about 15 minutes so the flavors meld and the apples release some of their natural juices.
Step 3: Assemble the Pie
Preheat your oven to 375°F (190°C). Roll out one of the chilled dough disks on a lightly floured surface and fit it gently into a 9-inch pie pan, trimming the edges neatly. Pour the apple filling into the crust, distributing it evenly, and dot the surface with cubed butter for richness. Roll out the second dough disk and carefully place it over the apples, trimming and crimping the edges to seal your future masterpiece. Don’t forget to cut a few slits in the top crust to let steam escape during baking. It’s these little details that make your Homemade Classic Apple Pie Recipe stand out!
Step 4: Bake the Pie to Perfection
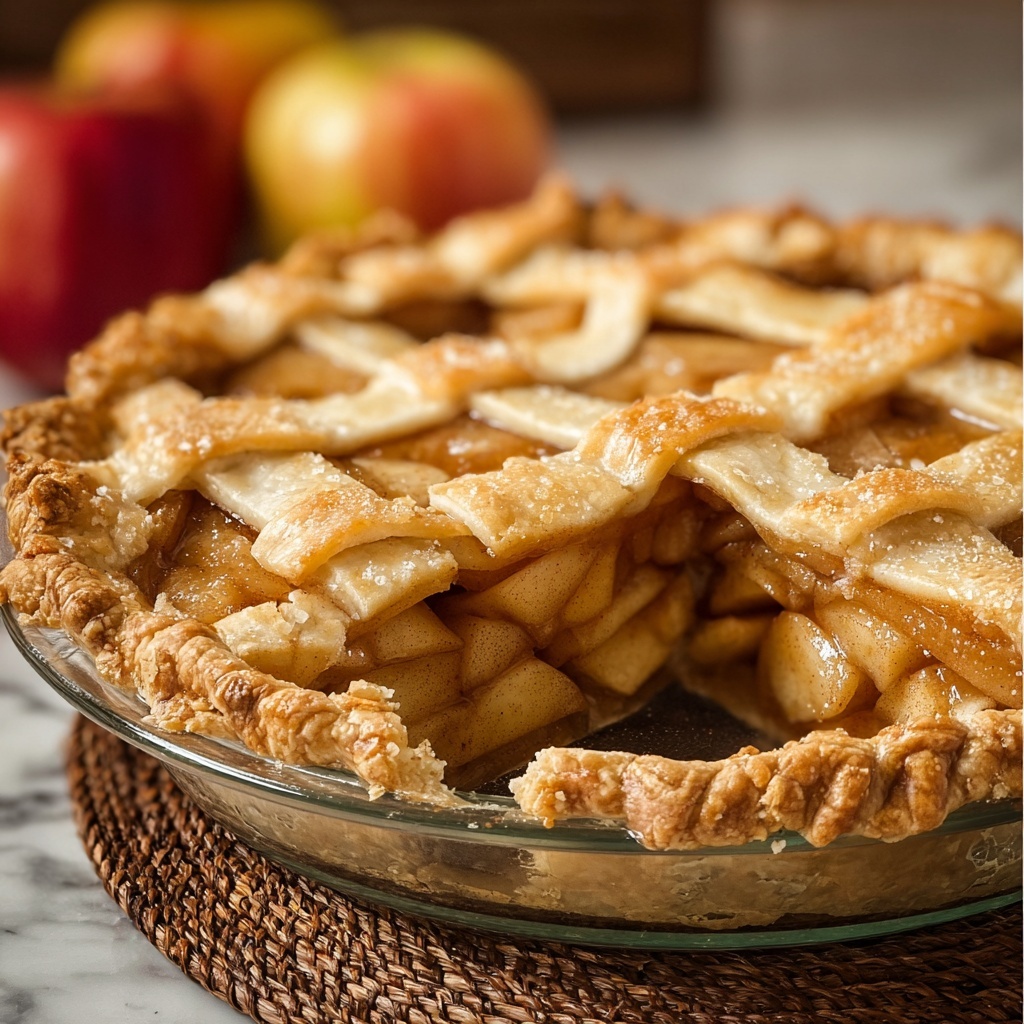
Brush the top crust with beaten egg to achieve that gorgeous golden shine and sprinkle with sugar for a delicate crunch. Bake your pie for about 50-60 minutes, until the crust is beautifully golden and you can see the filling bubbling through the vents. There’s nothing better than the scent wafting through your kitchen as the pie bakes. Once out of the oven, give it a full two hours to cool—this helps the filling set perfectly before serving.
How to Serve Homemade Classic Apple Pie Recipe
Garnishes
Simple garnishes can elevate your presentation and taste experience. A scoop of vanilla ice cream melting on the warm pie or a dollop of freshly whipped cream adds creamy contrast to the spiced apples. For a little extra flair, a sprinkling of cinnamon on top will enhance the pie’s inviting aroma.
Side Dishes
This classic apple pie pairs wonderfully with warm beverages like chai tea or a robust cup of freshly brewed coffee. On special occasions, complement it with a sharp cheddar cheese slice alongside a glass of crisp apple cider for a truly delightful flavor combination.
Creative Ways to Present
Thinking beyond the traditional pie plate? Try serving individual portions in mini cast iron skillets for personal touch and wow factor. Alternatively, a lattice crust or a decorative pattern on top makes the pie an eye-catching dessert centerpiece that will have guests asking for your Homemade Classic Apple Pie Recipe secrets.
Make Ahead and Storage
Storing Leftovers
Leftover pie can be stored in the refrigerator, tightly covered with plastic wrap or foil, to keep that crust crisp and the filling fresh. It will stay delicious for up to four days, making it easy to enjoy a treat anytime without baking again.
Freezing
This Homemade Classic Apple Pie Recipe freezes wonderfully. Wrap the pie tightly with plastic wrap and then aluminum foil to protect it from freezer burn. When you’re ready to enjoy, thaw overnight in the refrigerator, then reheat before serving for a taste nearly as good as freshly baked.
Reheating
To bring your pie back to life, reheat slices gently in a 350°F (175°C) oven for about 15-20 minutes. This helps restore the flaky crust’s texture and warms the filling for that comforting just-baked feel. Avoid microwaving if possible, as it can make the crust soggy.
FAQs
Can I use other types of apples in this Homemade Classic Apple Pie Recipe?
Absolutely! While Granny Smith and Honeycrisp are recommended for their texture and balance of tart and sweet flavors, you can experiment with Fuji, Pink Lady, or Braeburn. Just remember to mix tart and sweet varieties for the best flavor complexity.
Is it necessary to chill the dough before rolling?
Yes, chilling the dough is crucial. It prevents the butter from melting prematurely, which ensures your crust will be flaky rather than tough. It also relaxes the gluten, making it easier to roll out without shrinking.
How do I prevent a soggy bottom crust?
To avoid a soggy crust, sprinkle a thin layer of flour or breadcrumbs on the bottom of the crust before adding the filling. Also, make sure your apples are sliced thinly and well mixed with the thickening agents such as flour.
Can I make this pie gluten-free?
Yes, with some modifications. Substitute the all-purpose flour in the crust and filling with a gluten-free flour blend suitable for baking. Keep in mind that texture and taste might vary slightly, but it can still be delicious!
What’s the best way to get those perfect steam vent slits on top?
A sharp knife or small kitchen scissors work great. Cut a few simple slits or get creative with shapes like leaves or hearts if you want to impress your guests and add a personal touch to your Homemade Classic Apple Pie Recipe.
Final Thoughts
Making a Homemade Classic Apple Pie Recipe from scratch is one of those rewarding kitchen adventures that brings joy not only through eating but the whole process itself. It’s a recipe that welcomes creativity yet respects tradition, perfect for sharing with loved ones or simply savoring the warm, spiced flavors any time of year. I encourage you to roll up your sleeves and bake this wonderful pie—you’ll understand why it’s a cherished classic in so many homes.
Print
Homemade Classic Apple Pie Recipe
- Prep Time: 30 minutes
- Cook Time: 1 hour
- Total Time: 1 hour 30 minutes
- Yield: 8 servings
- Category: Dessert
- Method: Baking
- Cuisine: American
Description
This classic homemade apple pie recipe features a flaky, buttery crust filled with a spiced apple mixture, making it perfect for a comforting dessert. Using generous amounts of crisp Granny Smith or Honeycrisp apples combined with warm spices and a touch of lemon juice, this pie offers a perfect balance of sweet and tart flavors, baked to golden perfection.
Ingredients
Pie Crust
- 2 1/2 cups all-purpose flour
- 1 cup unsalted butter, cold and cubed
- 1 teaspoon salt
- 1 teaspoon sugar
- 6–8 tablespoons ice water
Filling
- 6 cups thinly sliced apples (Granny Smith or Honeycrisp recommended)
- 3/4 cup granulated sugar
- 1/4 cup brown sugar
- 2 tablespoons all-purpose flour
- 1 teaspoon ground cinnamon
- 1/4 teaspoon ground nutmeg
- 1/8 teaspoon ground allspice
- 1 tablespoon lemon juice
- 2 tablespoons unsalted butter, cubed
Topping
- 1 egg, beaten (for egg wash)
- 1 tablespoon sugar (for sprinkling)
Instructions
- Prepare the crust: In a large bowl, combine the flour, salt, and sugar. Cut in the cold, cubed butter using a pastry cutter or your fingers until the mixture resembles coarse crumbs.
- Add ice water: Gradually add ice water, one tablespoon at a time, mixing gently until the dough just comes together without being sticky.
- Chill the dough: Divide the dough into two equal disks, wrap each tightly in plastic wrap, and refrigerate for at least 1 hour to firm up.
- Prepare the filling: In a large bowl, toss the thinly sliced apples with granulated sugar, brown sugar, flour, cinnamon, nutmeg, allspice, and lemon juice until well combined. Set aside and let sit for 15 minutes to allow flavors to meld and juices to release.
- Preheat the oven: Set the oven temperature to 375°F (190°C) and allow it to fully preheat.
- Roll out the bottom crust: On a lightly floured surface, roll out one dough disk into a circle slightly larger than a 9-inch pie pan. Transfer it to the pan, pressing gently to fit, and trim the edges with a knife.
- Add the filling: Pour the apple mixture into the prepared crust and evenly distribute it. Dot the filling with cubed butter pieces for enriched flavor and moisture.
- Roll out the top crust: Roll out the second dough disk to cover the pie. Place it over the filling, trim the excess dough, and crimp the edges to seal the pie securely. Cut several small slits into the top crust to allow steam to escape during baking.
- Prepare for baking: Brush the top crust with the beaten egg to create a shiny, golden finish and sprinkle the top with sugar for added texture and sweetness.
- Bake the pie: Place the pie in the preheated oven and bake for 50-60 minutes or until the crust is golden brown and the filling is bubbling through the vents.
- Cool before serving: Remove the pie from the oven and allow it to cool on a wire rack for at least 2 hours. This resting time helps the filling to set, making slicing easier and enhancing flavor.
Notes
- Using chilled butter and ice water in the crust helps achieve a flaky texture.
- Choose tart apple varieties like Granny Smith or a sweeter option like Honeycrisp for balanced taste.
- Resting the pie after baking ensures the filling sets and prevents it from being runny.
- Egg wash adds a beautiful golden color and shine to the crust.
- Adjust sugar quantities based on the sweetness of your apples.


