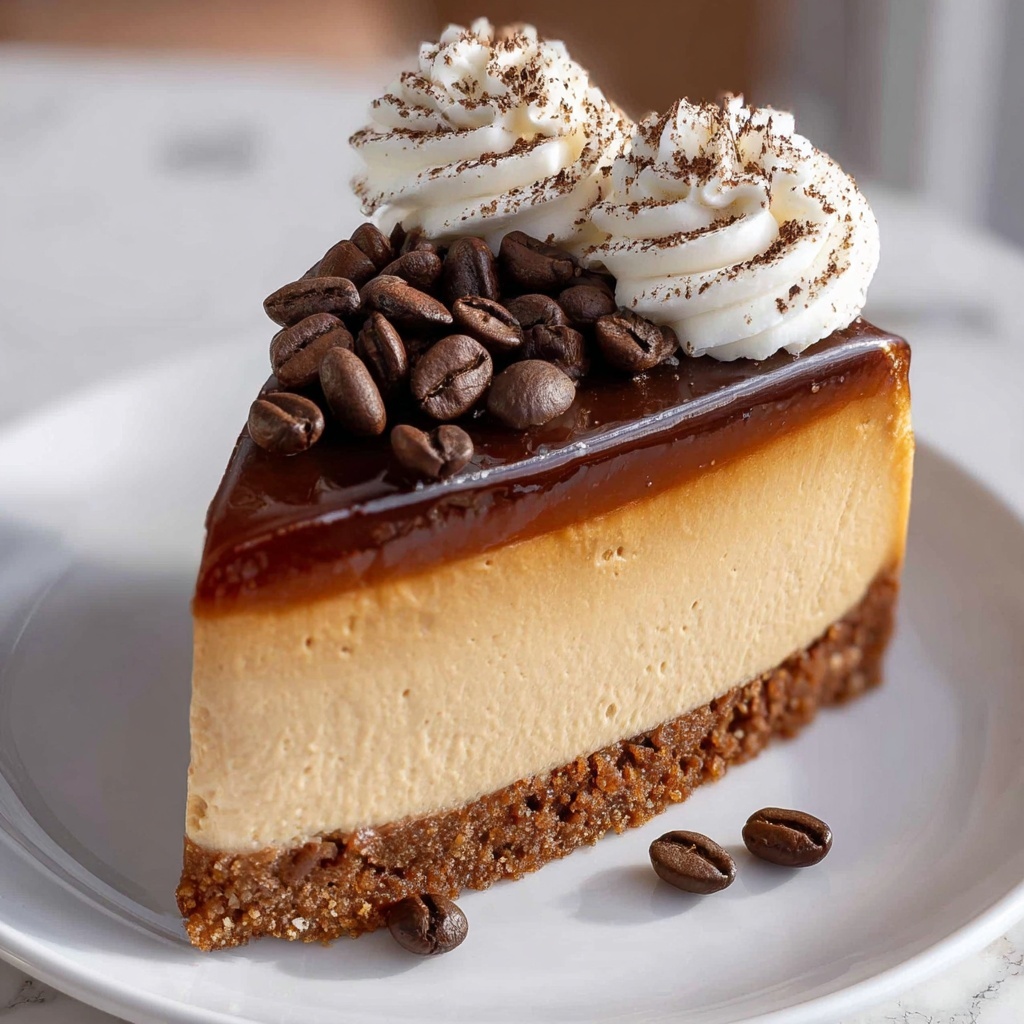
If you are a fan of rich, velvety desserts with a delightful hint of caffeine, this Coffee Cheesecake Recipe is exactly what your taste buds have been craving. Combining the creamy, dreamy texture of classic cheesecake with the bold and aromatic punch of brewed coffee, this dessert delivers an irresistible flavor experience that perfectly balances sweetness and subtle bitterness. Whether you’re preparing for a special occasion or just want to treat yourself, this Coffee Cheesecake Recipe transforms simple ingredients into a show-stopping dessert that will have everyone asking for seconds.
Ingredients You’ll Need
Gathering the right ingredients is the first step toward creating this unforgettable Coffee Cheesecake Recipe. Each component plays an important role, from the crunchy graham cracker crust to the smooth, coffee-infused filling, contributing to the texture, flavor, and overall appeal of the final dessert.
- Graham cracker crumbs (1 1/2 cups): The perfect base for a crunchy yet buttery crust.
- Sugar (1/4 cup plus 1 cup): Balances the coffee’s bitterness and sweetens the creamy filling.
- Unsalted butter, melted (1/2 cup): Binds the crust ingredients together and adds richness.
- Cream cheese, softened (3 packages of 8 ounces each): Ensures a luscious, smooth cheesecake filling.
- Eggs (3 large): Help provide structure and a creamy texture to the cheesecake.
- Vanilla extract (1 tablespoon): Adds a warm, fragrant depth that complements the coffee flavor.
- Brewed coffee, cooled (1/2 cup): Infuses the filling with a robust, aromatic taste.
- All-purpose flour (1 tablespoon): Gives stability to the batter, ensuring perfect slicing.
How to Make Coffee Cheesecake Recipe
Step 1: Preheat and Prepare the Crust
Begin by preheating your oven to 325 degrees Fahrenheit (160 degrees Celsius). Mix the graham cracker crumbs, 1/4 cup sugar, and melted butter in a bowl until the texture resembles wet sand. Press this mixture firmly into the bottom of a 9-inch springform pan to form an even and sturdy crust. This golden base will provide the perfect contrast to the silky filling.
Step 2: Create the Cream Cheese Base
In a large mixing bowl, beat the softened cream cheese with 1 cup of sugar until completely smooth and creamy. This step is crucial because a lump-free cream cheese base guarantees that dreamy texture everyone loves in a cheesecake.
Step 3: Add Eggs One at a Time
Incorporate the eggs one by one, making sure to mix well after each addition. This careful folding helps maintain the mixture’s smooth consistency, preventing cracks in your cheesecake and ensuring the perfect rise.
Step 4: Mix in the Flavor Enhancers
Stir in the vanilla extract and the cooled brewed coffee. This is where the magic of the Coffee Cheesecake Recipe really shines, as the aromatic coffee infuses into the creamy base, giving it a luscious depth that’ll make your kitchen smell like heaven.
Step 5: Add Flour and Combine
Sprinkle in the all-purpose flour and mix until just combined. The flour helps set the cheesecake while keeping it tender and creamy—a subtle but essential detail for perfect texture.
Step 6: Assemble and Bake
Pour the cream cheese mixture carefully over the prepared crust in the springform pan. Smooth the top with a spatula to ensure even baking. Place it in the preheated oven and bake for 55 to 60 minutes until the cheesecake is set but still slightly jiggly in the center. This gentle baking approach results in a moist and silky dessert.
Step 7: Cool and Chill
Once baked, allow the cheesecake to cool at room temperature before refrigerating it for at least 4 hours. Chilling is essential to let the flavors meld and for the texture to firm up beautifully, making it easier to slice and serve.
How to Serve Coffee Cheesecake Recipe
Garnishes
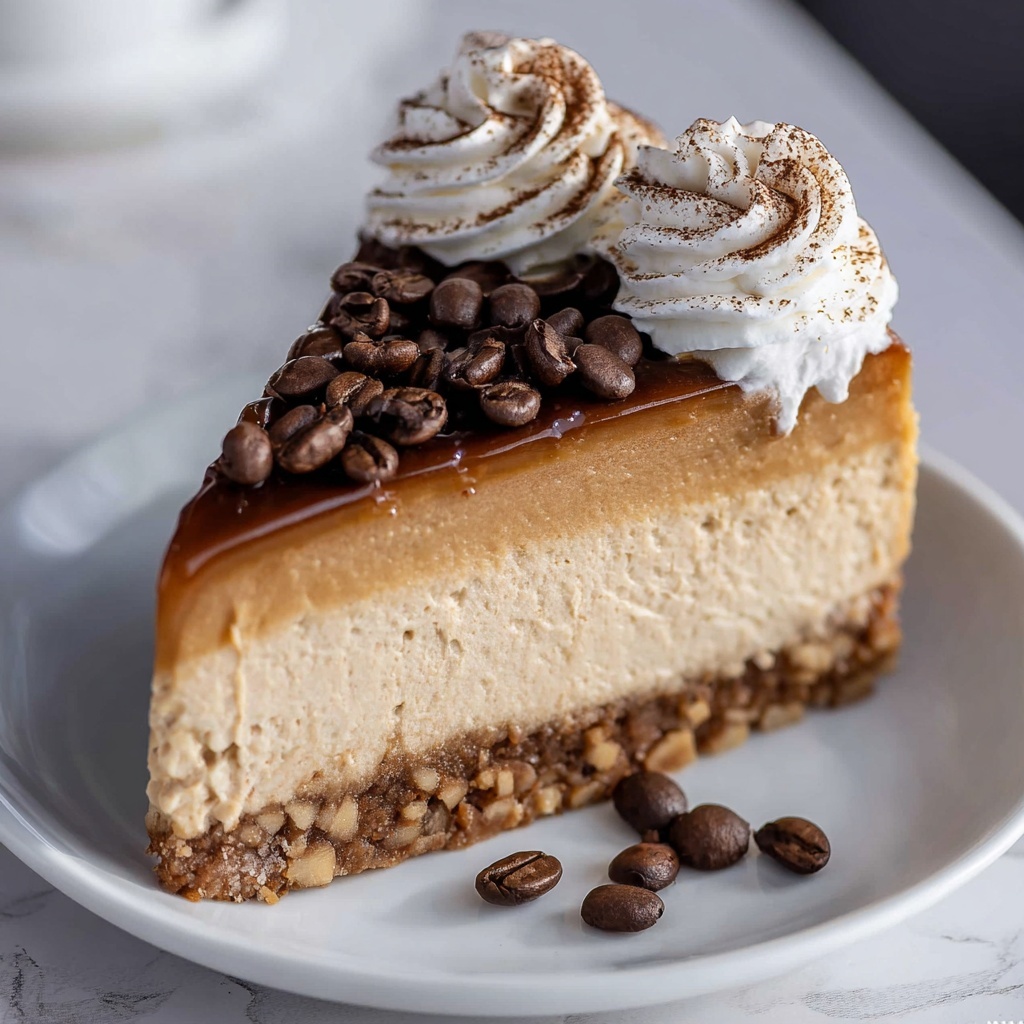
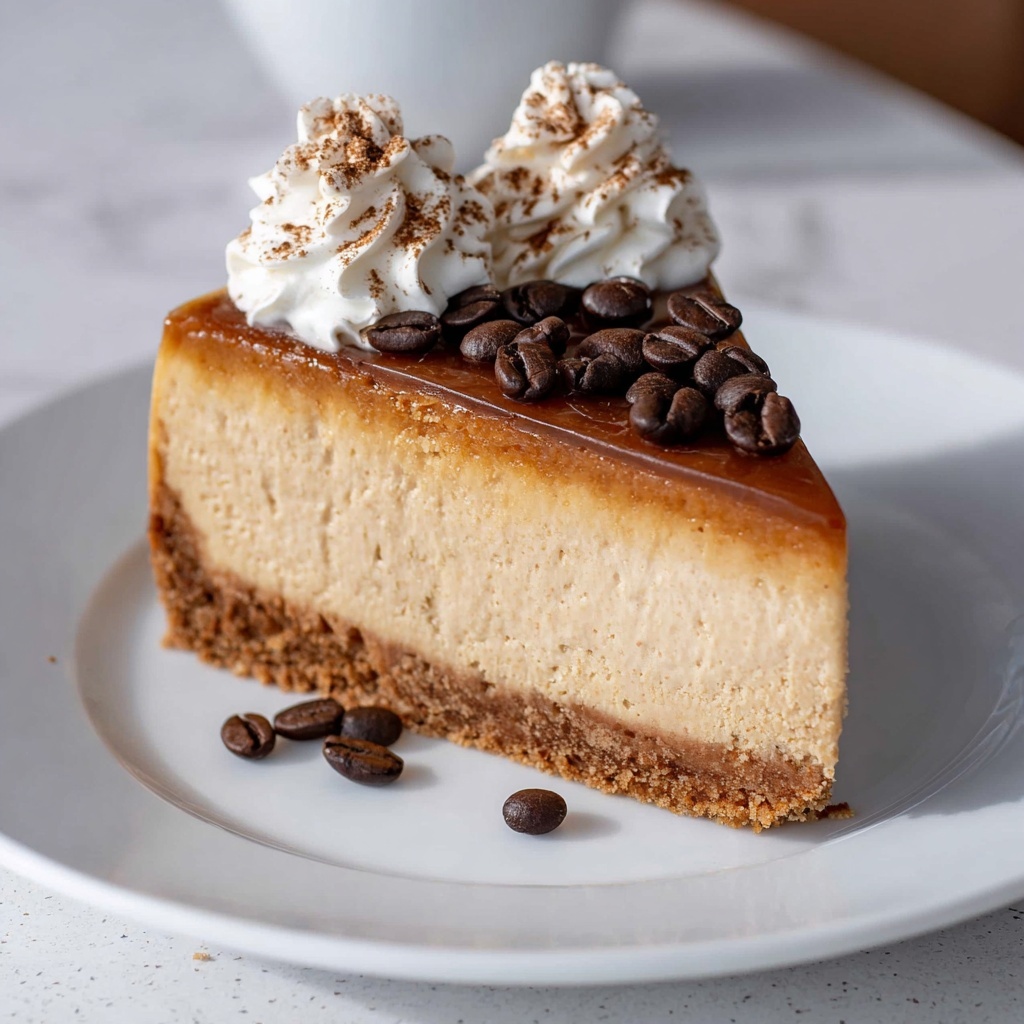
Elevate your Coffee Cheesecake Recipe with elegant garnishes such as a dusting of finely ground espresso or cocoa powder. Fresh whipped cream or chocolate shavings also add texture and visual appeal, making each slice look as delicious as it tastes.
Side Dishes
Serve your cheesecake with accompaniments like fresh berries, caramel sauce, or even a scoop of vanilla bean ice cream. These sides complement the rich coffee flavor and provide a delightful contrast of temperature and texture to the dessert.
Creative Ways to Present
For a stunning presentation, consider serving your cheesecake in individual glasses or jars layered with crushed graham crackers and a drizzle of chocolate or caramel sauce. This personal touch makes your Coffee Cheesecake Recipe perfect for parties and special occasions.
Make Ahead and Storage
Storing Leftovers
After enjoying your slice of Coffee Cheesecake Recipe, store any leftovers in an airtight container in the refrigerator. Properly stored, the cheesecake will stay fresh and moist for up to 5 days, allowing you to savor every last bite at your leisure.
Freezing
If you want to keep your Coffee Cheesecake Recipe even longer, freezing is an excellent option. Wrap the cheesecake thoroughly in plastic wrap and then aluminum foil to prevent freezer burn. Frozen cheesecake maintains its quality for up to 2 months and thaws beautifully in the fridge before serving.
Reheating
Cheesecake is best enjoyed chilled, so reheating is not typically recommended. However, if you prefer a slightly room-temperature dessert, leave the cheesecake out for 20 to 30 minutes before serving to soften it gently without losing its lovely texture.
FAQs
Can I use instant coffee instead of brewed coffee in this Coffee Cheesecake Recipe?
Absolutely! Instant coffee granules can be dissolved in a small amount of warm water and used as a substitute for brewed coffee. This maintains the coffee flavor without adding extra liquid to the batter.
What type of cream cheese works best for this recipe?
Using full-fat, regular cream cheese is best for a rich and creamy texture. Avoid low-fat or whipped versions as they contain more air and water, which can affect the cheesecake’s structure.
How can I prevent cracks from forming on my cheesecake?
Cracks often happen from overbaking or sudden temperature changes. Bake at a low temperature, avoid opening the oven door frequently, and cool the cheesecake gradually to minimize cracking.
Can I make this Coffee Cheesecake Recipe gluten-free?
Yes! Simply substitute the graham cracker crumbs with gluten-free alternatives, and make sure the flour is gluten-free or use cornstarch as a replacement to keep the texture consistent.
How long does it take to chill the cheesecake properly before serving?
For the best flavor and texture, refrigerate the cheesecake for at least 4 hours, but overnight chilling is even better. This allows the filling to set completely and the flavors to deepen.
Final Thoughts
This Coffee Cheesecake Recipe is an absolute joy to make and even more delightful to eat. With its rich coffee flavor, creamy texture, and wonderful balance of sweetness, it’s a dessert that promises to impress both family and friends. Don’t hesitate to try it yourself—once you do, it might just become your new favorite indulgence to share time and again.
Print
Coffee Cheesecake Recipe
- Prep Time: 20 minutes
- Cook Time: 55 minutes
- Total Time: 4 hours 15 minutes
- Yield: 12 servings
- Category: Dessert
- Method: Baking
- Cuisine: American
Description
This luscious Coffee Cheesecake combines the rich, creamy texture of classic cheesecake with a robust brewed coffee flavor, making it the perfect indulgent dessert for coffee lovers. With a crunchy graham cracker crust and a velvety, smooth filling, this cheesecake is a delightful treat that will satisfy cravings and impress guests.
Ingredients
Crust
- 1 1/2 cups graham cracker crumbs
- 1/4 cup sugar
- 1/2 cup unsalted butter, melted
Filling
- 3 (8 ounce) packages cream cheese, softened
- 1 cup sugar
- 3 large eggs
- 1 tablespoon vanilla extract
- 1/2 cup brewed coffee, cooled
- 1 tablespoon all-purpose flour
Instructions
- Preheat Oven: Preheat your oven to 325°F (160°C) to prepare for baking the cheesecake evenly.
- Prepare Crust Mixture: In a mixing bowl, combine the graham cracker crumbs, 1/4 cup sugar, and melted butter. Stir well until the mixture resembles wet sand.
- Form the Crust: Press the crumb mixture firmly into the bottom of a 9-inch springform pan, creating an even layer for the base of the cheesecake.
- Beat Cream Cheese and Sugar: In a large bowl, beat the softened cream cheese with 1 cup sugar until the mixture is smooth and creamy without lumps.
- Add Eggs: Incorporate the eggs one at a time into the cream cheese mixture, beating well after each addition to ensure a smooth texture.
- Mix in Flavorings: Stir in the vanilla extract followed by the cooled brewed coffee to infuse the filling with flavor.
- Add Flour: Gently fold in the all-purpose flour just until combined; this helps to stabilize the cheesecake.
- Assemble and Bake: Pour the cream cheese filling evenly over the prepared crust in the springform pan.
- Bake: Bake in the preheated oven for 55 to 60 minutes, or until the cheesecake is set but still slightly jiggly in the center.
- Cool and Chill: Remove the cheesecake from the oven and let it cool to room temperature, then refrigerate it for at least 4 hours (preferably overnight) before serving to achieve the perfect texture.
Notes
- Ensure cream cheese is softened to avoid lumps in the filling.
- Use brewed coffee that is cooled to prevent cooking the eggs prematurely.
- A springform pan makes it easier to remove the cheesecake without damaging it.
- Chilling time is essential for the cheesecake to set properly and enhance the flavors.
- Serve plain, or garnish with whipped cream or chocolate shavings if desired.


