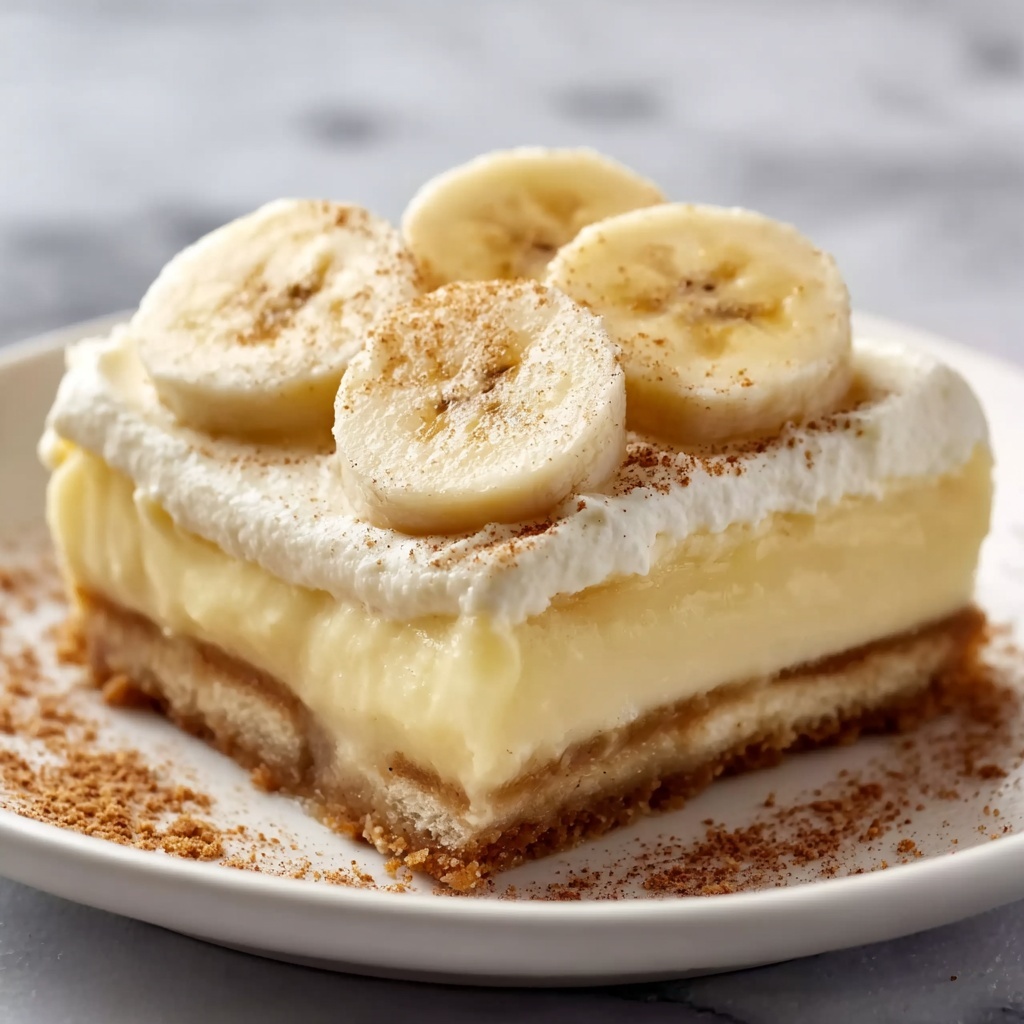
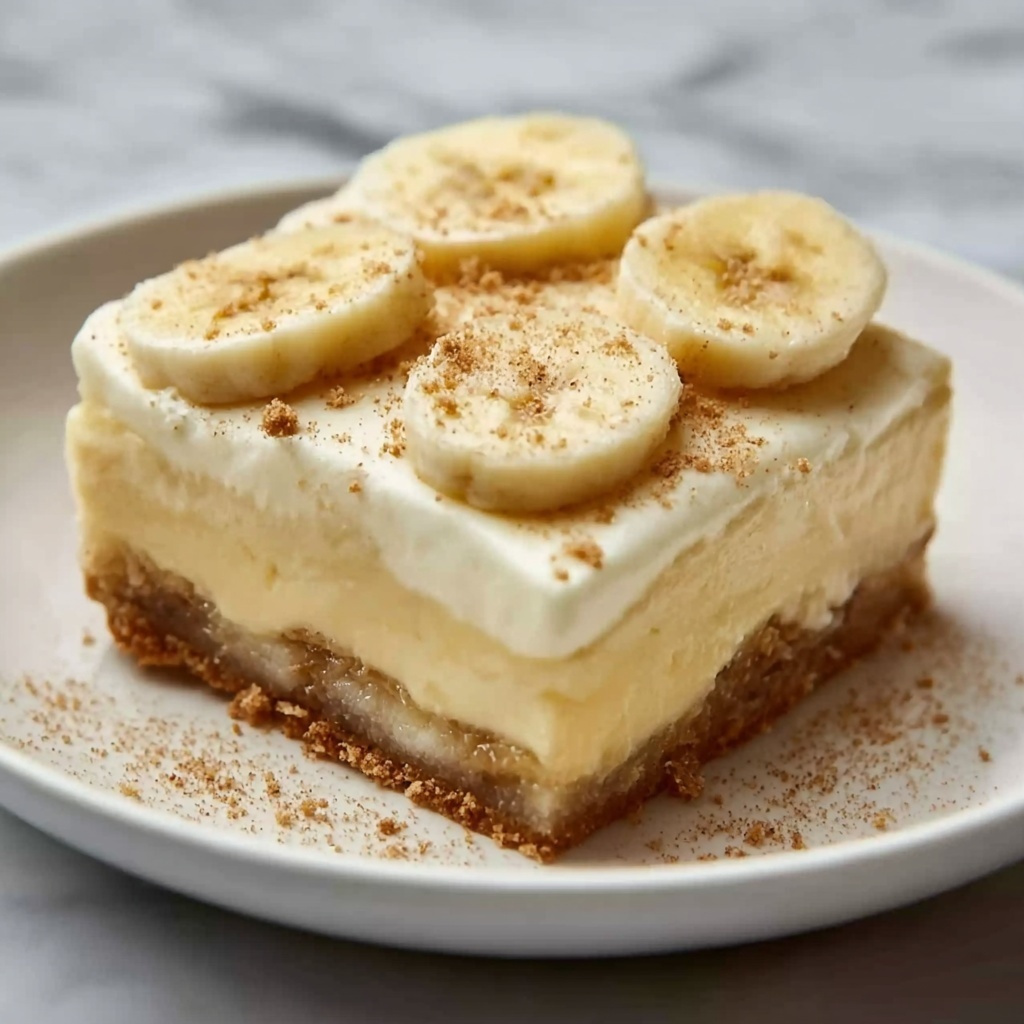
If you’re craving a comforting, nostalgic dessert that warms your heart with each spoonful, this Old-Fashioned Homemade Banana Pudding Recipe is just what you need. It’s a timeless classic that layers crisp vanilla wafers, luscious ripe bananas, and a rich, creamy pudding, all melded together into a dessert that tastes like a loving hug from your grandma’s kitchen. Every bite bursts with flavor and texture, combining sweetness, creaminess, and a touch of vanilla magic that no store-bought pudding can match. Whether you’re making it for a family gathering or simply treating yourself, this recipe will become your go-to when you want to impress effortlessly with a genuine southern favorite.
Ingredients You’ll Need
What’s wonderful about this Old-Fashioned Homemade Banana Pudding Recipe is how the ingredients are simple yet essential, each bringing its own charm to the final dish. The balance of sugar, flour, and salt forms the perfect base, while the eggs and milk create that luscious pudding texture. Fresh bananas add natural sweetness and moisture, and of course, the vanilla wafers provide that classic crunch and flavor contrast. Let’s walk through these key ingredients:
- ¾ cup granulated sugar: Sweetens the pudding just right, giving it the perfect hint of sugary goodness without overpowering the bananas.
- ¼ cup all-purpose flour: Acts as the thickening agent, making sure the pudding sets with a silky, custard-like consistency.
- ¼ teaspoon salt: Enhances all the flavors, balancing the sweetness and giving depth to the pudding.
- 3 cups milk: The creamy foundation of the pudding, providing richness and smoothness.
- 3 large eggs: These add body and thickness, essential for that traditional pudding texture you know and love.
- 2 teaspoons pure vanilla extract: Brings warmth and aroma that ties all the flavors together beautifully.
- 1 box (about 8 ounces) vanilla wafers: Adds the iconic crunch and subtle vanilla crispiness unique to this dish.
- 3–4 ripe bananas, sliced: The star of the show; they bring natural sweetness and softness that perfectly complements the pudding layers.
How to Make Old-Fashioned Homemade Banana Pudding Recipe
Step 1: Prepare the Pudding Base
Start by combining sugar, flour, and salt in a medium saucepan. Slowly whisk in the milk so there are no lumps. This gradual mixing ensures a smooth base, which is key for that velvety pudding texture we’re aiming for. Cook it over medium heat while stirring constantly until it thickens and just begins to bubble—this is the moment the magic starts to happen as the mix transforms from liquid to creamy custard.
Step 2: Temper the Eggs
In a small bowl, beat the eggs lightly. Then, carefully whisk in half a cup of the hot milk mixture into the eggs. This step, called tempering, is so important because it prevents the eggs from scrambling when added back to the warm pudding base. Once combined, pour the egg mixture back into the saucepan, whisking continuously to blend everything seamlessly.
Step 3: Cook the Final Pudding
Return the pan to medium heat and cook the pudding, stirring constantly until it gently boils. Keep cooking for an extra two minutes to cook the eggs fully and thicken the pudding perfectly. Be patient here—this stage is crucial to develop that luscious texture we all want. Finally, remove from heat and stir in the vanilla extract for that rich, fragrant boost.
Step 4: Assemble the Layers
After letting the pudding cool for about 15 minutes, it’s time to build your masterpiece. In an 8-inch square baking dish, spread about 25 vanilla wafers evenly along the bottom. Layer sliced bananas on top of the wafers, then pour half of your creamy pudding over the bananas, smoothing it out. Repeat the process to create a beautiful triple-layered treat—wafers, bananas, pudding—and finish off by covering the surface with plastic wrap pressed directly onto the pudding to keep it from forming a skin.
Step 5: Chill to Perfection
Refrigerate your pudding for at least 4 hours, or even better, overnight. This resting time allows all the flavors to meld, the wafers to soften just enough, and the pudding to set into that irresistible creamy delight. Before serving, sprinkle crushed vanilla wafers on top for an added crunch and that extra-special touch.
How to Serve Old-Fashioned Homemade Banana Pudding Recipe

Garnishes
We love to top this pudding with crushed vanilla wafers because it adds a delightful texture contrast that’s just wow. You can also sprinkle a little cinnamon or nutmeg for a warm spice twist, or add a dollop of freshly whipped cream to make it feel extra special. For a pop of color and freshness, a sprig of mint on top can elevate the presentation effortlessly.
Side Dishes
This banana pudding is such a versatile dessert. It pairs beautifully with a simple cup of black coffee or iced tea, perfect for afternoon tea parties or casual family dinners. For more indulgence, serve it alongside a scoop of vanilla ice cream or fresh berries to balance out the creamy richness with some tart juiciness.
Creative Ways to Present
Want to impress your guests with flair? Serve this recipe in individual glass parfait cups for an elegant look, layering the wafers, bananas, and pudding in clear layers. You can also try it as a trifle with whipped cream and berry compote for a celebratory twist. No matter how you plate it, that Old-Fashioned Homemade Banana Pudding Recipe never fails to make smiles appear.
Make Ahead and Storage
Storing Leftovers
Leftovers are best kept covered tightly in the refrigerator and will stay fresh for up to 3 days. Keeping the plastic wrap pressed directly on the surface of the pudding prevents a skin from forming and locks in moisture and flavor, so your dessert tastes just as dreamy the next day.
Freezing
Freezing banana pudding isn’t usually recommended because the bananas can become watery and the texture of the pudding can change, becoming grainy. If you do freeze it, expect some texture shift and thaw it slowly in the fridge for best results. Still, the fresh version is unbeatable, so try to enjoy this recipe within a few days of making it.
Reheating
This dessert is best served chilled, so reheating is generally unnecessary. If you do want to warm the pudding slightly, do so gently in the microwave or over low heat on the stove, stirring constantly to maintain smoothness. Just be cautious not to cook it again, or the texture can become off.
FAQs
Can I use instant pudding mix instead of making pudding from scratch?
While instant pudding mix is a tempting shortcut, the Old-Fashioned Homemade Banana Pudding Recipe comes alive with homemade pudding’s rich, creamy texture and fresh vanilla flavor. Making it from scratch really elevates the taste and authenticity of this beloved dessert.
How ripe should the bananas be?
The bananas should be ripe but still firm. Overripe bananas can turn mushy and overly sweet, which might make the pudding watery. Look for bananas with a few brown spots but still holding their shape well when sliced.
Can I use a different type of cookie instead of vanilla wafers?
Vanilla wafers are traditional because their light vanilla flavor and crisp texture balance perfectly. However, graham crackers or shortbread cookies can work nicely if you want a slightly different twist. Just keep in mind the texture and sweetness might vary.
Is this dessert gluten-free?
Unfortunately, traditional vanilla wafers and all-purpose flour contain gluten. To make a gluten-free version, you’d need to substitute with gluten-free flour and cookies, which can work but may alter the texture slightly.
Can I prepare this banana pudding ahead of time for a party?
Absolutely! In fact, this dessert tastes even better when made a day ahead because all the flavors have time to meld and the wafers soften just right. Just cover it well and refrigerate until serving time.
Final Thoughts
If you’ve been searching for a soul-satisfying, nostalgic dessert that feels like a warm embrace, this Old-Fashioned Homemade Banana Pudding Recipe is your answer. It’s straightforward, uses everyday ingredients, and comes together into layers of creamy, crunchy, fruity delight that everyone will adore. Give it a try—you might just find yourself making it again and again, sharing this cherished recipe with your own circle of friends and family!
Print
Old-Fashioned Homemade Banana Pudding Recipe
- Prep Time: 15 minutes
- Cook Time: 25 minutes
- Total Time: 40 minutes
- Yield: 8 servings
- Category: Dessert
- Method: Stovetop
- Cuisine: American
Description
This classic Old-Fashioned Homemade Banana Pudding is a creamy, luscious dessert featuring layers of vanilla wafers, fresh bananas, and rich vanilla custard. Made from scratch with simple ingredients, this nostalgic treat is perfect for gatherings and family dinners, offering a perfect balance of sweetness and texture with every bite.
Ingredients
Custard
- ¾ cup granulated sugar
- ¼ cup all-purpose flour
- ¼ teaspoon salt
- 3 cups milk
- 3 large eggs
- 2 teaspoons pure vanilla extract
Assembly
- 1 box (approximately 8 ounces) vanilla wafers
- 3–4 ripe bananas, sliced
Instructions
- Mix dry ingredients and milk: In a medium saucepan, whisk together sugar, flour, and salt. Gradually whisk in milk until smooth, ensuring no lumps remain.
- Cook the base mixture: Cook over medium heat, stirring constantly with a whisk or spatula, until the mixture thickens and begins to bubble, indicating the starch has cooked.
- Simmer gently: Reduce heat to low and cook for 2 more minutes, continuing to stir to prevent burning. Then remove from heat to prepare for egg tempering.
- Temper the eggs: In a small bowl, lightly beat the eggs. Slowly whisk in ½ cup of the hot pudding mixture into the eggs to raise their temperature gradually, preventing curdling.
- Combine eggs with pudding: Pour the tempered egg mixture back into the saucepan with the remaining pudding, whisking continuously to blend.
- Cook until thickened: Return saucepan to medium heat and cook while stirring until the mixture gently boils. Continue cooking for an additional 2 minutes to fully thicken the custard.
- Finish custard and cool: Remove from heat and stir in vanilla extract. Let the custard cool for 15 minutes, stirring occasionally to prevent skin formation.
- Layer vanilla wafers: In an 8-inch square baking dish, layer approximately 25 vanilla wafers evenly on the bottom.
- Add banana slices: Spread a layer of sliced bananas over the wafers, covering them completely.
- Pour puddling layer: Pour half of the cooled custard over the bananas, spreading gently and evenly.
- Repeat layering: Add another layer of wafers, then bananas, and finally the remaining custard, completing the layered structure.
- Cover to prevent skin: Cover the pudding surface with plastic wrap pressed directly onto it to avoid skin formation during chilling.
- Refrigerate: Chill the pudding in the refrigerator for at least 4 hours or preferably overnight to allow flavors to meld and set fully.
- Serve with garnish: Before serving, sprinkle crushed vanilla wafers on top for added crunch and texture.
Notes
- Make sure to whisk constantly during cooking to prevent lumps and scorching.
- Temper the eggs carefully to avoid curdling the custard.
- Use ripe bananas for optimal sweetness and texture.
- Press plastic wrap onto the pudding surface to prevent a skin from forming as it cools.
- For a firmer texture, refrigerate overnight.
- Crushed vanilla wafers on top add a delightful crunch.


