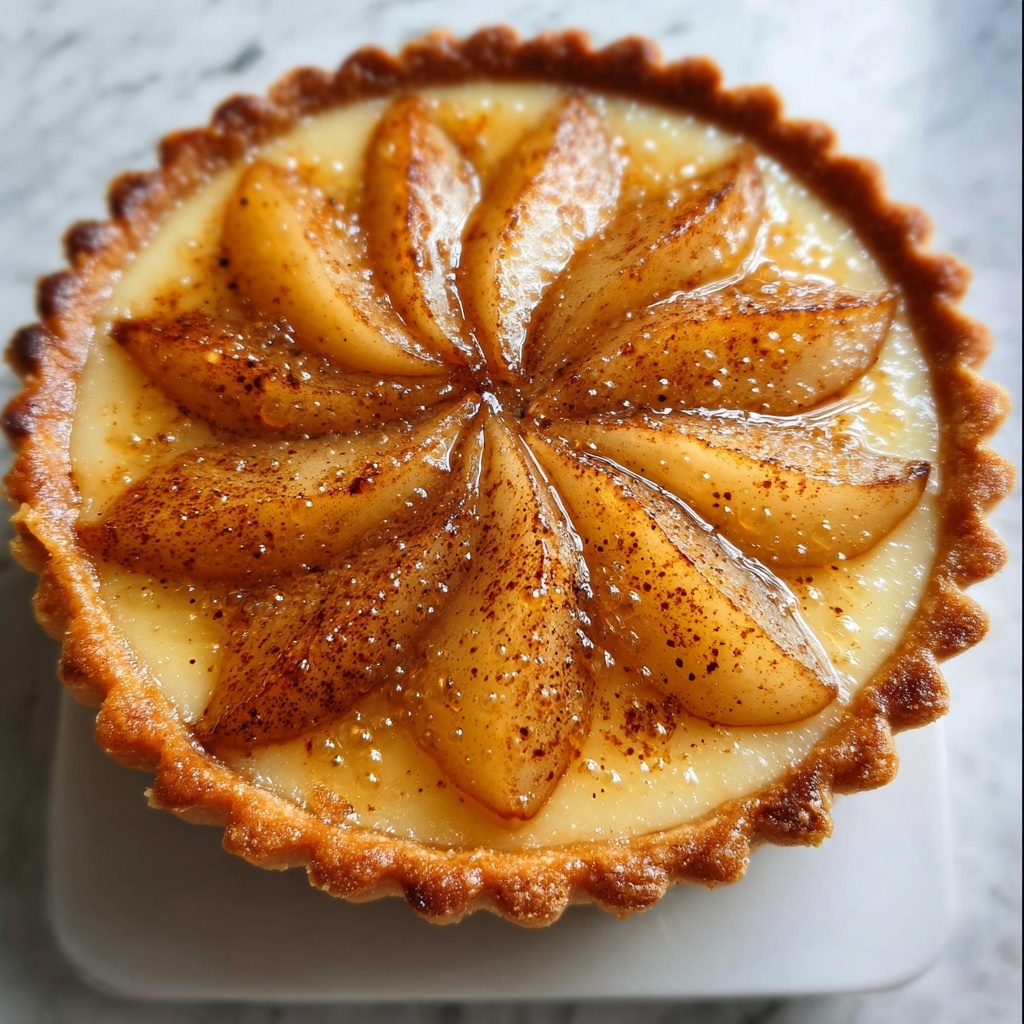
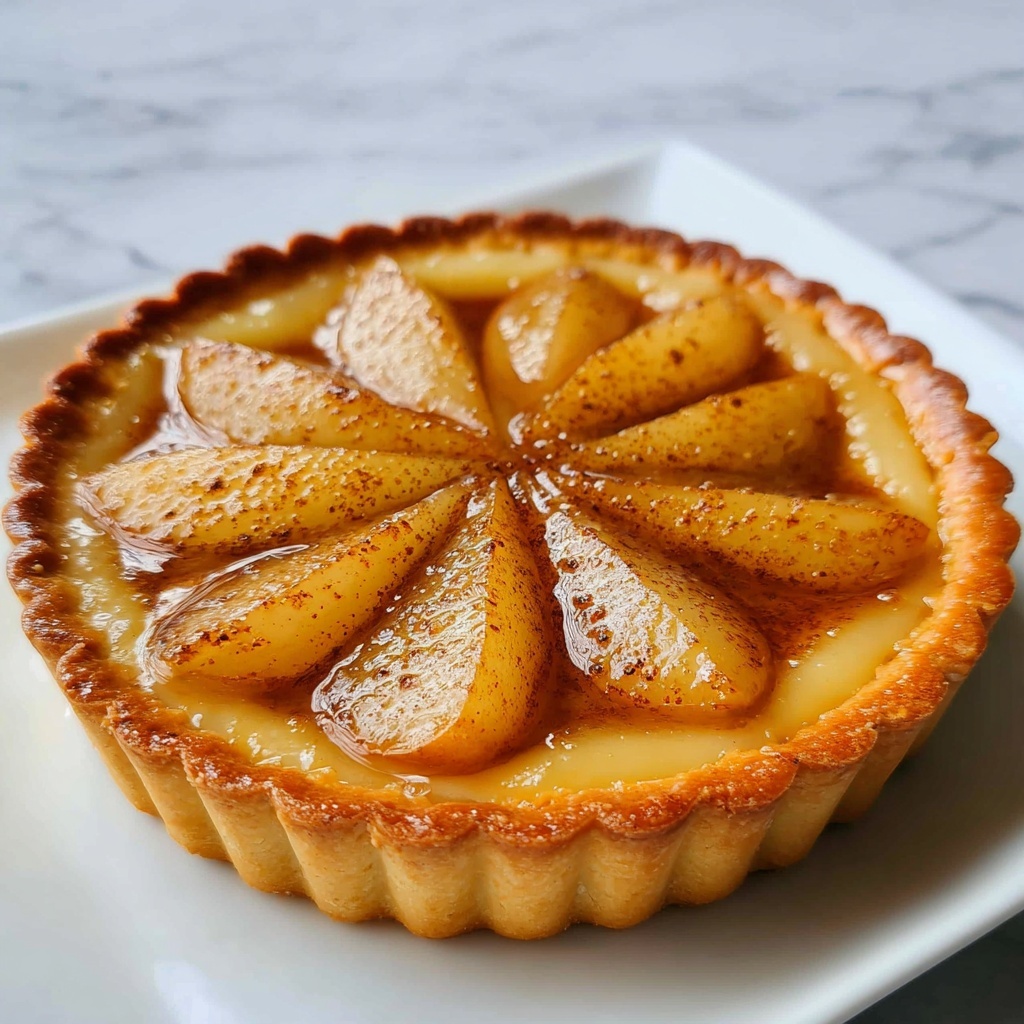
If you’re searching for a delightful centerpiece dessert that captures the warmth and charm of the holiday season, this Christmas Pear Tart Recipe is an absolute must-try. Imagine tender, sweet pears infused with cinnamon and lemon nestled in a golden, flaky tart shell — it’s comforting, elegant, and remarkably easy to make. Each bite offers a perfect balance of softness, spice, and buttery crust that feels like a festive hug on a plate. Whether you’re planning a cozy family gathering or an impressive holiday party, this tart promises to spread cheer and delicious memories.
Ingredients You’ll Need
Keeping things simple is part of what makes this Christmas Pear Tart Recipe so special. The ingredients are straightforward yet thoughtfully chosen to enhance every aspect of the tart—from taste and texture to appearance. Each plays a critical role in making the final result irresistible.
- Pre-made tart shell: A flaky, buttery base that ensures convenience without sacrificing flavor or texture.
- Ripe pears: The star of the show, these bring natural sweetness and tender juiciness to the filling.
- Sugar: Balances the tartness of the pears and caramelizes beautifully during baking.
- Cinnamon: Adds a warm, seasonal spice that makes the dessert feel cozy and festive.
- Lemon juice: Brightens the fruit mixture and prevents the pears from browning.
- Butter, melted: Enhances richness and helps create a smooth, melded filling.
- Egg, beaten: Used for the egg wash, it gives the tart crust a stunning golden sheen.
How to Make Christmas Pear Tart Recipe
Step 1: Preheat Your Oven
Start by heating your oven to a cozy 375°F (190°C). This temperature is perfect for gently baking the pears until they soften while giving the tart shell a beautifully crisp finish.
Step 2: Prepare the Pear Mixture
In a mixing bowl, combine the sliced, peeled pears with sugar, cinnamon, lemon juice, and melted butter. This simple mixture will coat the fruit with just the right balance of sweetness and spice, while the lemon juice keeps the pears looking fresh.
Step 3: Arrange the Tart Base
Place the pre-made tart shell snugly into a baking dish. This helps contain any juices that bubble up while the tart bakes, keeping the crust perfectly crisp and the filling luscious.
Step 4: Fill the Tart Shell
Gently spoon and spread the pear mixture inside the tart shell, taking care to arrange the slices in a way that’s visually appealing. This step turns a simple tart into something you’ll be proud to present.
Step 5: Brush the Edges
Using a pastry brush, coat the edges of the tart shell with the beaten egg. This creates a gorgeous golden-brown crust that glistens under the holiday lights and adds a subtle richness.
Step 6: Bake to Perfection
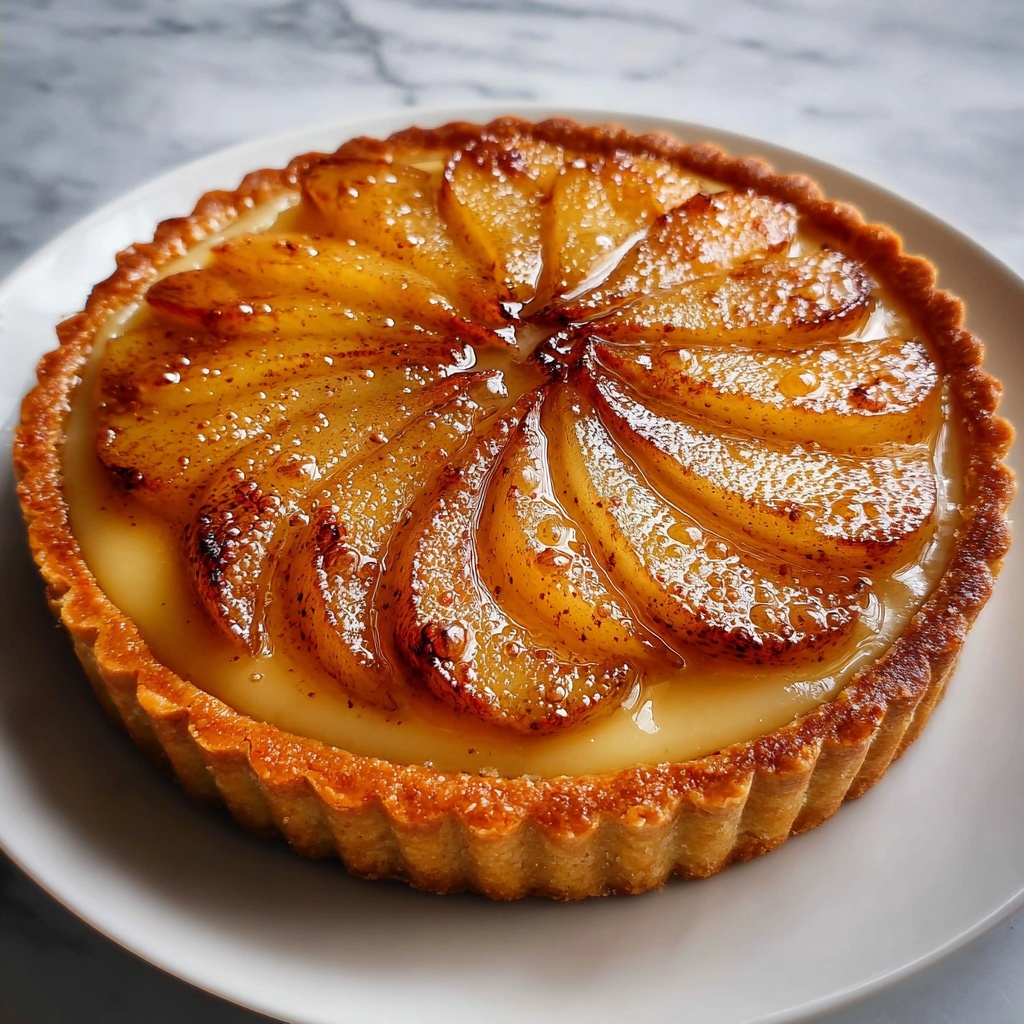
Bake the tart for about 25 to 30 minutes until the pears are tender and juicy, and the tart shell has turned delightfully golden. The kitchen will fill with a wonderful aroma, signaling that the magic is happening.
Step 7: Cool Before Serving
Once you remove the tart from the oven, let it cool slightly before slicing. This resting time helps the filling set, making every slice neat, delicious, and ready to impress.
How to Serve Christmas Pear Tart Recipe
Garnishes
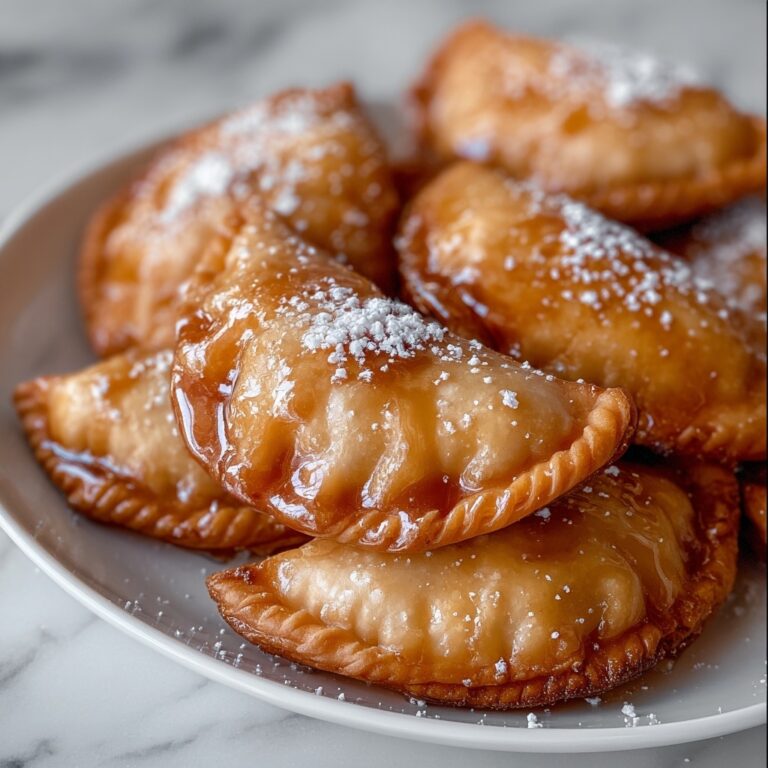
The finishing touches can make your Christmas Pear Tart Recipe truly shine. A light dusting of powdered sugar, a few fresh mint leaves, or a drizzle of honey can elevate the visual appeal and add fresh layers of flavor that delight the senses.
Side Dishes
This tart pairs exceptionally well with a scoop of vanilla bean ice cream or a dollop of lightly whipped cream. For a more adult twist, a spoonful of mascarpone cheese or a splash of warm caramel sauce will bring out the richness and warmth of the pears.
Creative Ways to Present
Thinking beyond the traditional tart plate? Serve slices on vintage dessert plates with festive napkins, or arrange mini tarts for a charming holiday buffet. You might even add a sprinkle of toasted nuts on top for added crunch and elegance.
Make Ahead and Storage
Storing Leftovers
If you have any leftovers, they store wonderfully covered at room temperature for up to a day. For longer freshness, wrap the tart tightly and refrigerate it, where it will keep beautifully for up to three days.
Freezing
You can freeze the tart by wrapping it securely in plastic wrap and foil. When you’re ready to enjoy it again, thaw overnight in the refrigerator and gently reheat to revive that just-baked warmth.
Reheating
Warm leftover slices in a low oven (around 300°F or 150°C) for 10 to 15 minutes. This brings back the crispness of the crust and the softness of the pears without drying them out.
FAQs
Can I use a homemade tart shell instead of pre-made?
Absolutely! A homemade tart shell adds a personal touch and you can tweak the flavor and texture to your liking, though the pre-made option saves time without compromising taste.
What kind of pears work best for this recipe?
Choose ripe but firm varieties like Bosc or Anjou pears to ensure the filling stays tender and holds its shape during baking.
Can I make this tart vegan or dairy-free?
Yes! Swap the butter for a plant-based alternative and use a vegan egg substitute for the wash to keep the crust golden and delicious.
How do I prevent the tart crust from getting soggy?
Using a baking dish helps catch juices, and brushing the crust edges with beaten egg creates a sealed barrier. Baking at the right temperature ensures the crust crisps nicely.
Is the tart best served warm or cold?
This Christmas Pear Tart Recipe is delicious either way — warm for that fresh-baked comfort or chilled for a refreshing finish, depending on your preference.
Final Thoughts
There’s something truly magical about the Christmas Pear Tart Recipe that makes it a treasured holiday classic. It’s astonishingly simple yet deeply satisfying, a perfect way to bring a little festive sparkle to your table. I can’t wait for you to try this recipe and enjoy the wholesome joy it brings to your celebrations!
Print
Christmas Pear Tart Recipe
- Prep Time: 15 minutes
- Cook Time: 30 minutes
- Total Time: 45 minutes
- Yield: 8 servings
- Category: Dessert
- Method: Baking
- Cuisine: European
Description
This Christmas Pear Tart is a delightful and festive dessert featuring ripe pears in a cinnamon-scented sugar glaze nestled in a buttery pre-made tart shell. It’s easy to prepare and perfect for holiday gatherings, offering a warm and inviting flavor that feels magical on any occasion.
Ingredients
Tart
- 1 pre-made tart shell
Pear Filling
- 3 ripe pears, peeled and sliced
- 1/2 cup sugar
- 1 teaspoon cinnamon
- 1 tablespoon lemon juice
- 2 tablespoons butter, melted
Egg Wash
- 1 egg, beaten (for egg wash)
Instructions
- Preheat Oven: Preheat your oven to 375°F (190°C) to ensure it reaches the right temperature while you prepare the filling.
- Prepare Pear Mixture: In a mixing bowl, combine the peeled and sliced pears with sugar, cinnamon, lemon juice, and melted butter. Mix until the fruit is evenly coated to create a flavorful filling.
- Place Tart Shell: Arrange the pre-made tart shell in a suitable baking dish to catch any drips during baking and provide stability.
- Fill Tart Shell: Spoon the pear mixture evenly into the tart shell, spreading it out carefully to cover the base and maintain a nice presentation.
- Apply Egg Wash: Using a pastry brush, gently brush the beaten egg along the edges of the tart shell. This will give the crust a beautiful golden and glossy finish.
- Bake: Bake the tart in the preheated oven for 25-30 minutes or until the pears are tender and the crust is golden brown, indicating it is fully cooked.
- Cool: Remove the tart from the oven and allow it to cool completely before slicing and serving. This helps the filling to set and improves flavor.
Notes
- Use ripe but firm pears to ensure they hold their shape during baking.
- If you prefer a sweeter tart, increase the sugar slightly but be cautious not to overpower the natural pear flavor.
- For added texture, sprinkle some chopped nuts on top before baking.
- Serve with whipped cream or vanilla ice cream for an extra indulgent treat.
- You can substitute the pre-made tart shell with homemade pastry if desired.

