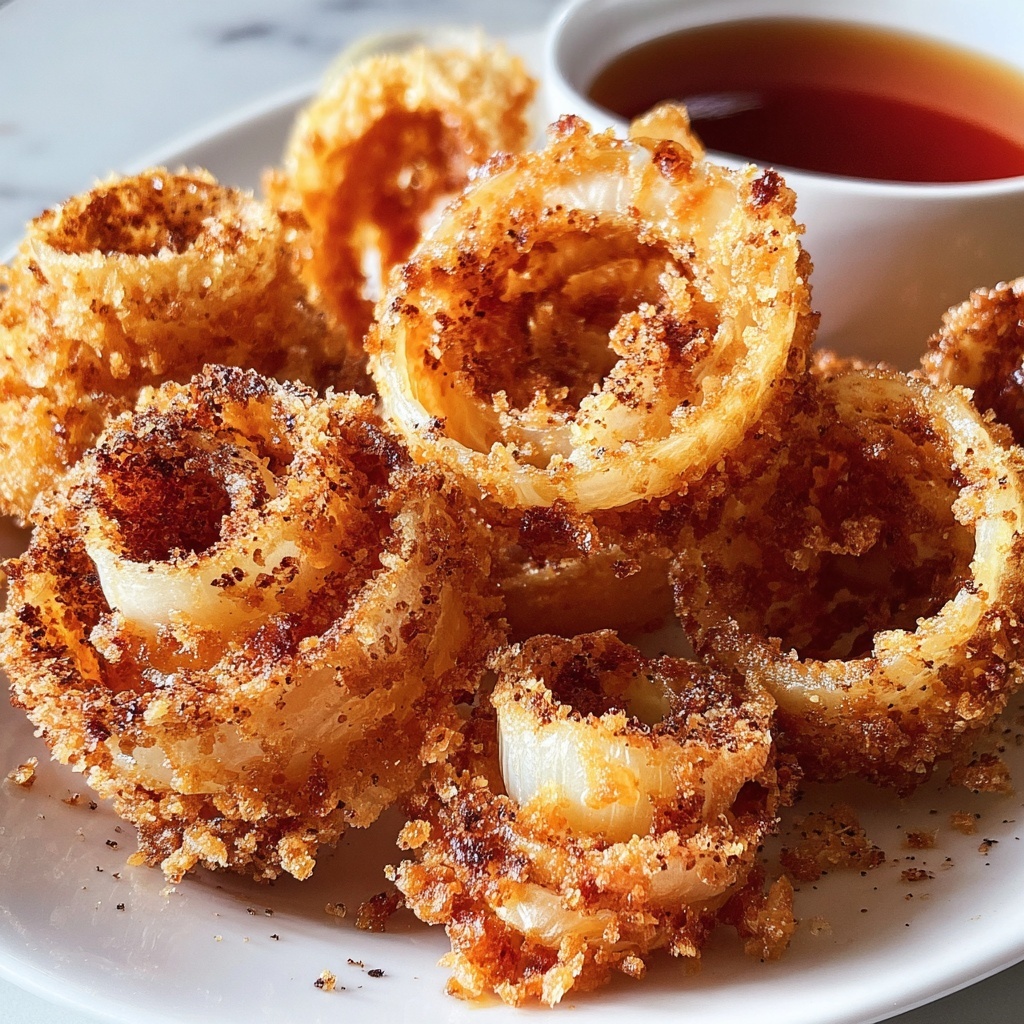
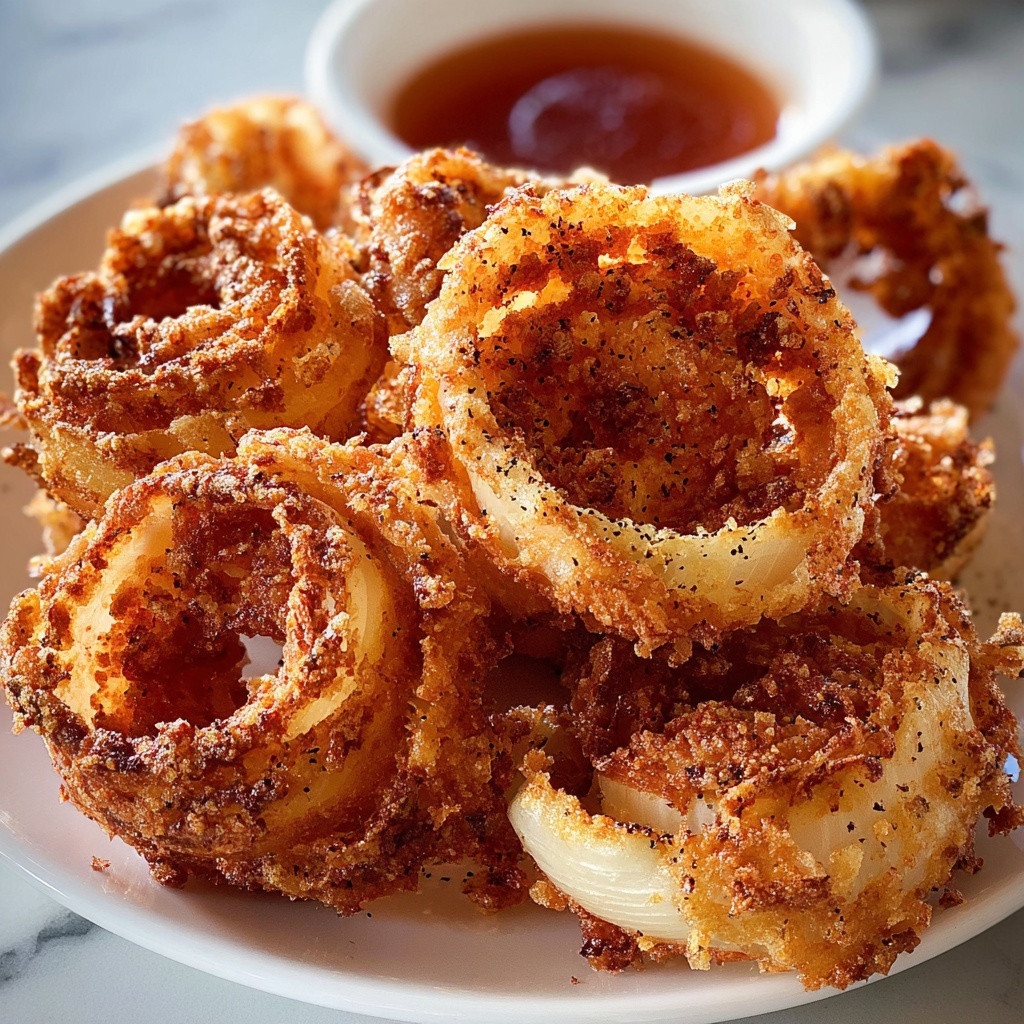
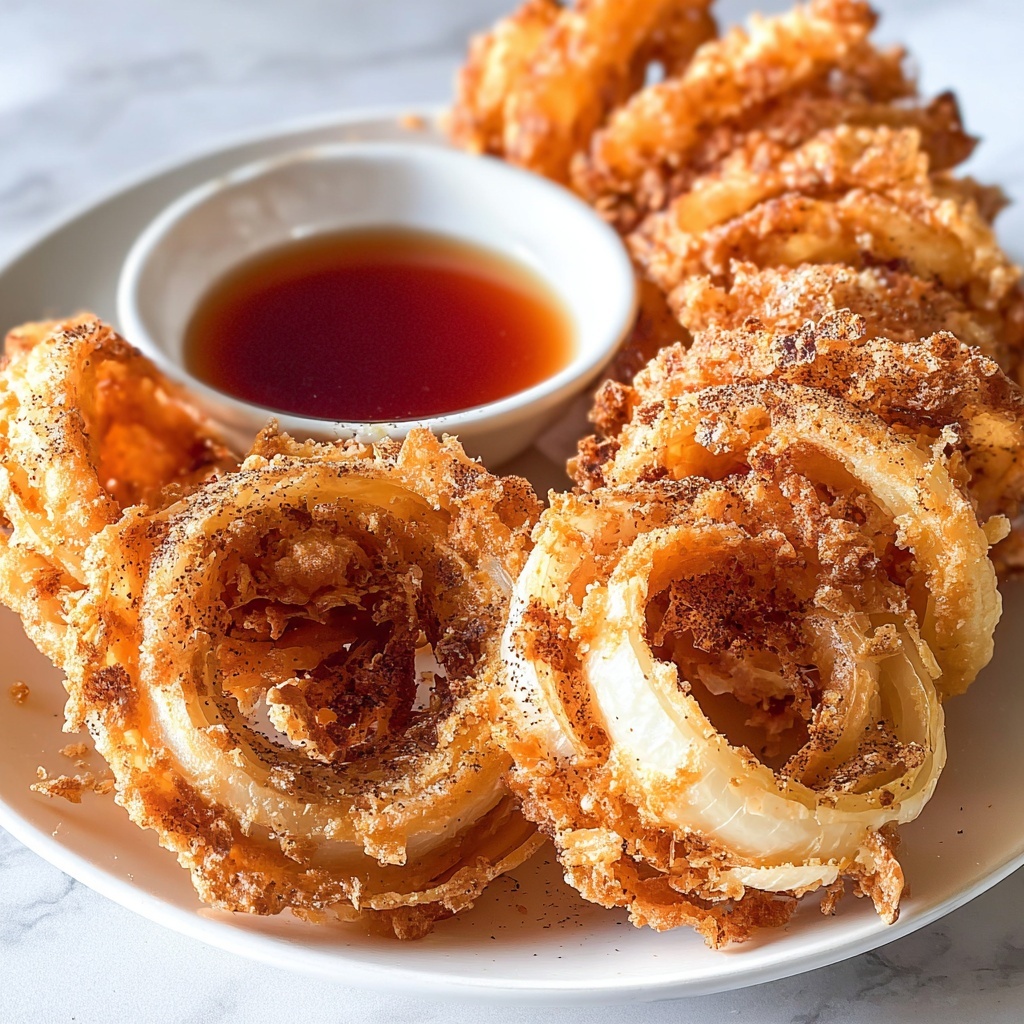
If you’re craving a snack that combines crispy, golden perfection with a burst of savory flavor, look no further than this Mini Blooming Onions: Tips for Perfectly Crispy Bites Recipe. These petite takes on the classic blooming onion are irresistibly crunchy on the outside, tender and sweet on the inside, and packed with seasoning that will have you coming back for more. Perfect for sharing or indulging solo, this recipe is a foolproof way to enjoy restaurant-style fried onions right in your own kitchen.
Ingredients You’ll Need
Every ingredient in this Mini Blooming Onions: Tips for Perfectly Crispy Bites Recipe has its special role, from soaking and flavoring to delivering that perfect crunch and color. Using simple pantry staples, you’ll create a harmony of textures and flavors that sing together in each bite.
- 4 large onions: Choose firm, fresh onions to ensure they bloom beautifully and hold up during frying.
- 1 cup buttermilk: This tenderizes the onions and adds subtle tang, helping the coating stick perfectly.
- 1 cup all-purpose flour: Provides the crispy crust that turns golden and crunchy when fried.
- 1 teaspoon garlic powder: Infuses a savory depth that elevates the flavor profile.
- 1 teaspoon paprika: Adds a hint of smoky warmth and vibrant color.
- 1 teaspoon salt: Enhances all the flavors without overpowering.
- 1/2 teaspoon black pepper: A mild kick to balance sweetness of the onion.
- Oil for frying: Use an oil with a high smoke point for best results and perfectly even crisping.
How to Make Mini Blooming Onions: Tips for Perfectly Crispy Bites Recipe
Step 1: Prepare Your Onions
Begin by slicing the tops off each onion and carefully peeling away the outer skin layers. This helps the onion “bloom” open after cooking and allows the flavors to penetrate deeply, releasing that incredible aroma with every bite.
Step 2: Soak in Buttermilk
Submerge the peeled onions into a bowl of buttermilk and let them soak for 2 hours. This soaking step tenderizes the onions while also allowing the buttermilk’s acidity to create a lighter, fluffier crust when fried.
Step 3: Prepare the Dredging Mix
While the onions soak, whisk together flour, garlic powder, paprika, salt, and black pepper in a shallow dish. This seasoned flour mixture promises that signature crispy coating packed with bold flavors.
Step 4: Heat Your Oil
Fill a deep pan with oil and heat to 350°F (175°C). Maintaining this temperature is key for golden, crispy onions that cook quickly without soaking up excess oil or burning.
Step 5: Coat the Onions Thoroughly
Remove the onions from the buttermilk and let excess drip off. Then dredge each onion thoroughly in the flour mixture, making sure every petal is evenly coated to lock in moisture and create that addicting crunch.
Step 6: Fry Until Golden Perfection
Carefully place the coated onions into the hot oil and fry for about 3 to 4 minutes. You’ll know they’re ready when they’re a deep golden brown and crispy all around. Work in batches if needed so the oil temperature stays steady.
Step 7: Drain and Serve Hot
Use a slotted spoon to transfer the fried onions to paper towels to drain any excess oil. Serve immediately while piping hot and crispy for the best taste experience.
How to Serve Mini Blooming Onions: Tips for Perfectly Crispy Bites Recipe
Garnishes
A sprinkle of fresh chopped parsley or a dash of smoked paprika on top immediately adds color and a fresh note to these crunchy delights, making them even more inviting on the plate.
Side Dishes
Pair your mini blooming onions with cooling dips like ranch, chipotle mayo, or a tangy buttermilk sauce for dipping. They also go wonderfully alongside burgers, sandwiches, or BBQ dishes to add textural contrast.
Creative Ways to Present
Try serving mini blooming onions stacked in a bowl as an appetizer centerpiece or individually plated with a drizzle of spicy aioli. You can even use them as a crunchy topping on salads for an unexpected burst of flavor.
Make Ahead and Storage
Storing Leftovers
If you have any leftovers, place them in an airtight container in the refrigerator for up to two days. To help retain crispiness, add a paper towel to absorb moisture inside the container.
Freezing
These crispy bites are best enjoyed fresh, but if you must freeze, freeze them individually on a baking tray first then transfer to a freezer bag. Reheat directly from frozen for best texture.
Reheating
To revive that fresh-from-the-fryer crisp, reheat your mini blooming onions in a preheated oven or air fryer at 350°F for 5 to 7 minutes rather than microwaving, which tends to make them soggy.
FAQs
Can I use different types of onions for this recipe?
Yes, yellow onions work best for their sweetness and structure, but white or sweet onions can be used too. Just make sure they are large and firm to bloom properly.
Is buttermilk necessary for soaking?
Buttermilk adds tenderness and tang that enhances the coating’s texture and flavor, but you can substitute with regular milk mixed with a teaspoon of lemon juice or vinegar if needed.
What type of oil is best for frying?
Use a neutral oil with a high smoke point such as vegetable, canola, or peanut oil to ensure even frying without imparting unwanted flavors.
Can I make this recipe gluten-free?
Absolutely! Substitute the all-purpose flour with a gluten-free flour blend that’s suitable for frying, and double-check your seasoning to keep it gluten-free.
How do I prevent the onion petals from breaking apart?
Slice carefully and soak long enough in buttermilk to help the petals stay together. Also, handle gently when dredging and frying to maintain their shape.
Final Thoughts
This Mini Blooming Onions: Tips for Perfectly Crispy Bites Recipe is a total game changer for anyone who loves crunchy, flavorful snacks. With a few simple ingredients and easy steps, you’ll create an irresistible treat that makes every bite feel special. I can’t wait for you to try it and fall in love with this crispy, savory delight as much as I do!
Print
Mini Blooming Onions: Tips for Perfectly Crispy Bites Recipe
- Prep Time: 10 minutes
- Cook Time: 5 minutes
- Total Time: 2 hours 15 minutes
- Yield: 4 servings
- Category: Appetizer
- Method: Frying
- Cuisine: American
Description
Learn how to make perfectly crispy Mini Blooming Onions with this easy, step-by-step recipe. These bite-sized treats feature tender onions soaked in buttermilk, coated in a flavorful seasoned flour mixture, and deep-fried to golden perfection. Perfect as a snack or appetizer, these crispy blooms are sure to impress!
Ingredients
Onions and Soaking Mixture
- 4 large onions
- 1 cup buttermilk
Seasoned Flour Coating
- 1 cup all-purpose flour
- 1 teaspoon garlic powder
- 1 teaspoon paprika
- 1 teaspoon salt
- 1/2 teaspoon black pepper
Frying
- Oil for frying (vegetable or canola oil recommended)
Instructions
- Prepare the onions: Slice the tops off the onions and peel them carefully, keeping the root end intact so the onion layers can fan out slightly.
- Soak in buttermilk: Submerge the peeled onions in 1 cup of buttermilk and allow them to soak for 2 hours. This tenderizes the onion and helps the coating stick better.
- Mix the seasoned flour: In a large bowl, combine 1 cup flour, garlic powder, paprika, salt, and black pepper. Mix thoroughly to create a well-seasoned coating.
- Heat the oil: Pour oil into a deep pan or fryer and heat it to 350°F (175°C). Maintaining the right temperature is crucial for crispy, non-greasy results.
- Coat the onions: Remove each onion from the buttermilk, letting excess drip off, then thoroughly dredge it in the seasoned flour mixture, ensuring the layers are evenly coated.
- Deep fry: Carefully place the coated onions into the hot oil. Fry for 3-4 minutes until they are golden brown and crispy on all sides. Use tongs to turn as needed for even cooking.
- Drain and serve: Remove the onions from the oil and drain on paper towels to absorb excess oil. Serve immediately while hot and crispy for the best taste.
Notes
- Using large onions with intact roots ensures the onion petals stay together after slicing.
- Soaking onions in buttermilk for 2 hours is essential for tenderness and flavor.
- Maintain oil temperature at 350°F for optimum frying; too hot burns the coating, too cool makes it greasy.
- You can add cayenne or smoked paprika to the flour mix for extra spice and depth.
- Drain onions well after frying to keep them crispy longer.
- This recipe is best served fresh and hot for maximum crunch.
- Vegetable or canola oil is preferred for frying due to their high smoke points.


