
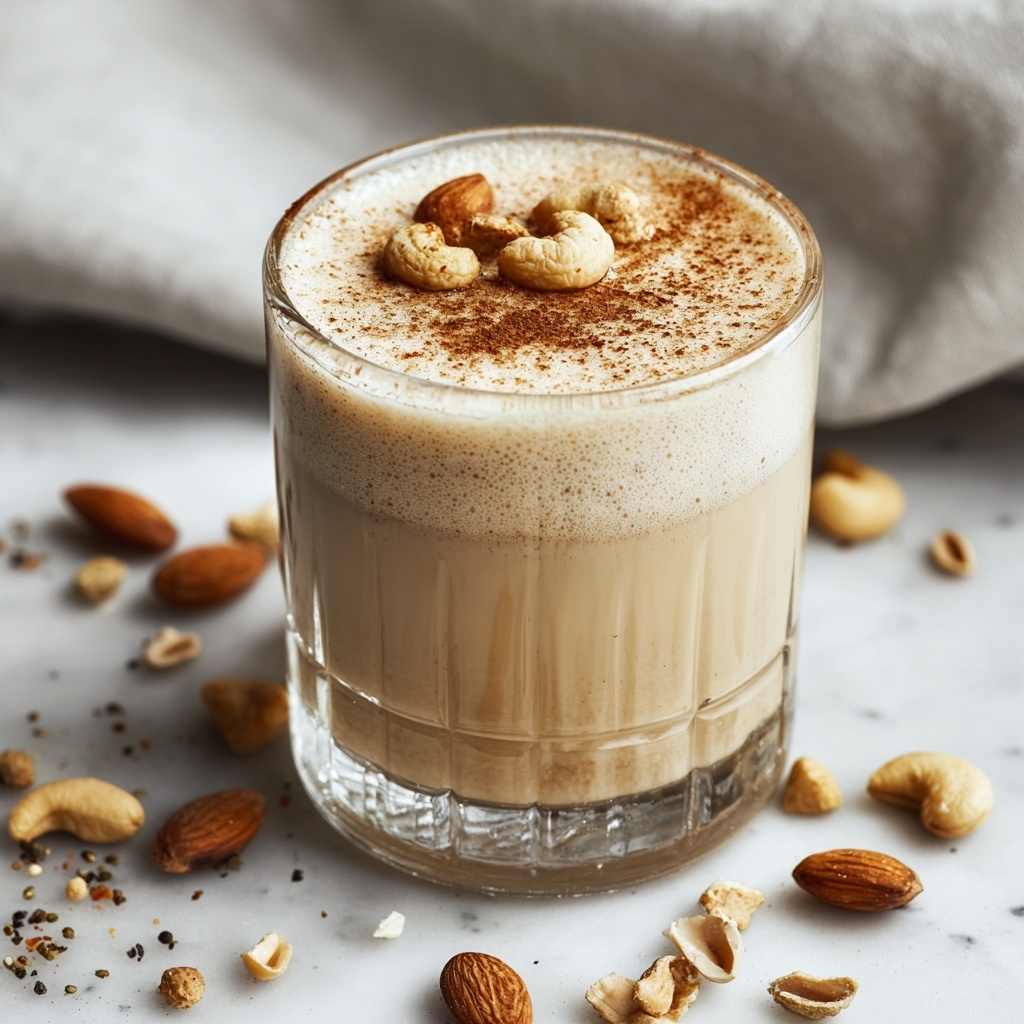
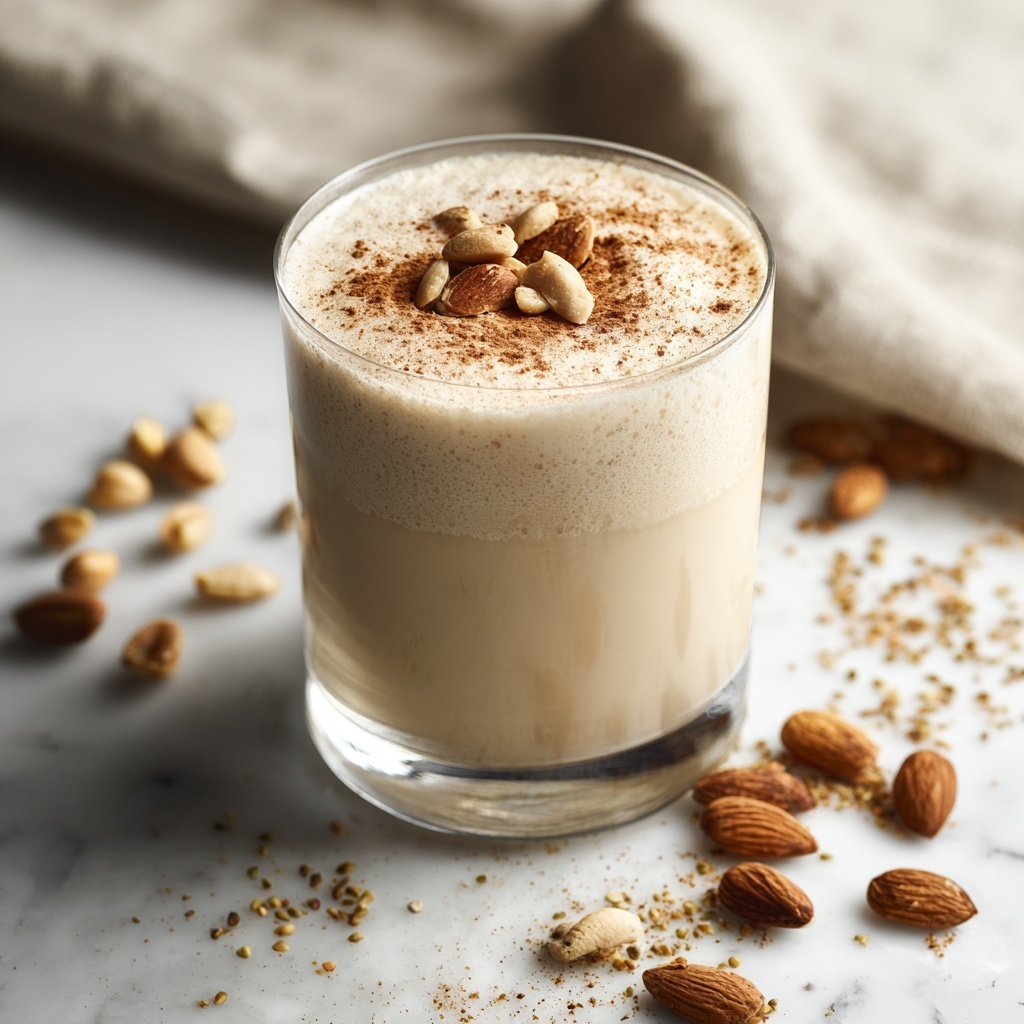
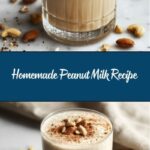
If you have ever wished for a creamy, naturally sweet, and utterly nourishing plant-based drink, this Homemade Peanut Milk Recipe will become your new favorite. Rich in flavor and surprisingly simple to make, this peanut milk offers a delightful twist on traditional nut milks, delivering a smooth texture with the subtle warmth of roasted peanuts. Once you try making it yourself, you’ll appreciate how fresh, wholesome, and satisfying this drink can be—perfect for breakfast, snacks, or even as a unique addition to smoothies and cooking.
Ingredients You’ll Need
Every ingredient in this recipe plays an essential role in creating that distinct, fresh peanut milk flavor. The simplicity of just a few pantry staples means you can make this creamy beverage anytime with minimal fuss, while each item ensures the perfect balance of creaminess, nuttiness, and purity.
- 1 cup peanuts: Choose raw or unsalted peanuts for the freshest taste and the best creamy texture after blending.
- 4 cups filtered water: The filtered water helps release the peanut’s flavor and creates the perfect milky consistency.
- Extra filtered water for soaking: Soaking softens the peanuts, making them easier to blend and enhancing the smoothness of the milk.
How to Make Homemade Peanut Milk Recipe
Step 1: Soak the Peanuts
Begin by placing your raw peanuts in a large bowl or jar and cover them generously with filtered water. Let them soak overnight, or for about 8 hours. This soaking process is crucial because it softens the peanuts, making them easier to blend and allowing their natural flavor to fully develop in your milk.
Step 2: Drain and Prep for Blending
Once your peanuts are wonderfully soaked, drain the water completely. This step removes any bitterness and helps your milk taste fresh and clean. Next, add the drained peanuts to your blender, setting the stage for that creamy transformation.
Step 3: Blend with Filtered Water
Add 4 cups of fresh filtered water to the blender with your soaked peanuts. Blend the mixture for about 1 minute or until you achieve a smooth, creamy, and milky consistency. The powerful blending breaks down the peanuts perfectly, turning them into a gorgeous liquid with all their creamy richness intact.
Step 4: Strain for Smoothness (Optional)
The peanut milk is ready right after blending, but if you prefer an ultra-smooth drink, pour it through a nut milk bag or fine mesh strainer. This removes any leftover solids and leaves you with silky peanut milk that feels just like a velvety treat sipping through a straw.
Step 5: Chill and Enjoy
Transfer your peanut milk to a clean bottle or jar, seal it tightly, and chill it in the refrigerator before serving. Chilling enhances the refreshing flavor and gives the milk a wonderful coolness on those warm mornings or afternoons.
How to Serve Homemade Peanut Milk Recipe
Garnishes
Adding a simple garnish can take your peanut milk experience to the next level. Try a sprinkle of cinnamon or a dash of nutmeg on top for a warm spice touch, or add a few crushed peanuts for a crunchy surprise as you sip. A drizzle of honey or maple syrup also pairs beautifully, especially if you like your drinks a bit sweeter.
Side Dishes
Peanut milk pairs wonderfully with breakfast foods like warm oatmeal, fluffy pancakes, or crispy toast. For a light snack, serve it alongside fresh fruit or homemade granola bars. The nutty flavor balances well with both savory and sweet options, making it as versatile as it is delicious.
Creative Ways to Present
Why not get playful with your presentation? Pour your homemade peanut milk into mason jars with fun paper straws or serve it chilled in cute glasses topped with whipped coconut cream. You could also create iced peanut lattes by mixing your peanut milk with a shot of espresso, or use it as a base for smoothies by blending with bananas and cocoa powder for a rich nutty treat.
Make Ahead and Storage
Storing Leftovers
Your homemade peanut milk keeps nicely in the refrigerator for up to 3-4 days. Store it in an airtight container or jar to maintain freshness and avoid absorbing other fridge odors. Always give it a good shake before pouring, as natural separation may occur.
Freezing
Freezing peanut milk isn’t usually recommended because the texture can change once thawed, becoming grainy or separated. However, if you have extra, freeze it in ice cube trays to add to smoothies or coffee drinks later. Just blend again to restore creaminess after thawing.
Reheating
If you prefer warm peanut milk, heat it gently on the stove or in the microwave. Avoid boiling, as high heat can cause the milk to curdle or lose some of its delicate flavor. Stir often while warming to keep the texture smooth and luscious.
FAQs
Can I use roasted peanuts instead of raw peanuts?
Raw peanuts are best for this recipe because they provide a clean, fresh flavor. Roasted peanuts may alter the taste and could cause a grainier texture, but if you love a deeper roasted flavor, feel free to experiment and adjust to your liking.
Do I need to peel the peanuts before making the milk?
Peeling peanuts is optional; the skins are edible and contain nutrients. Leaving the skins on adds a rustic texture and can deepen the color of your milk. If you prefer a smoother and lighter drink, peeling is recommended.
Is this peanut milk suitable for those with nut allergies?
If you are allergic to peanuts or tree nuts, this recipe is not safe for you. Peanuts are legumes but can still trigger nut allergies, so always be cautious and consult with a healthcare provider if needed.
How can I sweeten the peanut milk naturally?
You can add natural sweeteners such as honey, maple syrup, or dates while blending. Start with small amounts and adjust to taste. Vanilla extract is also a great option for adding natural sweetness and aroma.
Can I use this peanut milk as a substitute for cow’s milk in recipes?
Absolutely! Homemade peanut milk works well in baking, cooking, and beverages. Its nutty flavor adds a unique dimension, so consider where that flavor would complement the dish before substituting it.
Final Thoughts
Making this Homemade Peanut Milk Recipe is like inviting a little wholesome magic into your kitchen. It’s fresh, flavorful, and fulfills that craving for something creamy without any additives or preservatives. I truly hope you enjoy creating and savoring every sip as much as I do. Give it a try soon—you won’t look back once you’ve tasted the pure goodness of homemade peanut milk!
Print
Homemade Peanut Milk Recipe
- Prep Time: 8 hours 5 minutes
- Cook Time: 1 minute
- Total Time: 8 hours 6 minutes
- Yield: 4 servings
- Category: Beverage
- Method: Blending
- Cuisine: International
- Diet: Vegan
Description
This homemade peanut milk recipe offers a creamy, nutritious, and dairy-free alternative that is easy to make using just peanuts and water. Perfectly suited for those looking for a plant-based milk option with a rich, nutty flavor, it requires minimal ingredients and simple steps, making it ideal for a healthy lifestyle.
Ingredients
Peanut Milk Ingredients
- 1 cup raw peanuts
- 4 cups filtered water (for blending)
- Extra filtered water (for soaking)
Instructions
- Soak the Peanuts: Place the raw peanuts in a bowl or jar and cover them completely with filtered water. Allow them to soak overnight, for at least 8 hours, to soften and prepare them for blending.
- Drain the Peanuts: After soaking, drain the peanuts thoroughly to remove the soaking water, which reduces bitterness and improves texture.
- Blend Peanuts and Water: Add the drained peanuts to a blender along with 4 cups of filtered water. Blend for about 1 minute or until the mixture becomes smooth and milky in appearance.
- Strain the Milk (Optional): Pour the blended mixture through a nut milk bag or fine strainer if you prefer a smoother, pulp-free milk. This step is optional depending on your texture preference.
- Store and Chill: Transfer the peanut milk into a clean bottle or jar and refrigerate until chilled. Consume within 3-4 days for the best freshness.
Notes
- Soaking the peanuts overnight softens them, making blending easier and improving milk consistency.
- Straining is optional; unstrained peanut milk will have a creamier, thicker texture.
- Use raw, unsalted peanuts for the best flavor and to keep sodium low.
- Shake the milk well before each use as natural separation may occur.
- Peanut milk can be sweetened or flavored with vanilla, cinnamon, or a touch of honey if desired.

