
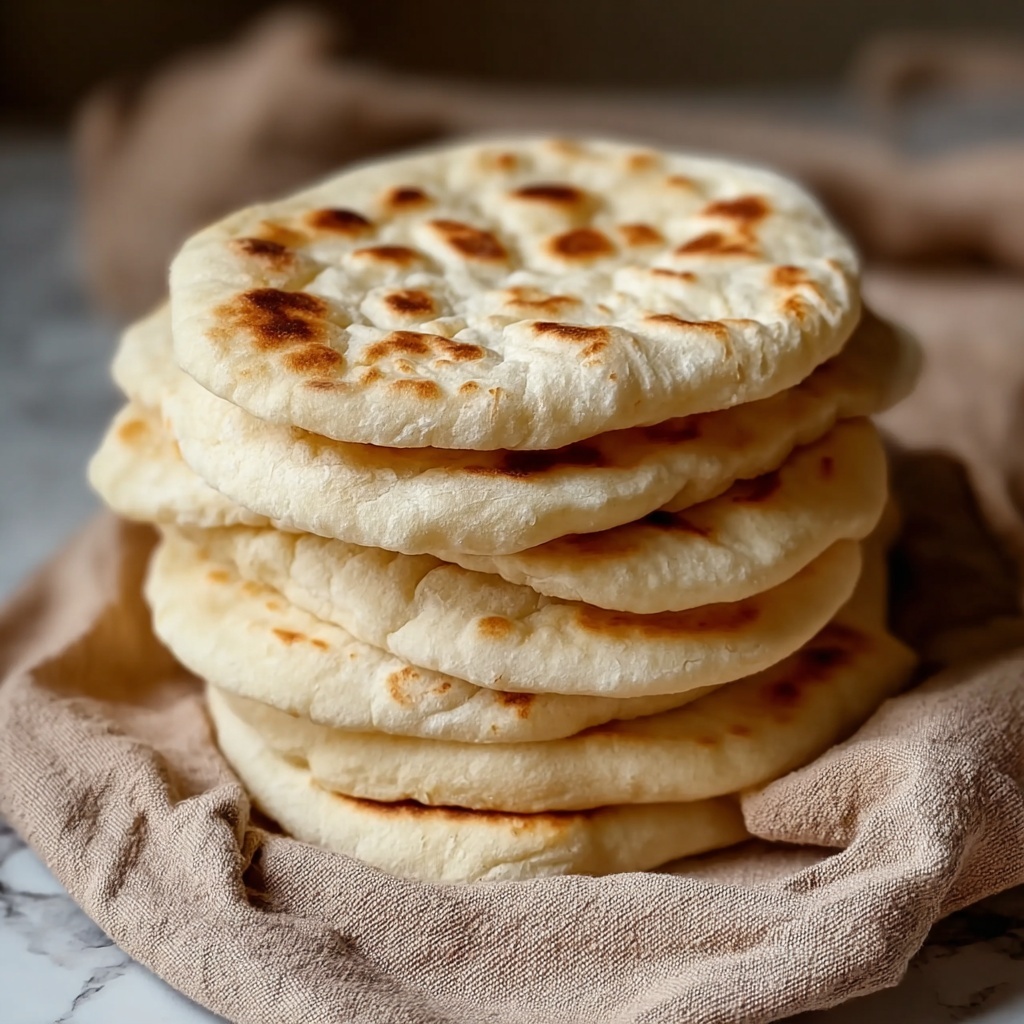
If you have ever dreamed of biting into warm, soft pockets of bread that puff up magically and invite endless delicious fillings, then you are going to love this Homemade Pita Bread Recipe. With just a handful of everyday ingredients and a bit of patience, you can create fresh, fluffy pita bread right in your kitchen. The subtle chewiness, the perfectly golden exterior, and that irresistible pocket make this homemade version so much better than store-bought. Trust me, once you try this, you won’t want to go back!
Ingredients You’ll Need
The magic of this Homemade Pita Bread Recipe lies in its simplicity. Each ingredient plays an important role, from the yeast that brings life to the dough to the olive oil that adds a subtle richness and the warm water that activates the yeast perfectly. Everything combines to create that soft, airy bread you’ll be proud to serve.
- 2.5 cups all-purpose flour: The foundation of your dough, providing structure and that perfect chewiness.
- 1 tsp dry active yeast: Essential for the dough to rise and create the pockets this bread is famous for.
- 1 tsp salt: Enhances all the flavors and balances the sweetness from the sugar.
- 1 tbsp granulated sugar: Feeds the yeast and adds a subtle touch of sweetness to the bread.
- 1 tbsp olive oil: Adds moisture and a lovely slight richness to the final texture.
- 1 cup warm water: Activates the yeast and brings the dough together to the perfect consistency.
How to Make Homemade Pita Bread Recipe
Step 1: Activate the Yeast
Begin by mixing half of the warm water with the yeast and sugar. This simple step is crucial, as it wakes up the yeast so it can start creating those all-important bubbles. Allow this mixture to sit for about 10 minutes until it becomes frothy and bubbly — a clear sign your yeast is alive and ready to work its magic.
Step 2: Make the Dough
Next, combine the flour, salt, remaining water, and your activated yeast mixture. Using a mixer or your hands, knead the dough for approximately 10 minutes. This part is key to developing the gluten, giving your pitas that soft yet chewy texture you’re aiming for. You’ll know it’s ready when the dough feels smooth, elastic, and slightly tacky to the touch.
Step 3: Let It Rise
Cover the dough with a clean towel and place it in a warm spot. Let it rise for 1 to 2 hours until it has doubled in size. This slow puff-up is what creates the lightness and air pockets inside your pita bread, so don’t rush this step. Trust the process — good things take time!
Step 4: Shape the Dough
Once risen, divide the dough into 8 equal pieces. Roll each piece into a smooth ball and then flatten it out into a disc about 1/4-inch thick. Keeping the thickness even helps your pitas puff up evenly while cooking, giving you that classic pocket every time.
Step 5: Cook the Pitas
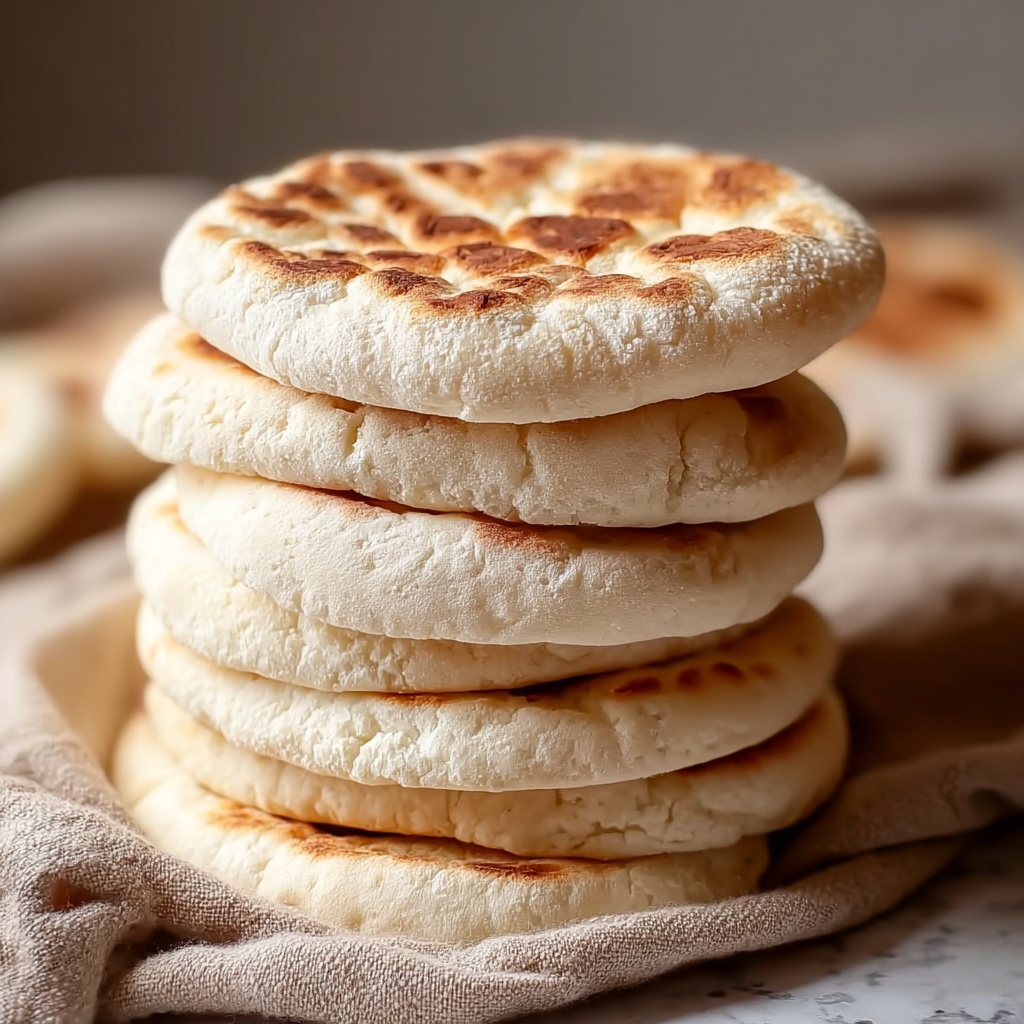
Heat a skillet over high heat until it’s very hot. Cook each pita for 2 to 3 minutes on each side. You’ll see them inflate beautifully, puffing up like little balloons as steam forms inside. Once they’re golden brown with some charred spots, they are ready to enjoy fresh and warm!
How to Serve Homemade Pita Bread Recipe
Garnishes
Freshly made pita bread is a blank canvas waiting for your favorite garnishes. Sprinkle them with sesame seeds or za’atar before cooking for a nutty or herby twist. A light brush of garlic butter or a drizzle of olive oil right after cooking adds an irresistible aroma and flavor that will have everyone asking for seconds.
Side Dishes
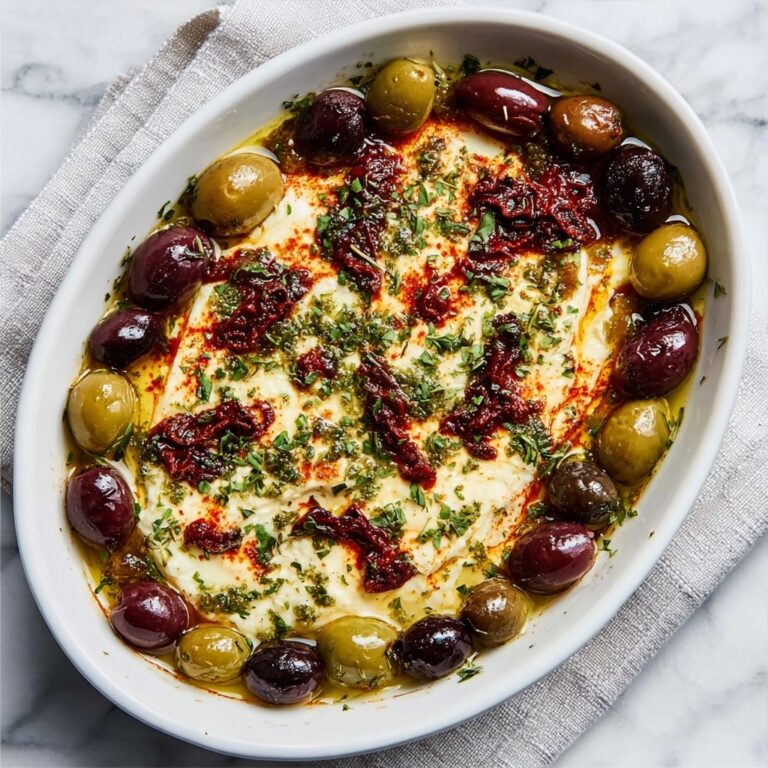
Pair your homemade pita bread with classic dips like creamy hummus, cool tzatziki, or smoky baba ganoush. They also make an excellent accompaniment to grilled meats, roasted vegetables, or vibrant Mediterranean salads. The beauty of this bread is how versatile it is — it complements so many dishes easily.
Creative Ways to Present
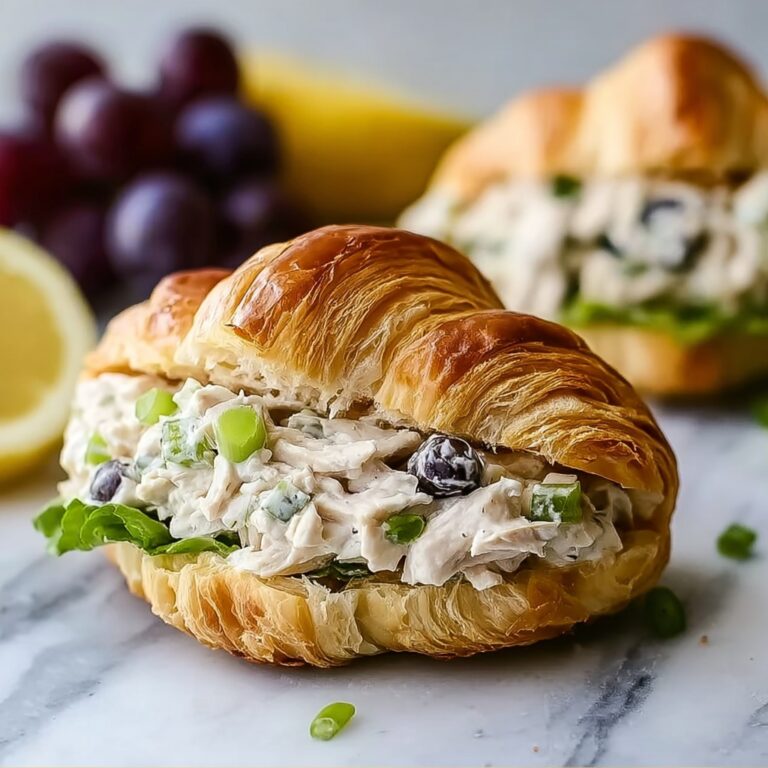
You can slice your pita into wedges and serve them as chips for dipping, stuff them with falafel and fresh veggies for a quick and satisfying sandwich, or even use them as mini pizza bases topped with your favorite ingredients. The possibilities with this Homemade Pita Bread Recipe are endless and fun to experiment with!
Make Ahead and Storage
Storing Leftovers
If you have any leftover pita bread, store it in an airtight container or resealable bag at room temperature for up to 2 days. Keeping it sealed prevents the bread from drying out and helps maintain its soft texture.
Freezing
To enjoy your Homemade Pita Bread Recipe later, freeze the pitas by stacking them with parchment paper in between each bread and placing them in a freezer-safe bag. They keep well for up to 3 months and are a handy staple to have on hand.
Reheating
Reheat frozen or leftover pitas by warming them in a skillet over medium heat or wrapping them in foil and placing in a warm oven for a few minutes. This restores their softness and gives you that freshly baked experience all over again.
FAQs
Can I use whole wheat flour instead of all-purpose flour?
Absolutely! You can substitute whole wheat flour for at least half of the all-purpose flour for a nuttier flavor and more fiber. Just keep in mind that whole wheat may result in slightly denser pitas.
What if my pita bread doesn’t puff up?
Pita bread puffs up because of steam trapped inside the dough while cooking. If your bread doesn’t puff, it could be due to the dough being rolled too thin or uneven, the skillet not being hot enough, or not letting the dough rise fully. Try adjusting these factors next time!
Can I make this recipe without olive oil?
Yes, though olive oil improves texture and adds flavor. If you don’t have olive oil, you can substitute with another mild oil like vegetable or canola oil, or omit it, but expect a slightly different texture.
How long does it take to make pita bread from scratch?
This Homemade Pita Bread Recipe takes about 2 hours and 10 minutes in total, mostly due to the rising time. Active hands-on time is relatively short, making it a rewarding, manageable project for any home cook.
Can I use instant yeast instead of dry active yeast?
Yes, instant yeast can be used in place of dry active yeast. If substituting, you can mix it directly with the flour and slightly reduce the rising time since instant yeast works faster.
Final Thoughts
There is something truly special about making bread from scratch, especially one as versatile and delicious as this Homemade Pita Bread Recipe. It’s the kind of recipe that makes your kitchen smell amazing and your meal feel a little more festive. Whether you are filling these pitas with your favorite ingredients or serving them alongside dips, they add a warm, homemade touch that everyone will appreciate. Give it a try and watch this simple recipe become a beloved staple in your home!
Print
Homemade Pita Bread Recipe
- Prep Time: 20 minutes
- Cook Time: 15 minutes
- Total Time: 2 hours 10 minutes
- Yield: 8 servings
- Category: Bread
- Method: Stovetop
- Cuisine: Middle Eastern
Description
This homemade pita bread recipe yields soft, fluffy, and perfectly puffed pita pockets, ideal for filling with your favorite ingredients or serving alongside dips. Made from simple pantry staples and cooked on the stovetop, this recipe guides you through activating yeast, kneading the dough, and achieving that characteristic pita pocket puff with a quick skillet cook.
Ingredients
Dough Ingredients
- 2.5 cups all-purpose flour
- 1 tsp dry active yeast
- 1 tsp salt
- 1 tbsp granulated sugar
- 1 tbsp olive oil
- 1 cup warm water (divided)
Instructions
- Activate the yeast: Mix half of the warm water with the dry active yeast and granulated sugar. Let it sit for about 10 minutes until it becomes bubbly and foamy, indicating the yeast is active and ready.
- Make the dough: In a mixer or large bowl, combine the all-purpose flour, salt, the remaining warm water, activated yeast mixture, and olive oil. Knead the dough for about 10 minutes until it becomes smooth, elastic, and slightly tacky to the touch.
- Let it rise: Cover the dough with a clean towel or plastic wrap and place it in a warm area. Allow it to rise for 1 to 2 hours, or until it doubles in size and looks airy.
- Shape the dough: Punch down the risen dough to release excess air. Divide the dough into 8 equal pieces. Shape each piece into a ball, then roll each ball out on a lightly floured surface into a disc about 1/4-inch thick.
- Cook the pitas: Heat a dry skillet or non-stick pan over high heat. Place each flattened disc onto the hot skillet and cook for 2 to 3 minutes on each side, or until the pita puffs up and develops golden brown spots. Remove from heat and let cool slightly before serving.
Notes
- Ensure the water used for yeast activation is warm but not hot (around 100-110°F) to avoid killing the yeast.
- If the dough is sticky, add a little flour while kneading, but avoid adding too much to keep the pitas soft.
- Cooking on high heat is key for the pitas to puff up properly, so make sure the skillet is hot before adding the dough discs.
- Store leftover pita bread in an airtight container or plastic bag at room temperature for up to 3 days or freeze for longer storage.
- For extra softness, brush warm pitas with a little olive oil after cooking.


