
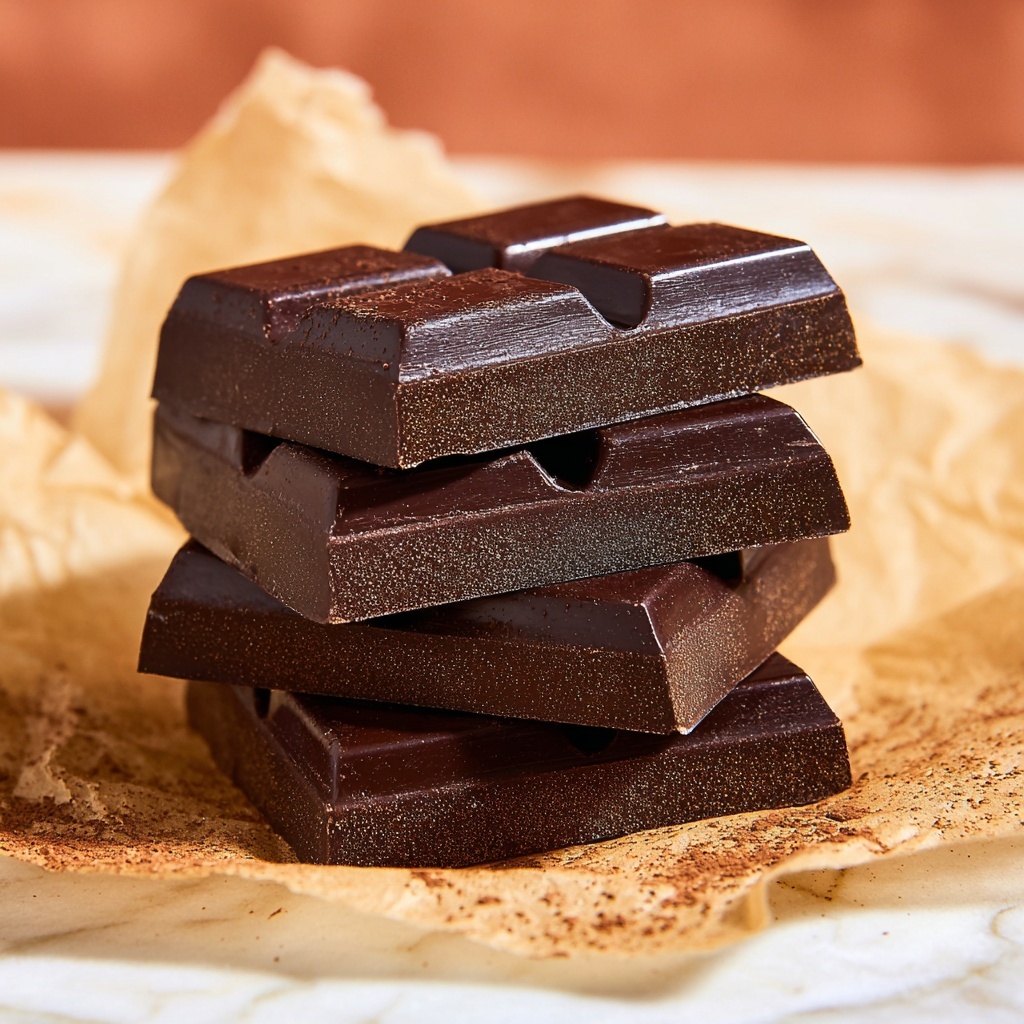
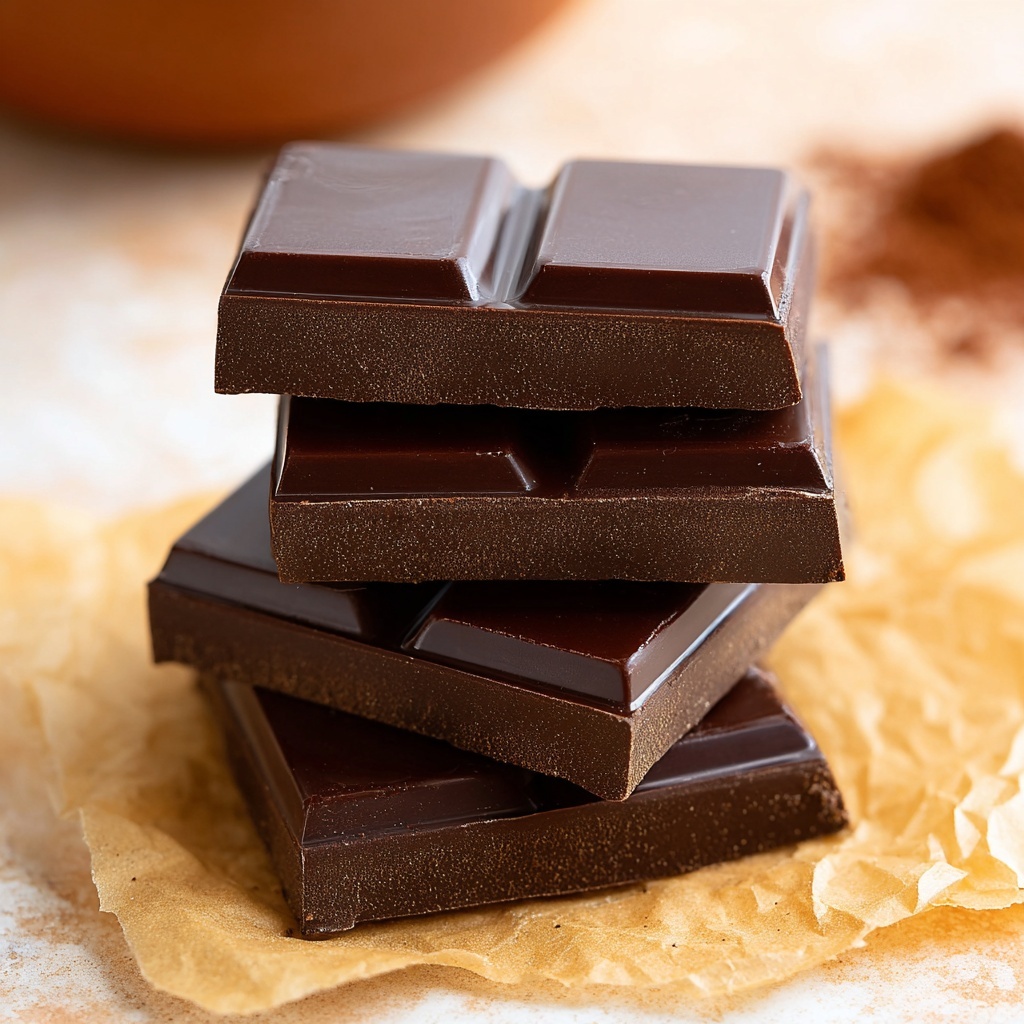
If you’ve ever dreamed of crafting your very own decadent treat right at home, this Irresistible Homemade Chocolate Bars Recipe is a perfect place to start. Simple yet luxurious, these bars bring together silky smooth dark chocolate with just the right touch of coconut oil and sea salt, creating a melt-in-your-mouth experience that feels gourmet but is incredibly easy to make. Whether you keep them plain or add nuts and dried fruit, these chocolate bars turn any moment into a celebration of flavor and texture you’ll want to share again and again.
Ingredients You’ll Need
All the magic behind this recipe comes from a handful of basic yet essential ingredients. Each one plays a starring role in delivering rich flavor, perfect texture, or the ideal finish to your chocolate bars, making this recipe a no-fuss delight anyone can master.
- Dark chocolate chips (70% cocoa): Use good quality chocolate as it determines the depth of flavor and smoothness of your bars.
- Coconut oil: This adds silkiness and helps the bars set beautifully, with a subtle tropical hint.
- Pure vanilla extract: A touch of vanilla enhances the chocolate’s natural richness and aroma.
- Sea salt: Just a pinch to balance the sweetness and elevate the overall taste.
- Optional nuts or dried fruits: Almonds, cranberries, or your favorites add delightful texture and bursts of flavor.
How to Make Irresistible Homemade Chocolate Bars Recipe
Step 1: Prepare Your Workspace
Start by clearing your counter and gathering all the ingredients, so everything is within easy reach. Having a tidy, organized setup will make the chocolate melting process smooth and enjoyable.
Step 2: Melt the Chocolate and Coconut Oil
In a microwave-safe bowl, combine the dark chocolate chips and coconut oil. Microwave them in 30-second bursts, stirring well each time until the mixture is completely melted and silky smooth. This gradual heating prevents burning and ensures perfect texture.
Step 3: Add Vanilla and Sea Salt
Once melted, stir in the pure vanilla extract and sea salt. These small additions work wonders, enriching the chocolate’s flavor and adding a subtle complexity that makes these bars truly irresistible.
Step 4: Pour and Set
Pour the chocolate mixture into silicone molds or a lined baking tray. Give it a gentle tap on the counter to release any trapped air bubbles, helping your bars have a flawless finish.
Step 5: Add Nuts or Dried Fruit
If you’re including nuts or dried fruits, sprinkle them over the surface now. Press them gently into the chocolate so they stick beautifully as your bars set.
Step 6: Chill Until Firm
Refrigerate your chocolate bars for 1 to 2 hours, allowing them to firm up completely. This cooling step locks in that glossy sheen and perfect snap that makes homemade bars feel just like a luxury treat.
How to Serve Irresistible Homemade Chocolate Bars Recipe
Garnishes
A light dusting of cocoa powder, a sprinkle of flaky sea salt, or a drizzle of melted white chocolate can transform your bars from simple to stunning. These little touches add inviting contrast and hint at the layers of flavor inside.
Side Dishes
Serve your chocolate bars alongside fresh berries, whipped cream, or a scoop of vanilla ice cream for an indulgent dessert experience. The combination balances richness with freshness, delighting every bite.
Creative Ways to Present
Wrap individual bars in colorful parchment paper or tie them up with twine for charming gifts. Or, arrange small pieces on a wooden board with nuts and dried fruits for an elegant dessert platter perfect for parties or cozy nights in.
Make Ahead and Storage
Storing Leftovers
Your homemade chocolate bars can be stored in an airtight container at room temperature for up to a week, keeping them perfectly fresh and ready to satisfy your chocolate cravings anytime.
Freezing
For longer storage, freeze the bars wrapped in plastic wrap and placed in a freezer-safe bag. They keep well for up to two months—just thaw at room temperature before enjoying.
Reheating
Since these bars are best enjoyed firm, reheating isn’t usually necessary. But if you want a softer texture, briefly warming them in your hands or placing them in a warm spot will do the trick without melting them completely.
FAQs
Can I use milk chocolate instead of dark chocolate?
Absolutely! Using milk chocolate will create a sweeter, creamier bar. Just keep in mind the flavor will be milder and the texture slightly different, but still delicious.
What if I don’t have silicone molds?
No problem at all! Line a baking tray with parchment paper and pour the chocolate mixture evenly on top. Once set, you can cut it into any size pieces you like.
Are there vegan options for this recipe?
This recipe is naturally vegan as long as you use vegan-friendly dark chocolate. Just double-check that your chocolate chips don’t contain milk derivatives.
How crunchy do the bars get with nuts or dried fruits?
Adding nuts gives a satisfying crunch and a lovely contrast, while dried fruits add chewiness and bursts of sweet-tart flavor. Both options elevate the texture beautifully.
Can I add other flavors?
Definitely! Feel free to experiment with a pinch of cinnamon, chili powder for heat, or even orange zest to give your homemade bars an exciting twist that reflects your own taste.
Final Thoughts
If you’re looking for a fun, satisfying project that delivers seriously delicious results, the Irresistible Homemade Chocolate Bars Recipe is a must-try. With just a few ingredients and minimal time, you’ll create treats that feel special and taste like they came from a fancy chocolatier. I can’t wait for you to make these and share the joy of homemade chocolate bliss with your loved ones!
Print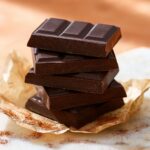
Irresistible Homemade Chocolate Bars Recipe
- Prep Time: 5 minutes
- Cook Time: 7 minutes
- Total Time: 12 minutes plus 1-2 hours chilling time
- Yield: 8 servings
- Category: Dessert
- Method: No-Cook
- Cuisine: American
- Diet: Vegetarian
Description
Enjoy homemade chocolate bars with rich dark chocolate, infused with a hint of vanilla and sea salt, optionally studded with nuts or dried fruits. These irresistible treats are easy to make, requiring just a few ingredients and minimal prep time.
Ingredients
Main Ingredients
- 1 cup dark chocolate chips (70% cocoa)
- 2 tbsp coconut oil
- 1 tsp pure vanilla extract
- 1/2 tsp sea salt
Optional Add-ins
- 1/4 cup nuts or dried fruits (e.g., almonds, cranberries)
Instructions
- Prepare workspace: Clear the counter and gather all the ingredients to have everything ready for a smooth cooking process.
- Melt chocolate: In a microwave-safe bowl, combine dark chocolate chips and coconut oil. Microwave in 30-second intervals, stirring between each until the mixture is completely melted and smooth.
- Add flavorings: Stir in the vanilla extract and sea salt into the melted chocolate to enhance the flavor.
- Pour mixture: Pour the chocolate mixture into silicone molds or a lined baking tray, then gently tap to release any trapped air bubbles for a smooth finish.
- Add toppings: Sprinkle the nuts or dried fruits on top if desired, pressing them lightly so they stick as the chocolate sets.
- Chill to set: Place the molds or tray in the refrigerator and chill for 1 to 2 hours, or until the chocolate bars are fully set and firm.
Notes
- Use high-quality dark chocolate for the best flavor and texture.
- Ensure the chocolate does not burn by heating in short intervals and stirring frequently.
- Silicone molds make it easier to remove the bars once set.
- Store the homemade chocolate bars in an airtight container in the refrigerator to keep them fresh.
- Customize with your favorite nuts or dried fruits to add texture and flavor.

