
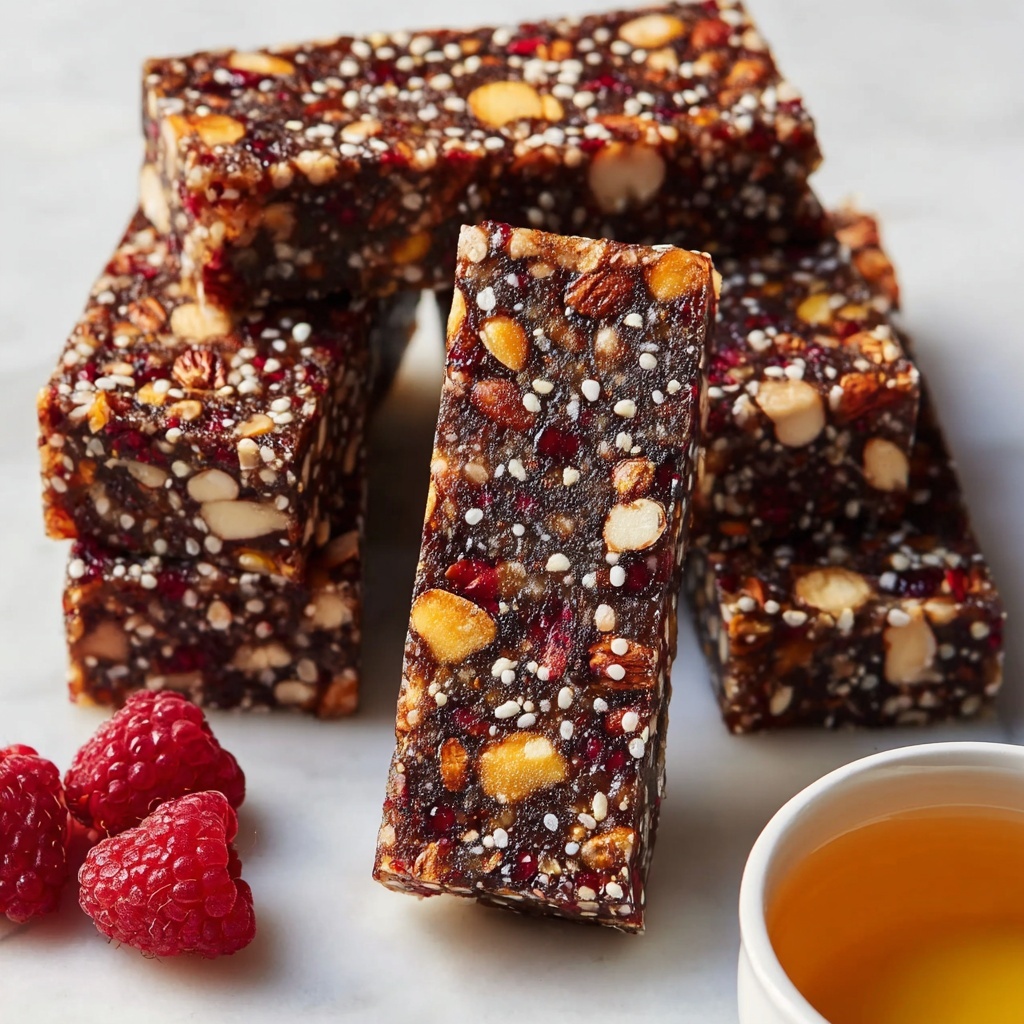
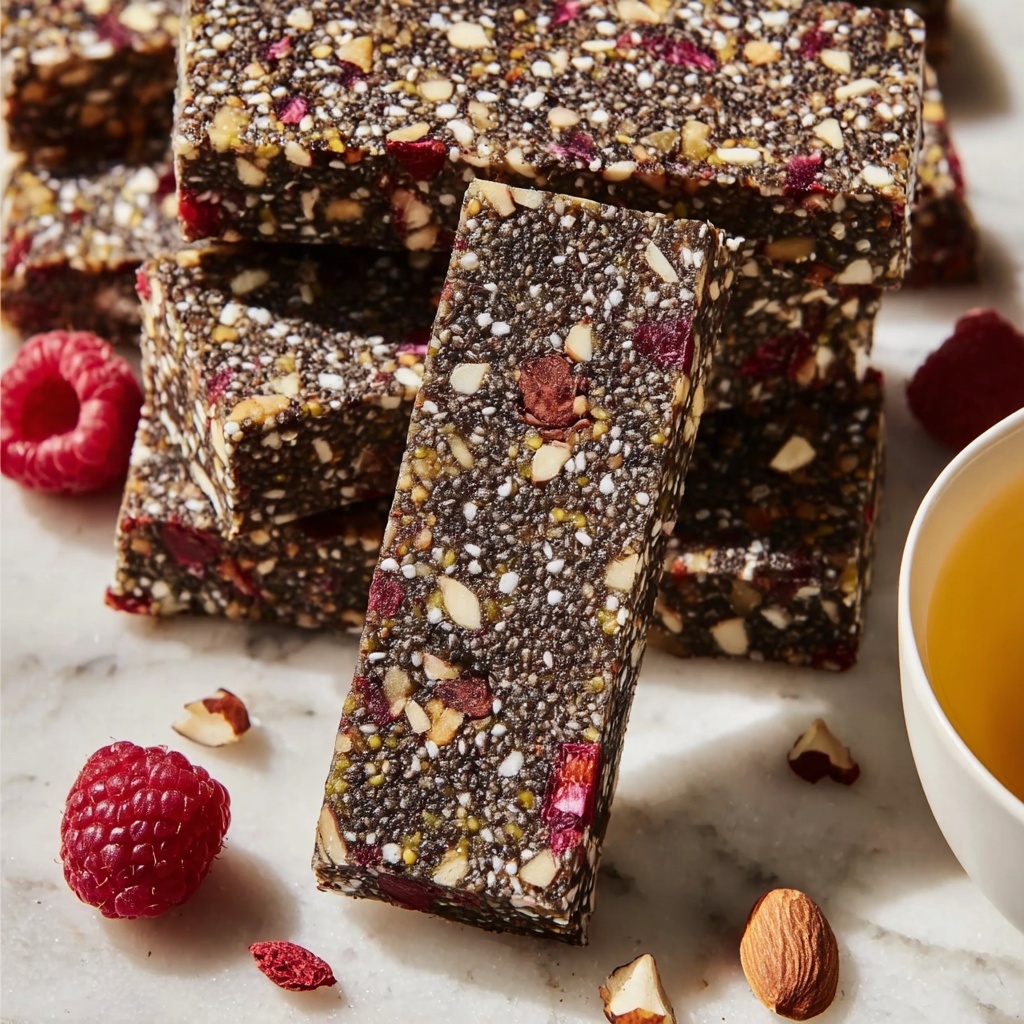
If you are looking for a wholesome, delicious, and super simple snack to fuel your busy days, this No-Bake Chia Seed Energy Bars Recipe is an absolute winner. Packed with wholesome ingredients like oats, nutty peanut butter, and those tiny nutritional powerhouses known as chia seeds, these bars bring together perfect textures and a naturally sweet flavor without ever needing the oven. Whether you’re rushing out the door or need an afternoon pick-me-up, these energy bars offer a quick, satisfying bite that’s as nourishing as it is tasty.
Ingredients You’ll Need
You don’t need a long list of fancy ingredients to whip up these energy bars — just a handful of simple pantry staples that each bring a special magic to the bars. Every ingredient has a purpose, creating the ideal balance of chewiness, crunch, and sweetness.
- Rolled oats: These form the hearty base, giving the bars a satisfying chew and slow-release energy.
- Chia seeds: Tiny but mighty, chia seeds add crunch and a boost of fiber and omega-3s.
- Peanut butter: This binds everything together with creamy richness and a wonderful nutty flavor.
- Honey or maple syrup: A natural sweetener that provides just the right touch of sweetness and helps hold the mixture together.
- Chopped nuts (almonds, walnuts, etc.): These add a delightful crunch and extra protein to power you through the day.
- Dried fruit (raisins, cranberries, etc.): Bursts of natural sweetness and chewiness that contrast beautifully with the nuts and seeds.
How to Make No-Bake Chia Seed Energy Bars Recipe
Step 1: Mix Your Ingredients
Start by gathering a large bowl and combining all your ingredients at once — oats, chia seeds, peanut butter, honey or maple syrup, chopped nuts, and dried fruit. Stir them together until every bit is evenly coated and the mixture holds together when pressed. This is where the magic begins, turning a handful of separate components into one cohesive, delicious batch.
Step 2: Press Into the Pan
Line a baking dish with parchment paper for easy removal, then transfer your mixture onto it. Firmly press it down with the back of a spatula or your hands to form an even layer. This step is key to ensure your bars hold their shape after chilling and don’t crumble apart.
Step 3: Chill Until Set
Place the pan in the fridge for at least 2 hours. This waiting time lets the peanut butter and honey solidify and bind the oats and seeds into a firm, sliceable bar. It’s almost too tempting to already cut into the bars, but trust me, this chill session is worth it.
Step 4: Cut and Enjoy
Once firm, lift the mixture from the pan using the parchment edges and transfer to a cutting board. Slice into your desired bar sizes and get ready to enjoy these bite-sized powerhouses that you made with just a few simple steps.
How to Serve No-Bake Chia Seed Energy Bars Recipe
Garnishes
For an added touch, sprinkle your bars with a few extra chia seeds or a drizzle of dark chocolate to jazz up both the look and flavor. Toasted coconut flakes or a dusting of cinnamon also complement the warmth of the peanut butter wonderfully.
Side Dishes
These bars are perfect on their own, but if you’re serving them as part of a snack spread, pair them with a fresh fruit salad or a creamy yogurt dip. That contrast of creamy or juicy alongside the chewy, crunchy bars is pretty unbeatable.
Creative Ways to Present
Try wrapping individual bars in parchment paper tied with a simple twine for a rustic lunchbox surprise, or cut them into bite-sized squares and serve them in a pretty bowl during a gathering. Layered in a mason jar alongside nuts and dried fruits, they also travel beautifully for a guilt-free snack on the go.
Make Ahead and Storage
Storing Leftovers
Your leftover No-Bake Chia Seed Energy Bars should be stored in an airtight container in the refrigerator. They stay fresh and chewy for up to two weeks, making them an ideal grab-and-go snack for your busy week ahead.
Freezing
If you want to prepare a big batch in advance, freeze the bars wrapped individually or layered between parchment paper in a freezer-safe container. They keep well for up to three months and thaw quickly at room temperature whenever you need a boost.
Reheating
Since these bars are meant to be enjoyed chilled or at room temperature, reheating isn’t necessary. However, if you prefer them slightly softer, just let them sit out for a few minutes to take the chill off before biting in.
FAQs
Can I use other nut butters instead of peanut butter?
Absolutely! Almond butter, cashew butter, or sunflower seed butter all work wonderfully and can add a different twist to the flavor. Just make sure your nut butter is smooth enough to bind the ingredients together.
What if I don’t have honey or maple syrup on hand?
You can substitute with agave nectar or brown rice syrup, which also provide natural sweetness and help hold your bars together. Avoid granulated sugars as they won’t create the same sticky, binding effect.
Are these bars gluten-free?
They can be! Just be sure to use certified gluten-free rolled oats to avoid any cross-contamination and keep the bars safe for gluten-sensitive eaters.
Can I add protein powder to this recipe?
Yes, adding a scoop of your favorite protein powder can boost the nutritional profile. Mix it in with the dry ingredients and increase the nut butter slightly if needed to maintain the right consistency.
How chewy or crunchy are these bars?
They strike a great balance — chewy from the oats and dried fruit, with a nice crunch from the nuts and chia seeds. If you want them crunchier, toast the nuts before mixing. For a softer bite, soak the chia seeds briefly before adding.
Final Thoughts
Making your own No-Bake Chia Seed Energy Bars Recipe is truly one of those small kitchen wins that pays off big time. Simple ingredients come together quickly to create a snack that’s nutritious, delicious, and ready exactly when you need it. Give it a try next time hunger strikes — I promise, once you do, these bars will become a pantry staple you’ll reach for again and again.
Print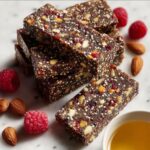
No-Bake Chia Seed Energy Bars Recipe
- Prep Time: 10 minutes
- Cook Time: 0 minutes
- Total Time: 2 hours 10 minutes
- Yield: 12 servings
- Category: Snack
- Method: No-Cook
- Cuisine: American
- Diet: Vegetarian
Description
Delicious and nutritious no-bake chia seed energy bars packed with oats, nuts, and dried fruit, perfect for a quick and healthy snack or on-the-go energy boost.
Ingredients
Dry Ingredients
- 1 cup rolled oats
- 1/2 cup chia seeds
- 1/2 cup chopped nuts (almonds, walnuts, etc.)
- 1/2 cup dried fruit (raisins, cranberries, etc.)
Wet Ingredients
- 1/2 cup peanut butter
- 1/4 cup honey or maple syrup
Instructions
- Mix Ingredients: In a large bowl, thoroughly combine the rolled oats, chia seeds, chopped nuts, dried fruit, peanut butter, and honey or maple syrup until you achieve an even mixture.
- Press Mixture: Firmly press the combined mixture into a lined baking dish, ensuring it is evenly distributed and compacted to help the bars hold their shape.
- Chill Bars: Place the baking dish in the refrigerator and chill for at least 2 hours or until the mixture has fully set and become firm.
- Cut and Serve: Once firm, remove the mixture from the dish, cut into 12 bars, and enjoy your healthy energy-packed snack at any time.
Notes
- You can substitute peanut butter with almond or cashew butter for a different flavor.
- Use maple syrup for a vegan option instead of honey.
- Store bars in an airtight container in the refrigerator for up to one week.
- Feel free to add dark chocolate chips or coconut flakes for additional texture and taste.


