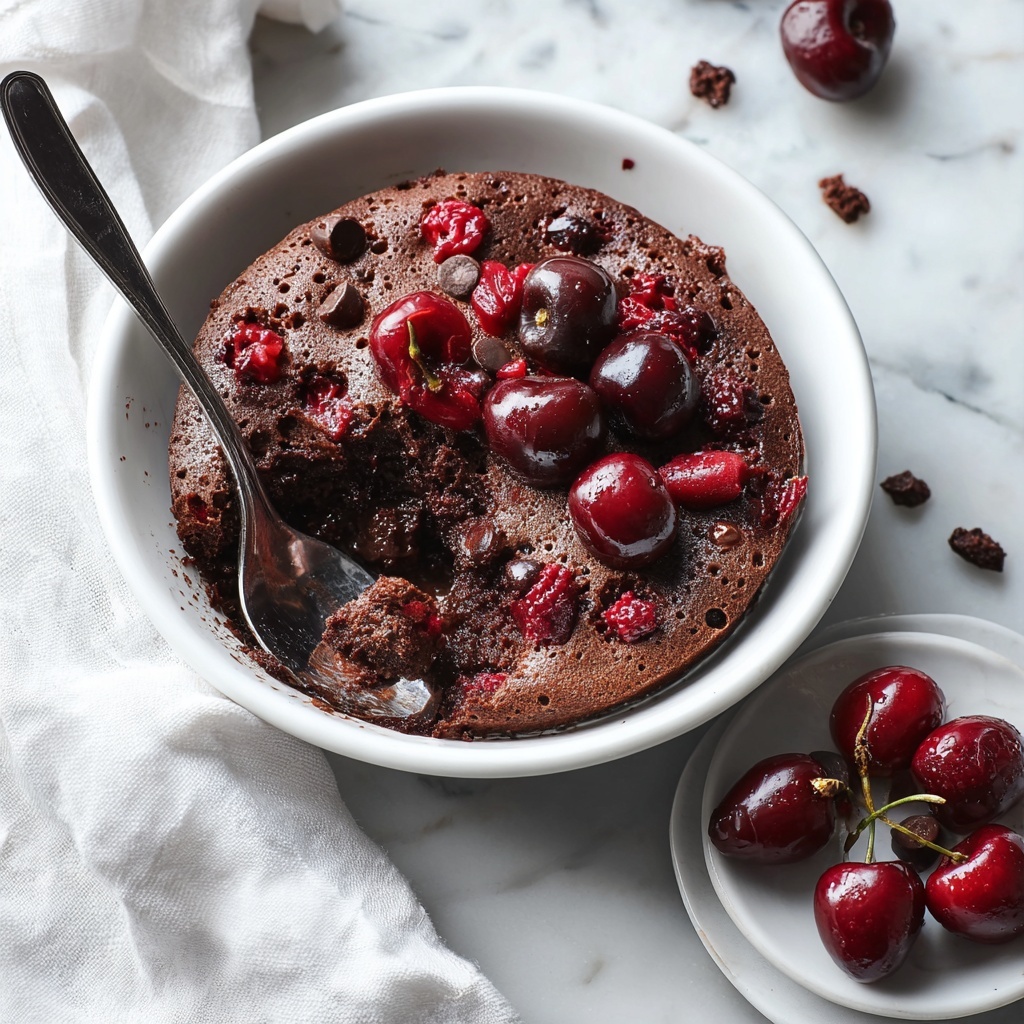
If you are craving a dessert that combines rich chocolate with bright, luscious cherries in a wonderfully effortless way, this Chocolate Cherry Dump Cake Recipe is exactly what you need! It’s one of those magical desserts where you layer simple ingredients right into the baking dish, and before you know it, you have a moist, decadent cake with a perfectly crisp top and juicy fruit center. Whether you’re a last-minute host or just want to treat yourself without fuss, this cake is a game changer that’s sure to bring smiles around the table.
Ingredients You’ll Need
The beauty of this Chocolate Cherry Dump Cake Recipe is how straightforward and approachable the ingredients are. Each one plays a distinct role in building the cake’s flavor and texture—from the sweetness and tartness of the cherries to the deep chocolate notes from the devil’s food cake mix.
- Cherry pie filling: Provides a vibrant, juicy fruit base packed with sweet-tart cherry goodness that keeps the cake moist.
- Devil’s food cake mix: The unmistakable rich chocolate powder that forms the fluffy yet crispy top layer of the cake.
- Butter: Melted and drizzled on top to help the cake mix bake into a golden, buttery crust with perfect texture contrast.
- Optional toppings: Whipped topping or a scoop of vanilla ice cream add a creamy finish that beautifully balances this cake’s rich chocolate and fruity flavors.
How to Make Chocolate Cherry Dump Cake Recipe
Step 1: Preheat and Prepare
Start by preheating your oven to 350ºF (175ºC). While that warms up, lightly grease a 13×9-inch baking dish using cooking spray to make sure your cake doesn’t stick and is super easy to serve once baked.
Step 2: Layer the Cherry Pie Filling
Evenly spread the cherry pie filling over the bottom of your prepared dish. This juicy layer will be the star of the show beneath the chocolatey topping, so be sure to spread it out uniformly for an even distribution of that sweet-tart flavor in every bite.
Step 3: Add the Devil’s Food Cake Mix
Next, sprinkle the dry devil’s food cake mix directly over the cherries in one even layer. Don’t worry about mixing—it’s all about that dump cake magic where layers bake together and complement one another beautifully.
Step 4: Drizzle with Melted Butter
Slowly drizzle the melted butter evenly over the top of the cake mix. This step is crucial because the butter helps the dry cake mix transform into a rich, golden crust as it bakes, soaking into the cherries below for the perfect balance of moistness and crunch.
Step 5: Bake Until Bubbly and Set
Place your dish in the oven and bake for 40 to 45 minutes. You’re looking for the edges to bubble gently and the top to set with a lightly crisp surface. This signals that your Chocolate Cherry Dump Cake Recipe is perfectly baked and ready to cool.
Step 6: Cool and Prepare to Serve
Allow the cake to cool for about 10 minutes after removing it from the oven. This resting time helps the layers settle and makes slicing easier. Then, it’s all about adding your favorite toppings or enjoying it just as is.
How to Serve Chocolate Cherry Dump Cake Recipe
Garnishes
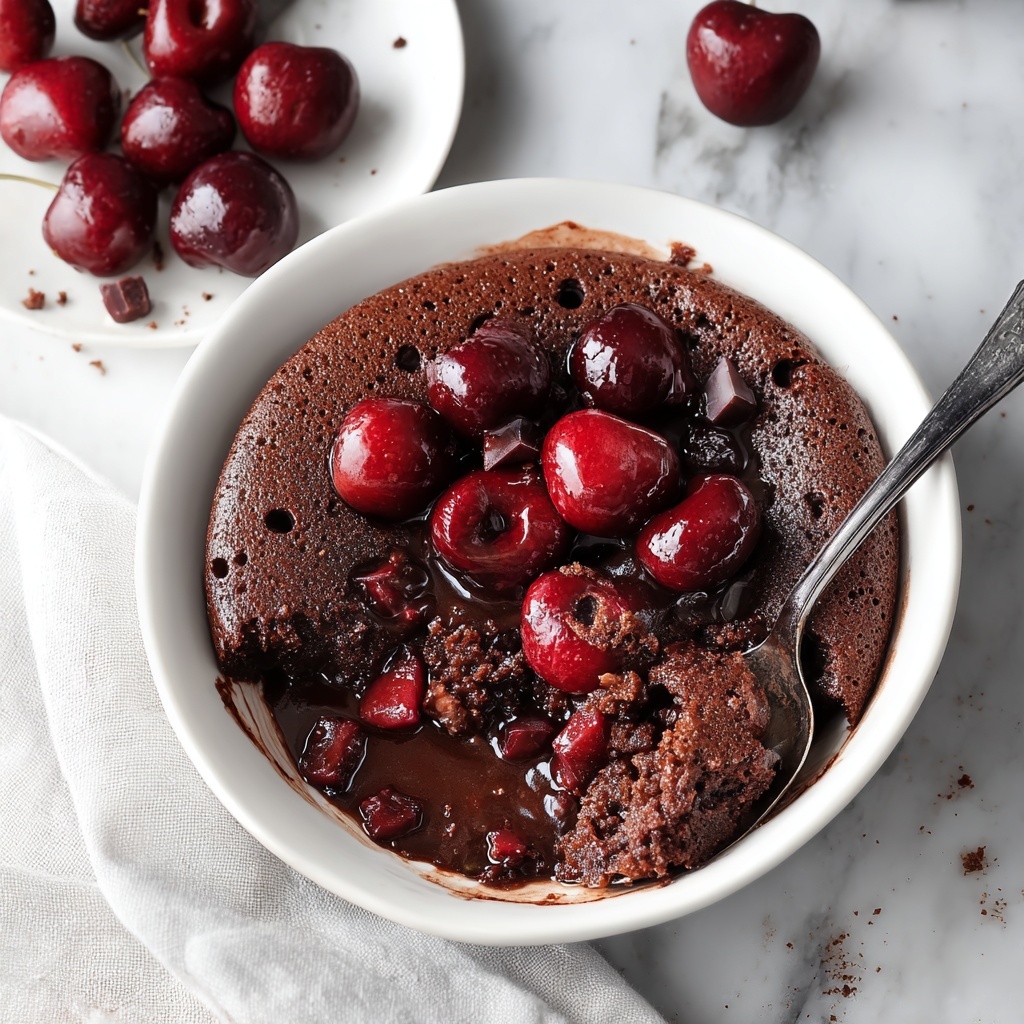
One of the best parts about this Chocolate Cherry Dump Cake Recipe is how wonderfully it pairs with toppings like a cloud of whipped cream or a melting scoop of vanilla ice cream. These garnishes bring a cool, creamy texture that contrasts perfectly with the warm, chocolaty cake and juicy cherries.
Side Dishes
Serve this cake alongside a cup of rich coffee or a glass of cold milk for ultimate comfort food vibes. For more of a party spread, fresh fruit or a simple salad can add freshness and balance to your dessert experience.
Creative Ways to Present
Want to add a little flair? Serve your Chocolate Cherry Dump Cake Recipe in individual ramekins for charming personal desserts or layer it in a trifle bowl with extra cherries and chocolate shavings for a stunning visual twist that wows your guests every time.
Make Ahead and Storage
Storing Leftovers
Once cooled completely, cover any leftover dump cake tightly with plastic wrap or foil. Store it in the refrigerator for up to 3 days. The flavors actually meld and improve, so leftovers are just as delightful!
Freezing
This Chocolate Cherry Dump Cake Recipe also freezes well. Slice it into portions, wrap individually in plastic wrap and foil, and pop them in the freezer for up to 2 months. Thaw overnight in the fridge before reheating.
Reheating
To bring back that fresh-baked warmth, reheat individual portions in the microwave for about 30 seconds to one minute, or warm the whole dish in the oven at 350ºF for about 10-15 minutes. Top with ice cream after warming for a dreamy dessert.
FAQs
Can I use fresh cherries instead of canned pie filling?
While fresh cherries are fantastic, canned cherry pie filling is recommended here because it already has the right consistency and sweetness to make this dump cake easy and foolproof. Using fresh cherries would require extra sweetener and thickener to prevent sogginess.
Is it possible to make this recipe gluten-free?
Absolutely! Just swap the devil’s food cake mix for a gluten-free chocolate cake mix, and verify that your cherry pie filling is gluten-free too. The rest of the recipe stays the same, delivering that rich, comforting flavor.
Can I substitute butter with something else?
Butter is key for that crisp, buttery crust. However, you can try melted coconut oil for a dairy-free alternative, but it may slightly change the flavor and texture of your cake.
How do I know when the cake is done baking?
You want to look for bubbly edges around the cherry filling and a set, golden top crust with no visible wet spots. The cake mix on top will look firm yet slightly crumbly when ready.
Can I add nuts or chocolate chips to this recipe?
Yes! Tossing chopped nuts or chocolate chips over the cherry layer before adding the cake mix is a delightful way to add texture and extra bursts of flavor to your Chocolate Cherry Dump Cake Recipe.
Final Thoughts
This Chocolate Cherry Dump Cake Recipe is the kind of dessert that feels like a warm hug—simple enough for busy days but impressive enough for special occasions. Give it a try and enjoy the magic of a homemade cake that’s bursting with chocolate cherry flavors, buttery crust, and happy smiles all around. You deserve a slice of this luscious goodness today!
Print
Chocolate Cherry Dump Cake Recipe
- Prep Time: 10 minutes
- Cook Time: 40 minutes
- Total Time: 50 minutes
- Yield: 6 servings
- Category: Dessert
- Method: Baking
- Cuisine: American
Description
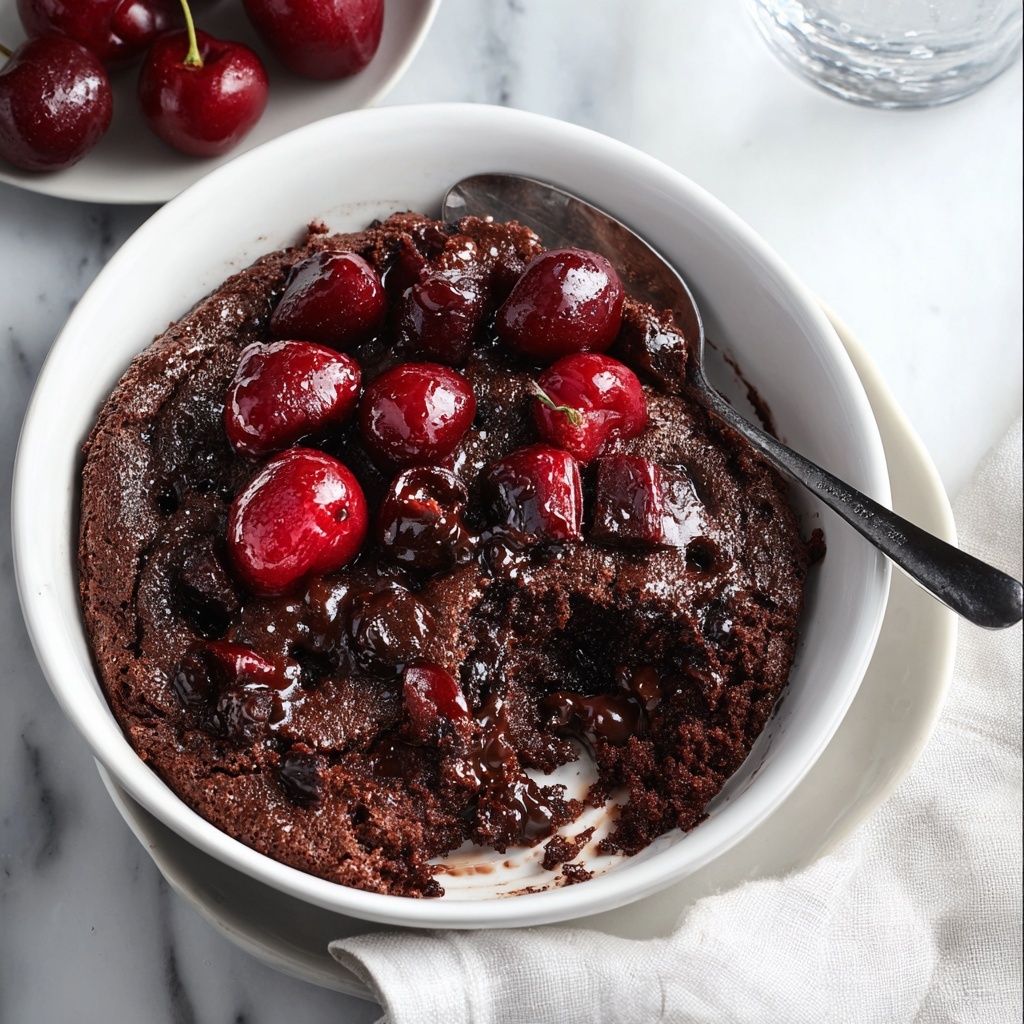
This Chocolate Cherry Dump Cake is an easy and delicious dessert that combines the rich flavors of cherry pie filling and devil’s food cake mix. Perfect for a quick weeknight treat or a simple party dessert, this dump cake bakes to a bubbly, moist topping and can be served warm with whipped cream or vanilla ice cream.
Ingredients
Filling
- 2 cans (21 oz each) cherry pie filling
Cake Topping
- 1 box (15.25 oz) devil’s food cake mix
- ¾ cup (1 ½ sticks) butter, melted
Optional Toppings
- Whipped topping or vanilla ice cream for serving
Instructions
- Preheat Oven: Preheat your oven to 350ºF (175ºC). Lightly grease a 13×9-inch baking dish with cooking spray to prevent sticking and ensure easy cleanup.
- Layer Ingredients: Spread the cherry pie filling evenly in the prepared dish, ensuring a consistent base layer. Then, sprinkle the dry devil’s food cake mix evenly over the cherries, covering them completely.
- Add Butter: Drizzle the melted butter over the cake mix layer, trying to cover as much of the dry cake mix as possible. This helps the cake mix to bake into a moist, crumbly topping.
- Bake: Place the baking dish in the oven and bake for 40–45 minutes, or until the top is set, golden brown, and the edges are bubbling with the cherry filling.
- Cool and Serve: Remove the cake from the oven and let it cool for 10 minutes to allow the dessert to set. Serve warm topped with whipped cream or vanilla ice cream if desired.
Notes
- You can substitute cherry pie filling with other fruit fillings like blueberry or apple to experiment with flavors.
- Make sure to fully cover the cake mix with melted butter for the best texture.
- Letting the cake cool slightly will help it set and make serving easier.
- For a nutty crunch, try sprinkling chopped nuts over the top before baking.

