There is something incredibly satisfying about making rich, buttery caramels in no time at all, and that’s exactly what the Ten Minute Microwave Caramels Recipe delivers. With just a handful of simple ingredients and your trusty microwave, you’ll create luscious, chewy candies that boast a perfect balance of sweet and creamy flavors. Whether you’re gifting these as homemade treats or indulging yourself, this recipe is a total game changer for anyone craving that classic caramel experience without the fuss or long wait.
Ingredients You’ll Need
Getting your ingredients right makes all the difference with this recipe. These straightforward, pantry staples combine their unique roles to create the perfect caramel: butter provides richness and creaminess, sugars add the signature sweet depth and texture, and sweetened condensed milk bounds it all together with smoothness and body.
- ½ cup butter: Use unsalted butter to control the saltiness and ensure a creamy base.
- ½ cup light corn syrup: Helps prevent crystallization and keeps the caramel smooth and chewy.
- ½ cup light brown sugar: Adds a hint of molasses flavor and moisture to deepen the caramel taste.
- ½ cup white sugar: Provides sweetness and contributes to the classic caramel’s structure.
- ½ cup sweetened condensed milk: Brings creamy sweetness and smoothness to the texture.
- 1 teaspoon vanilla extract: Enhances the caramel flavor with warm, aromatic notes.
How to Make Ten Minute Microwave Caramels Recipe
Step 1: Prepare Your Pan
Begin by buttering an 8-inch square pan or, if you prefer thicker caramels, a 9×5-inch loaf pan. For easy removal later, lining the pan with foil and buttering the foil is a fantastic tip that makes cutting and handling your caramels a breeze.
Step 2: Melt the Butter
Place the butter in a large microwave-safe bowl and heat it on high for about 1 minute until melted. This starts the base for your caramel sauce and ensures the butter blends smoothly with the other ingredients.
Step 3: Mix in the Sugars and Condensed Milk
Stir in the corn syrup, light brown sugar, white sugar, and sweetened condensed milk right away. Keep stirring until you notice the sugars start to dissolve—this helps prepare the mixture for even cooking.
Step 4: Microwave and Stir
Microwave the mixture on high for 3 minutes and about 5 to 15 seconds. After this initial burst, take it out and scrape down the sides while stirring well to prevent any burning and encourage even cooking.
Step 5: Microwave It Again and Add Vanilla
Pop the bowl back in for another 3 minutes and 5 to 15 seconds. Once done, immediately stir in the vanilla extract for that finishing touch of warm flavor that makes the caramels truly irresistible.
Step 6: Pour into Prepared Pan
Pour your luscious caramel mixture into the pan you prepped earlier and spread it evenly with a spatula. This ensures your caramels set uniformly and look beautiful once firm.
Step 7: Let the Caramels Set
Allow the mixture to cool at room temperature for several hours. This patience pays off, as your gooey caramel transforms into perfectly set squares. Once firm, cut into pieces and individually wrap in waxed paper for a mess-free treat.
How to Serve Ten Minute Microwave Caramels Recipe
Garnishes
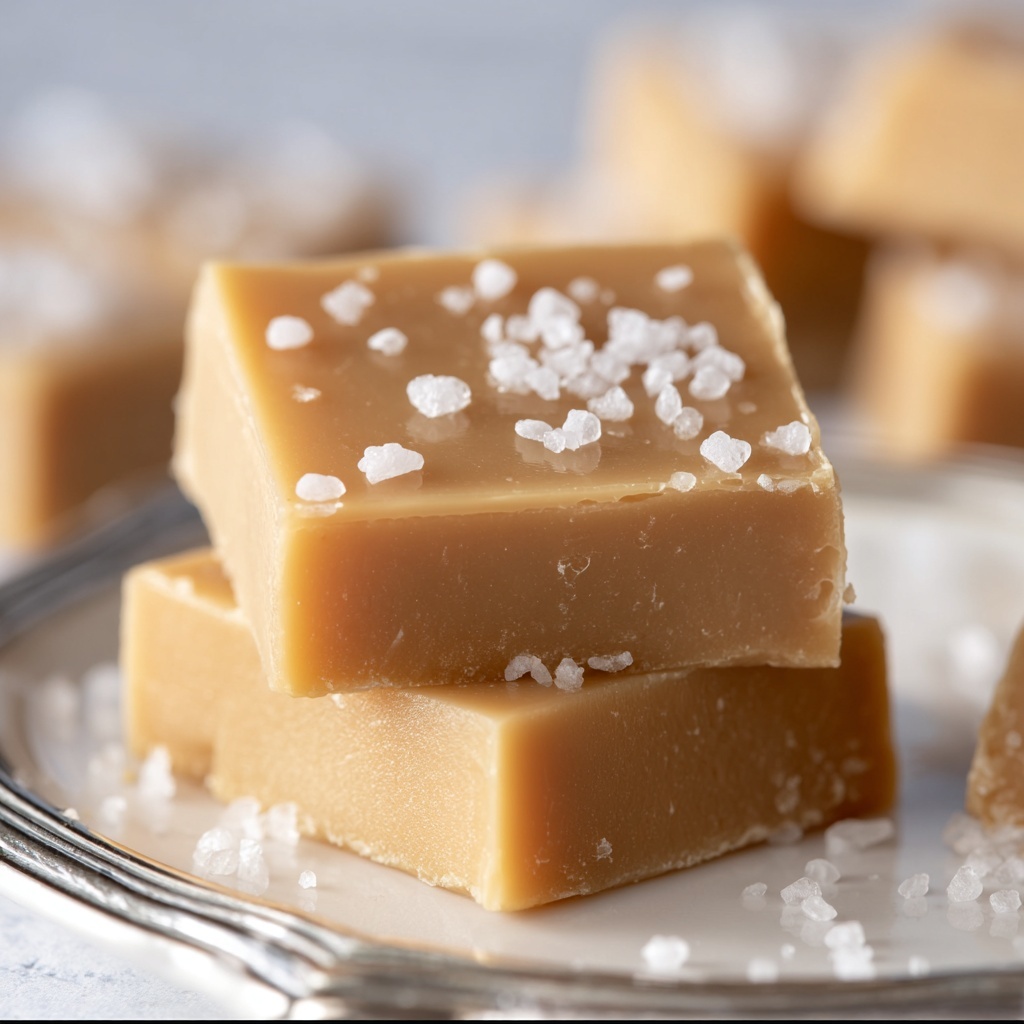
While these caramels are stunning on their own, a sprinkle of flaky sea salt on top before setting adds a wonderful contrast, elevating the sweet-salty flavor profile. You can also try rolling the edges in crushed nuts or cocoa powder for a bit of extra texture and flair.
Side Dishes
Caramels pair beautifully with a cup of strong coffee or hot tea, balancing out their sweetness with a warm beverage. They also make a fantastic topping for ice cream, brownies, or even a crisp apple slice for a simple yet indulgent treat.
Creative Ways to Present
Wrap your Ten Minute Microwave Caramels Recipe squares in colorful waxed paper or place them in a decorated jar tied with a ribbon for an adorable homemade gift. You can even skew them on lollipop sticks dipped in chocolate for a festive party favor or dessert display.
Make Ahead and Storage
Storing Leftovers
Keep your homemade caramels fresh by storing them in an airtight container at room temperature. Properly wrapped caramels will stay soft and chewy for about two weeks, so you can enjoy the magic long after making them.
Freezing
If you want to extend their shelf life, caramels freeze beautifully. Wrap them individually in waxed paper and place them in a freezer-safe container or bag. When ready to enjoy, thaw them at room temperature for a few hours or overnight.
Reheating
For the softest texture, let frozen caramels come to room temperature naturally. If you’re in a hurry, a quick zap in the microwave for a few seconds can help soften them, but watch closely to avoid melting.
FAQs
Can I use a different type of sugar?
While light brown and white sugars are traditional for this recipe, you can experiment with substituting part of the sugars with raw sugar or even coconut sugar, but keep in mind it will slightly alter the flavor and texture.
What if my caramel is too hard after setting?
If your caramel turns out harder than expected, it likely cooked a bit too long or cooled too much. You can let it sit at room temperature for a while to soften or warm it slightly before eating to get a chewier texture.
Is it possible to make these caramels vegan?
Since this recipe relies on butter and sweetened condensed milk, making it vegan would require specific plant-based substitutes like coconut milk condensed milk and vegan butter, which may change the texture and flavor. Experimentation is key!
Can I add flavor variations?
Absolutely! Adding a pinch of sea salt, a splash of bourbon, or even stirring in some chopped nuts can customize the flavor profile while keeping the base recipe just as quick and easy.
How do I know when the caramels are done in the microwave?
The timing listed in the recipe accounts for most microwaves, but power levels vary. The mixture should look thick, glossy, and all the sugars dissolved after microwaving. Stirring well and texture consistency is your best guide.
Final Thoughts
Making delicious homemade caramels doesn’t have to be complicated or time-consuming, and this Ten Minute Microwave Caramels Recipe proves it beautifully. With such ease and rewarding results, you’ll find yourself reaching for this recipe whenever a sweet craving strikes or when you want to impress friends with minimal effort. Go ahead, dive into the joy of caramel magic!
Print
Ten Minute Microwave Caramels Recipe
- Prep Time: 3 minutes
- Cook Time: 8 minutes
- Total Time: 11 minutes
- Yield: 24 servings
- Category: Dessert
- Method: Microwaving
- Cuisine: American
Description
These Ten Minute Microwave Caramels are a quick and easy homemade treat requiring minimal ingredients and using the convenience of the microwave. The recipe yields rich, buttery caramels with a perfect chewy texture and a deep caramel flavor, perfect for gift-giving or for enjoying a homemade sweet snack.
Ingredients
Caramel Ingredients
- ½ cup butter
- ½ cup light corn syrup
- ½ cup light brown sugar
- ½ cup white sugar
- ½ cup sweetened condensed milk
- 1 teaspoon vanilla extract
Instructions
- Prepare the Pan: Butter an 8-inch square pan or a 9×5-inch loaf pan to ensure the caramels don’t stick. For easier removal, you can also line the pan with foil and butter the foil thoroughly.
- Melt the Butter: Place the butter in a large microwave-safe bowl and melt it in the microwave for about 1 minute until fully melted.
- Combine Ingredients: Stir in the light corn syrup, light brown sugar, white sugar, and sweetened condensed milk into the melted butter. Mix until the sugar starts to dissolve and everything is well combined.
- First Microwave Cooking: Microwave the mixture on high for 3 minutes and 5–15 seconds. After microwaving, stir the caramel mixture well, scraping down the sides of the bowl to ensure even cooking.
- Second Microwave Cooking: Return the bowl to the microwave and cook again for another 3 minutes and 5–15 seconds. Once done, stir in the vanilla extract thoroughly.
- Set the Caramel: Pour the hot caramel mixture into the prepared pan and spread it evenly with a spatula.
- Cool and Cut: Allow the caramel to cool and set at room temperature for several hours until firm. Once set, cut the caramel into squares and individually wrap them in waxed paper for storage or gifting.
Notes
- Using foil to line the pan can make removing the caramels much easier and cleaner.
- Cool the caramels completely at room temperature before cutting to ensure clean squares.
- Store wrapped caramels in an airtight container at room temperature for up to two weeks.
- If you prefer softer caramels, reduce the microwave cooking time slightly; for firmer caramels, increase the cooking time carefully.
- Be cautious when handling the hot caramel mixture as it can cause burns.


