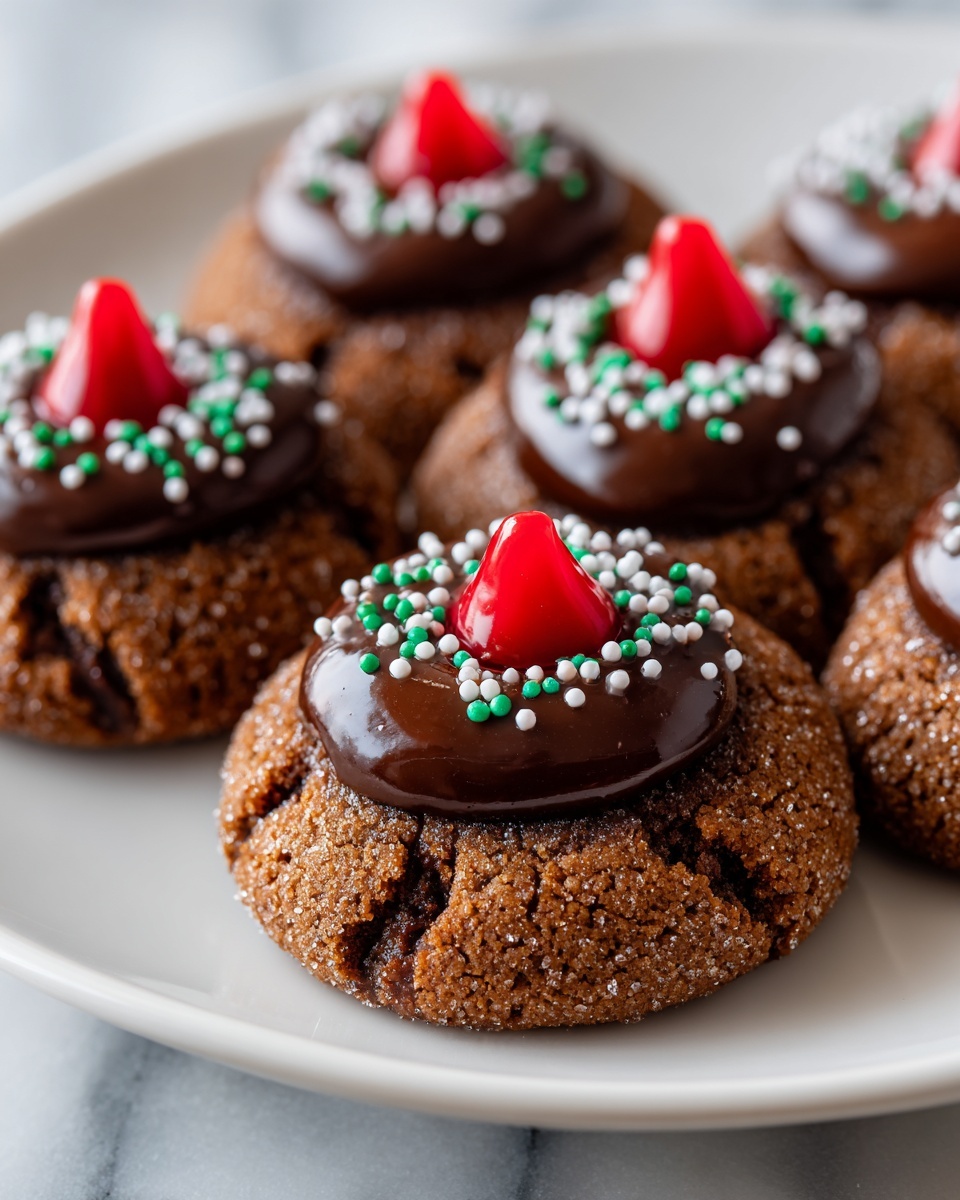
If you are craving a cookie that brings together the richness of chocolate in a tender, chewy bite and the nostalgic charm of a perfectly placed candy, then this Chocolate Kiss Cookies Recipe is your new best friend. These charming treats combine a soft cocoa cookie with the classic sweetness of a Hershey’s Kiss pressed right into the center. Whether you’re planning a festive cookie tray, a cozy afternoon treat, or simply want to indulge your chocolate obsession, these cookies hit every note with ease and delightful simplicity.
Ingredients You’ll Need
Getting these cookies just right is all about selecting simple ingredients that each play a crucial role in building flavor, texture, and that irresistible look. Every component works in harmony to create the perfect chocolate cookie base topped with a luscious chocolate kiss.
- Unsalted butter (1 cup, softened): Provides a rich and creamy base, essential for tenderness and flavor depth.
- Granulated sugar (1 cup): Adds sweetness and helps with the cookie’s crisp edges.
- Packed brown sugar (1/2 cup): Brings moisture and a hint of caramel undertone for chewiness.
- Large eggs (2): Bind the ingredients while lending richness and structure.
- Vanilla extract (2 teaspoons): Enhances all the other flavors with a subtle aromatic lift.
- All-purpose flour (2 cups): The foundation of the dough, it gives structure and holds everything together.
- Unsweetened cocoa powder (1/2 cup): Delivers that deep, chocolatey punch in every bite without adding sweetness.
- Baking soda (1 teaspoon): Keeps the cookies light and helps with proper rise.
- Salt (1/2 teaspoon): Balances sweetness and accentuates chocolate flavor.
- Hershey’s Kisses (48, unwrapped): The iconic topping that melts just a tad, creating the signature “kiss” effect.
How to Make Chocolate Kiss Cookies Recipe
Step 1: Prep Your Workspace and Ingredients
Start by preheating your oven to 350°F (175°C) and lining your baking sheets with parchment paper. This ensures easy cookie removal and prevents sticking. Make sure your butter is softened; it should be pliable but not melted for the best creaming results.
Step 2: Cream Butter and Sugars
In a large bowl, beat together the softened butter, granulated sugar, and brown sugar until the mixture turns light and fluffy. This step is crucial because it incorporates air, giving the cookies their lovely tender crumb and slight rise.
Step 3: Add Eggs and Vanilla
Add the eggs one at a time, beating well after each addition. This ensures they are fully incorporated, resulting in a smooth dough. Next, mix in the vanilla extract to infuse that warm, inviting aroma we all love in chocolate baked goods.
Step 4: Combine Dry Ingredients
In a separate bowl, whisk together the flour, unsweetened cocoa powder, baking soda, and salt. Combining these dry ingredients separately helps distribute the cocoa and leavening agent evenly throughout the dough, so every cookie is perfectly balanced.
Step 5: Mix Dry and Wet Ingredients
Gradually add the dry mix into the wet mixture, stirring just until combined. Overmixing can lead to tough cookies, so stop once the dough is uniform and no patches of flour remain.
Step 6: Shape Cookies and Bake
Scoop tablespoon-sized portions of dough and roll them into smooth balls. Place them about 2 inches apart on the prepared baking sheets to allow room for spreading. Bake for 8 to 10 minutes until the cookies are set but still soft to the touch.
Step 7: Press the Hershey’s Kiss
As soon as the cookies come out of the oven, gently press a Hershey’s Kiss into the center of each cookie while they are still warm. This lets the chocolate soften and meld with the cookie, creating that signature look and taste.
Step 8: Cool Before Serving
Let the cookies cool on the baking sheet for about 5 minutes before transferring them to a wire rack to cool completely. This resting period finishes the setting process and helps the bottoms firm up without losing softness inside.
How to Serve Chocolate Kiss Cookies Recipe

Garnishes
These cookies are charming enough on their own, but you can add a sprinkle of powdered sugar or a tiny pinch of flaky sea salt atop the Kiss for a little extra elegance and flavor play. A drizzle of white or dark chocolate over the top adds a touch of artistry perfect for special occasions.
Side Dishes
Chocolate Kiss Cookies pair wonderfully with a cold glass of milk or a warm cup of coffee or tea. For a festive touch, serve alongside fresh berries or a scoop of vanilla ice cream to balance the richness.
Creative Ways to Present
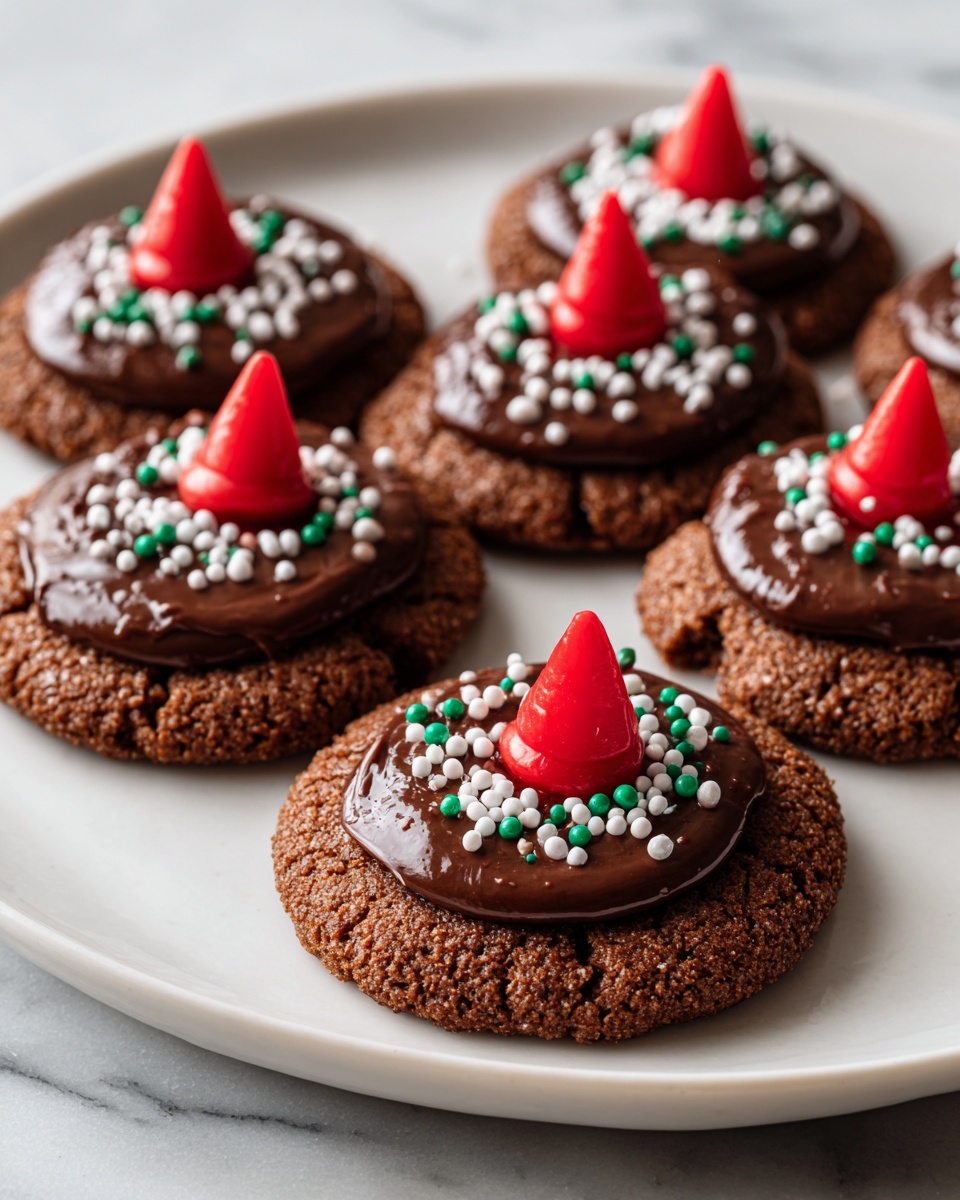
Try arranging these cookies on a decorative platter lined with doilies for a vintage feel, or stack them inside a clear jar tied with a festive ribbon as a delightful homemade gift. You can also sprinkle edible glitter or edible gold dust on top of the kisses for a celebratory sparkle.
Make Ahead and Storage
Storing Leftovers
Once cooled completely, store your Chocolate Kiss Cookies in an airtight container at room temperature. They stay perfectly fresh and chewy for up to a week, making them ideal for weekday treats or planned gatherings.
Freezing
If you want to enjoy these cookies over a longer period, freeze the dough balls on a baking sheet before baking, then transfer them to a sealed freezer bag. When ready to bake, just pop them straight into the oven without thawing. Baked cookies can also be frozen in a sealed container for up to 3 months.
Reheating
To bring out that freshly-baked softness after storage or freezing, warm the cookies in the microwave for about 10 to 15 seconds or place in a preheated oven at 300°F for 5 minutes. This restores the melty goodness around the Hershey’s Kiss and the cookie’s chewy texture.
FAQs
Can I use dark chocolate kisses instead of milk chocolate?
Absolutely! Dark chocolate Hershey’s Kisses add a richer, slightly less sweet contrast to the cocoa cookies, which many chocolate lovers adore. Feel free to experiment to find your favorite combination.
What should I do if my cookies spread too much?
If your cookies are spreading excessively, try chilling the dough for 20 to 30 minutes before baking. Also, make sure you measure flour correctly; adding a little extra flour can help control the spread without making the cookies dry.
Can I make these cookies gluten-free?
You can swap the all-purpose flour for a 1:1 gluten-free baking flour blend. Just ensure the blend contains xanthan gum or a similar binder, so the texture stays soft and chewy like the original.
How do I keep the Hershey’s Kiss from melting completely?
Pressing the Kiss onto the hot cookie just as it comes from the oven softens it without melting it entirely, so it maintains its shape. Don’t try to push the Kiss in too hard; gentle pressure is key to keeping that iconic look.
Can I make the dough ahead of time?
Yes! The dough can be made up to 2 days in advance and stored tightly covered in the refrigerator. When ready, roll into balls and bake as usual. This makes it perfect for weekend baking or holiday preparations.
Final Thoughts
There is something truly heartwarming about baking Chocolate Kiss Cookies Recipe from scratch – the irresistibly rich chocolate dough combined with the sweet surprise of a Hershey’s Kiss creates a nostalgic and delightful treat everyone loves. Whether for gift-giving, celebrations, or an everyday indulgence, these cookies are a delicious way to share a little joy. I cannot wait for you to try this recipe and make it one of your favorites too!
Print
Chocolate Kiss Cookies Recipe
- Prep Time: 15 minutes
- Cook Time: 10 minutes
- Total Time: 25 minutes
- Yield: 48 cookies
- Category: Dessert
- Method: Baking
- Cuisine: American
- Diet: Vegetarian
Description
Chocolate Kiss Cookies are soft, rich chocolate cookies topped with a sweet Hershey’s Kiss at the center. These bite-sized treats are perfect for holiday trays, parties, or anytime you want a simple and delicious chocolate dessert.
Ingredients
Cookie Dough
- 1 cup unsalted butter, softened
- 1 cup granulated sugar
- 1/2 cup packed brown sugar
- 2 large eggs
- 2 teaspoons vanilla extract
- 2 cups all-purpose flour
- 1/2 cup unsweetened cocoa powder
- 1 teaspoon baking soda
- 1/2 teaspoon salt
Topping
- 48 Hershey’s Kisses, unwrapped
Instructions
- Preheat and Prepare: Preheat the oven to 350°F (175°C) and line baking sheets with parchment paper to prevent sticking and promote even baking.
- Cream Butter and Sugars: In a large bowl, cream together the softened butter, granulated sugar, and brown sugar until the mixture is light and fluffy to incorporate air for a tender cookie.
- Add Eggs and Vanilla: Beat in the eggs one at a time, ensuring each is fully incorporated before adding the next, then mix in the vanilla extract for flavor.
- Combine Dry Ingredients: In a separate bowl, whisk together the all-purpose flour, unsweetened cocoa powder, baking soda, and salt to evenly distribute the leavening and cocoa.
- Mix Dry and Wet Ingredients: Gradually add the dry ingredients to the wet mixture, stirring until just combined to avoid overmixing and tough cookies.
- Shape the Cookies: Scoop out tablespoon-sized portions of dough and roll into balls, spacing them 2 inches apart on prepared baking sheets to allow room for spreading.
- Bake: Bake the cookies for 8–10 minutes or until they are set but still soft in the center, indicating perfect doneness.
- Add Hershey’s Kisses: Immediately after removing the cookies from the oven and while they are still warm, press a Hershey’s Kiss gently into the center of each cookie so it adheres properly.
- Cool: Let the cookies cool on the baking sheet for 5 minutes to firm up slightly, then transfer them to a wire rack to cool completely.
Notes
- You can roll the dough balls in granulated sugar before baking for extra texture and sweetness.
- Store cookies in an airtight container at room temperature for up to a week to maintain freshness.


